Overview
The CSV Import tool lets you create or update System, Third Party, and Company Affiliate records in Data Inventory in bulk. You can import records from the All Records tab or from any specific record type tab. The import process is the same for all record types — download the appropriate template, complete it, upload it, and click Import.
This article covers CSV import procedures for all four entry points: All Records, Third Party Records, System Records, and Company Records.
What you can do
✓Create new System, Third Party, and Company Affiliate records in bulk via CSV
✓Update existing records by including their record IDs in the CSV
Prerequisites
✓Active TrustArc account with Data Inventory access
✓CSV Import template downloaded and completed (available from the Import modal)
Rules for Updating Existing Records
The following rules apply when using a CSV file to update any existing data inventory record:
•Include the existing record IDs in the CSV, then update any remaining fields you want to change.
•Any field left blank in the CSV will not be updated in the Hub record — blank values are ignored.
•For existing contacts, at least the Full Name and Email address must match in order to update other fields. Full Name and Email themselves cannot be updated via CSV import.
•Fields that hold a collection of values (such as Locations or multi-value Tag Groups) are appended to, not replaced. Fields with a single value or free-text are replaced with the new value.
•System records can be updated via their owning record template files. Identify which systems to update using their IDs.
•If the ID fields are left blank but all required fields have values (marked with * in the column header), new records will be created instead of updating existing ones.
Importing from All Records
Use this method to import System, Third Party, and Company Affiliate records in a single operation from the All Records tab.
1
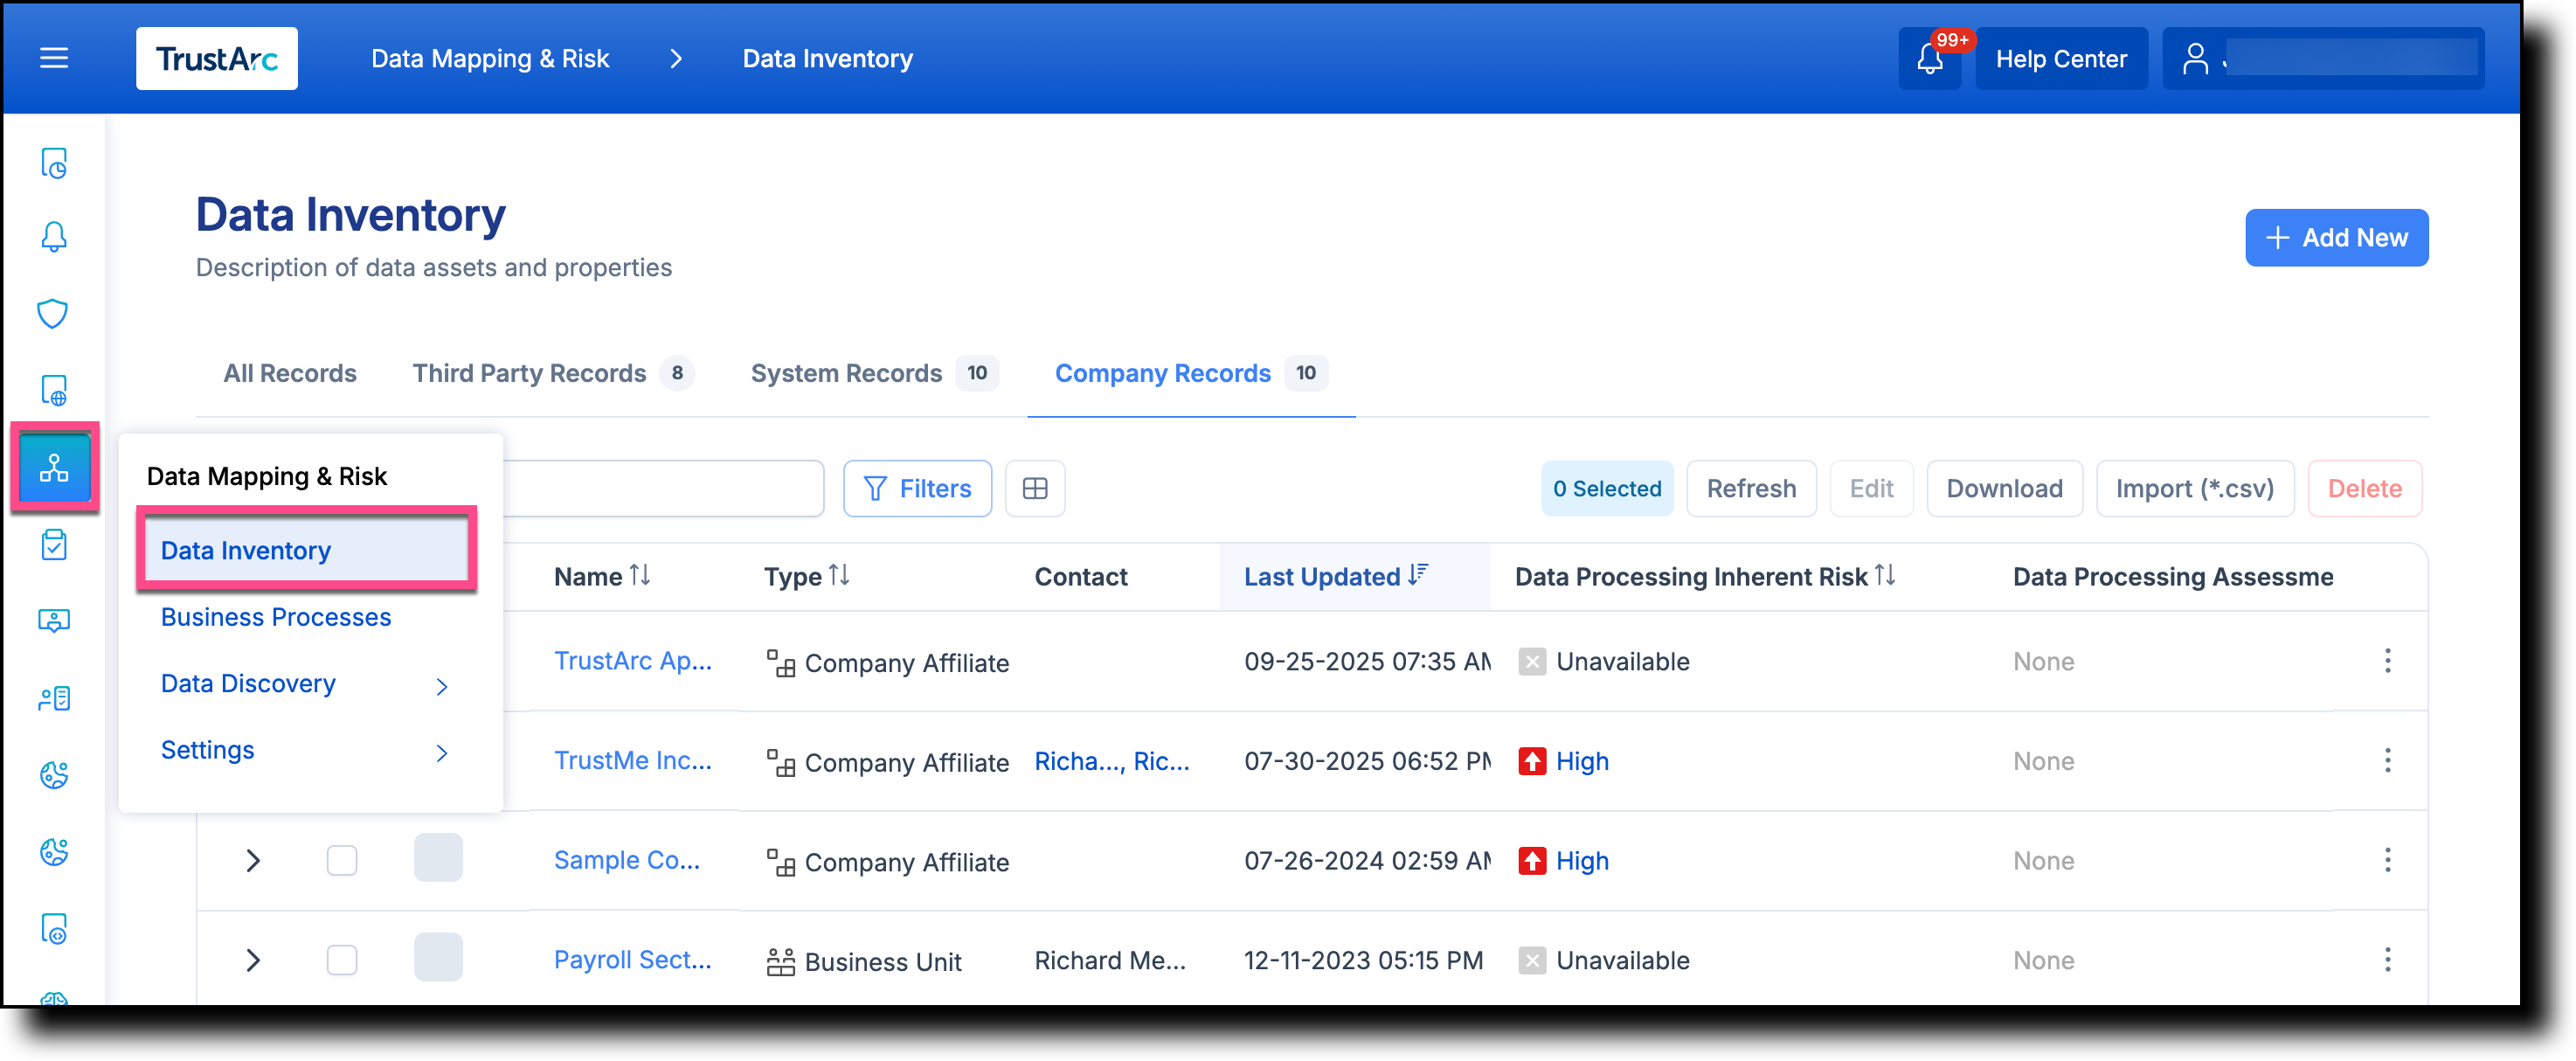
From the left side of the page, hover over the Data Mapping & Risk Manager icon, and then select Data Inventory.
2
From the top-right corner of the page, click Import (*.csv).
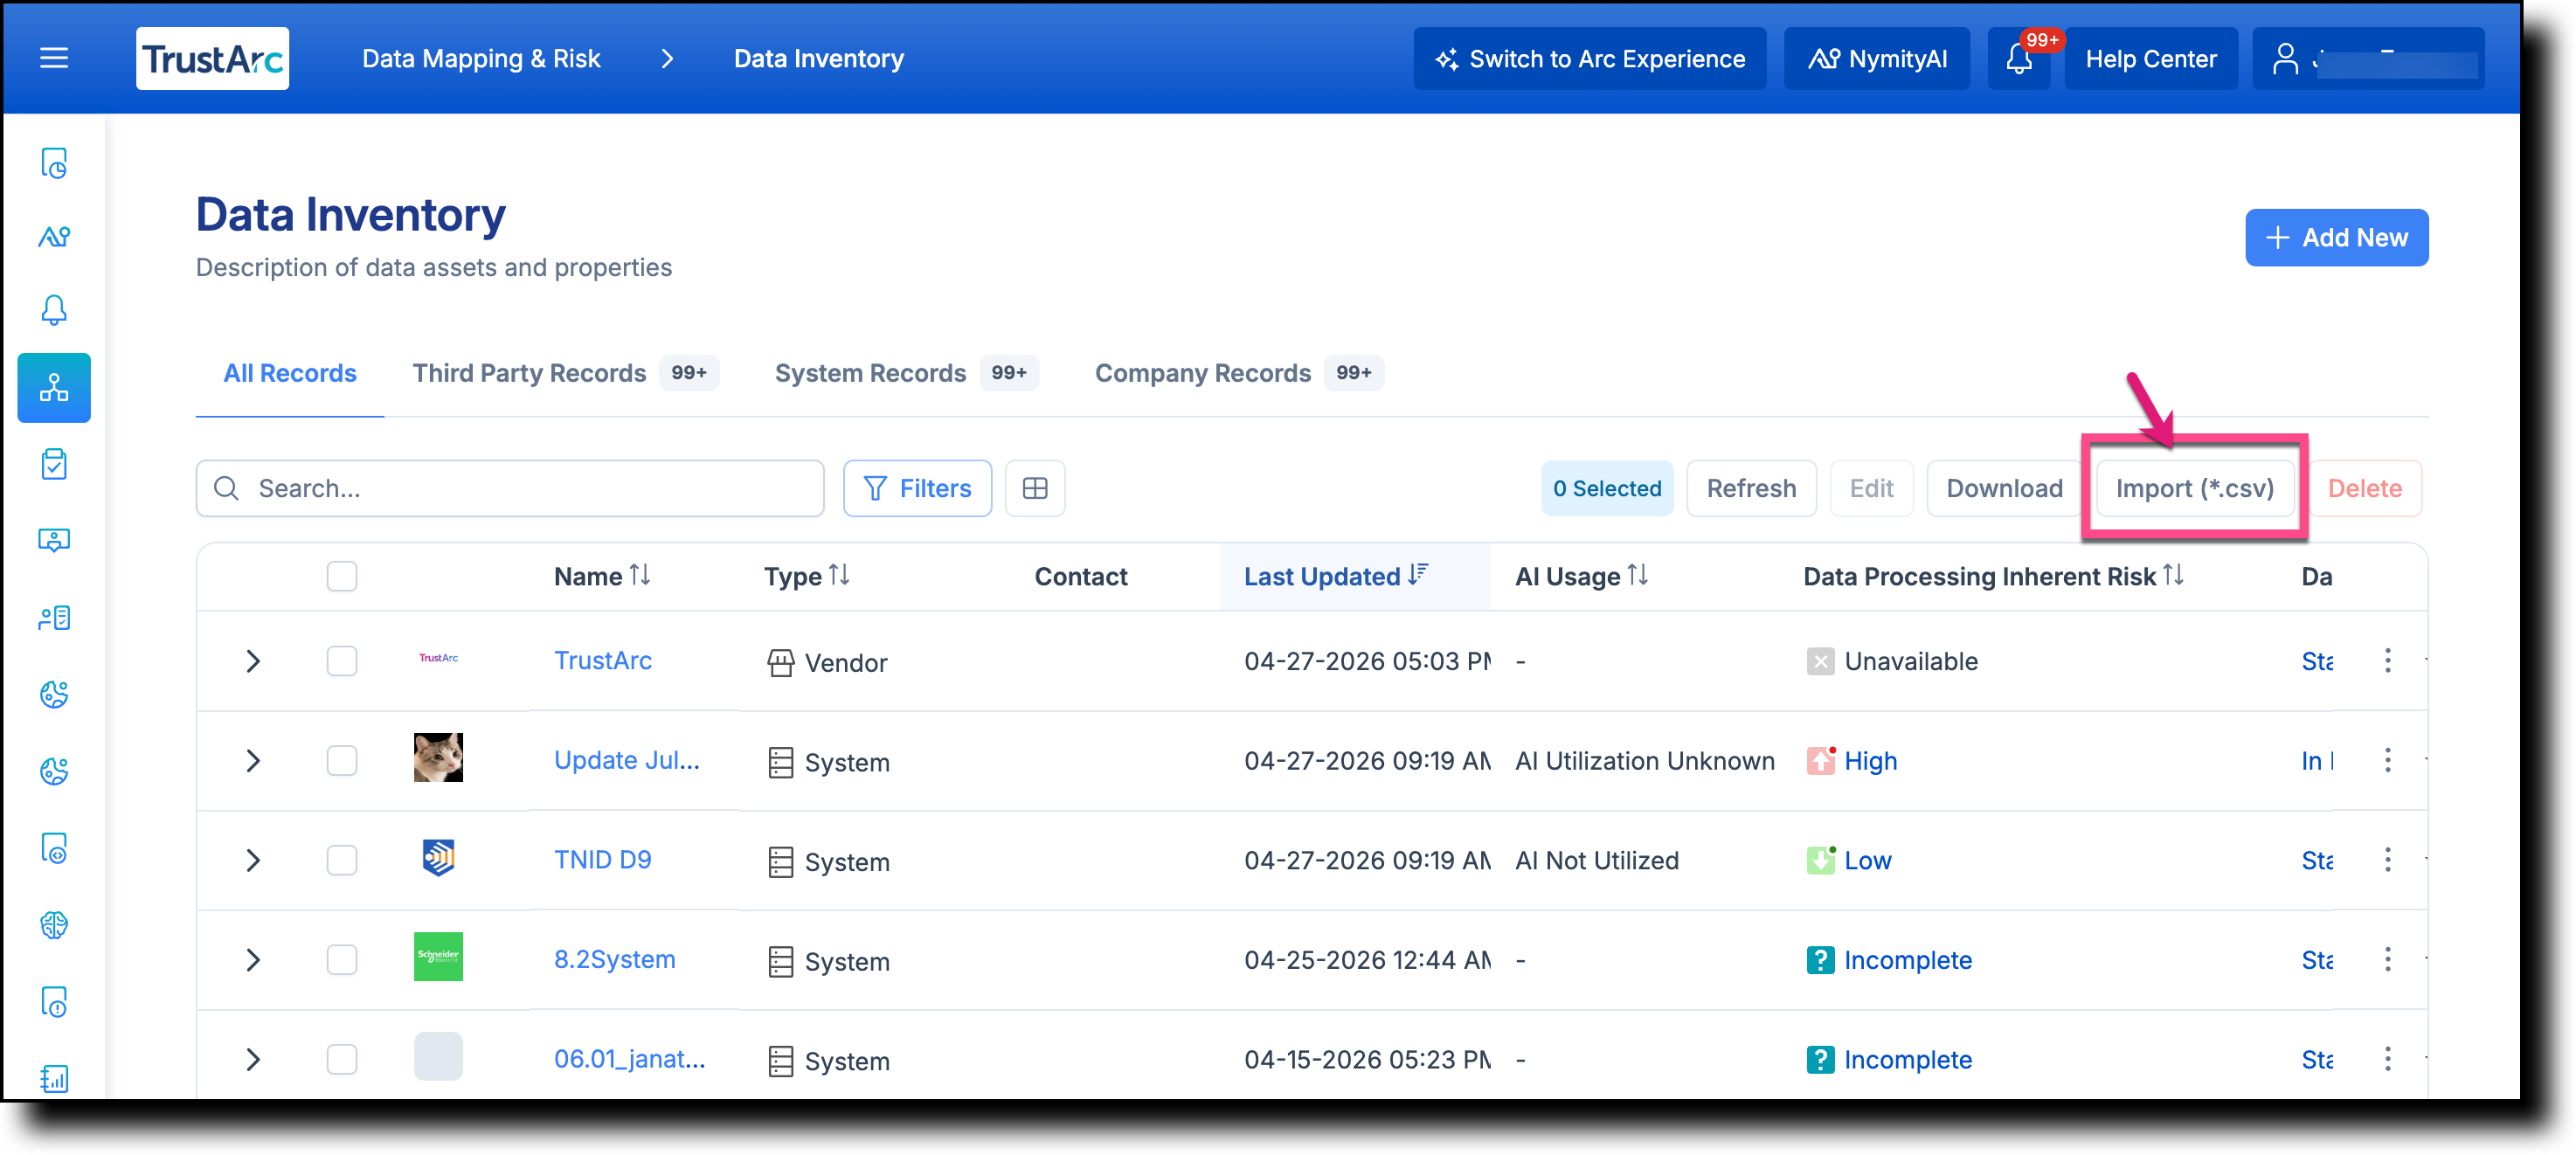
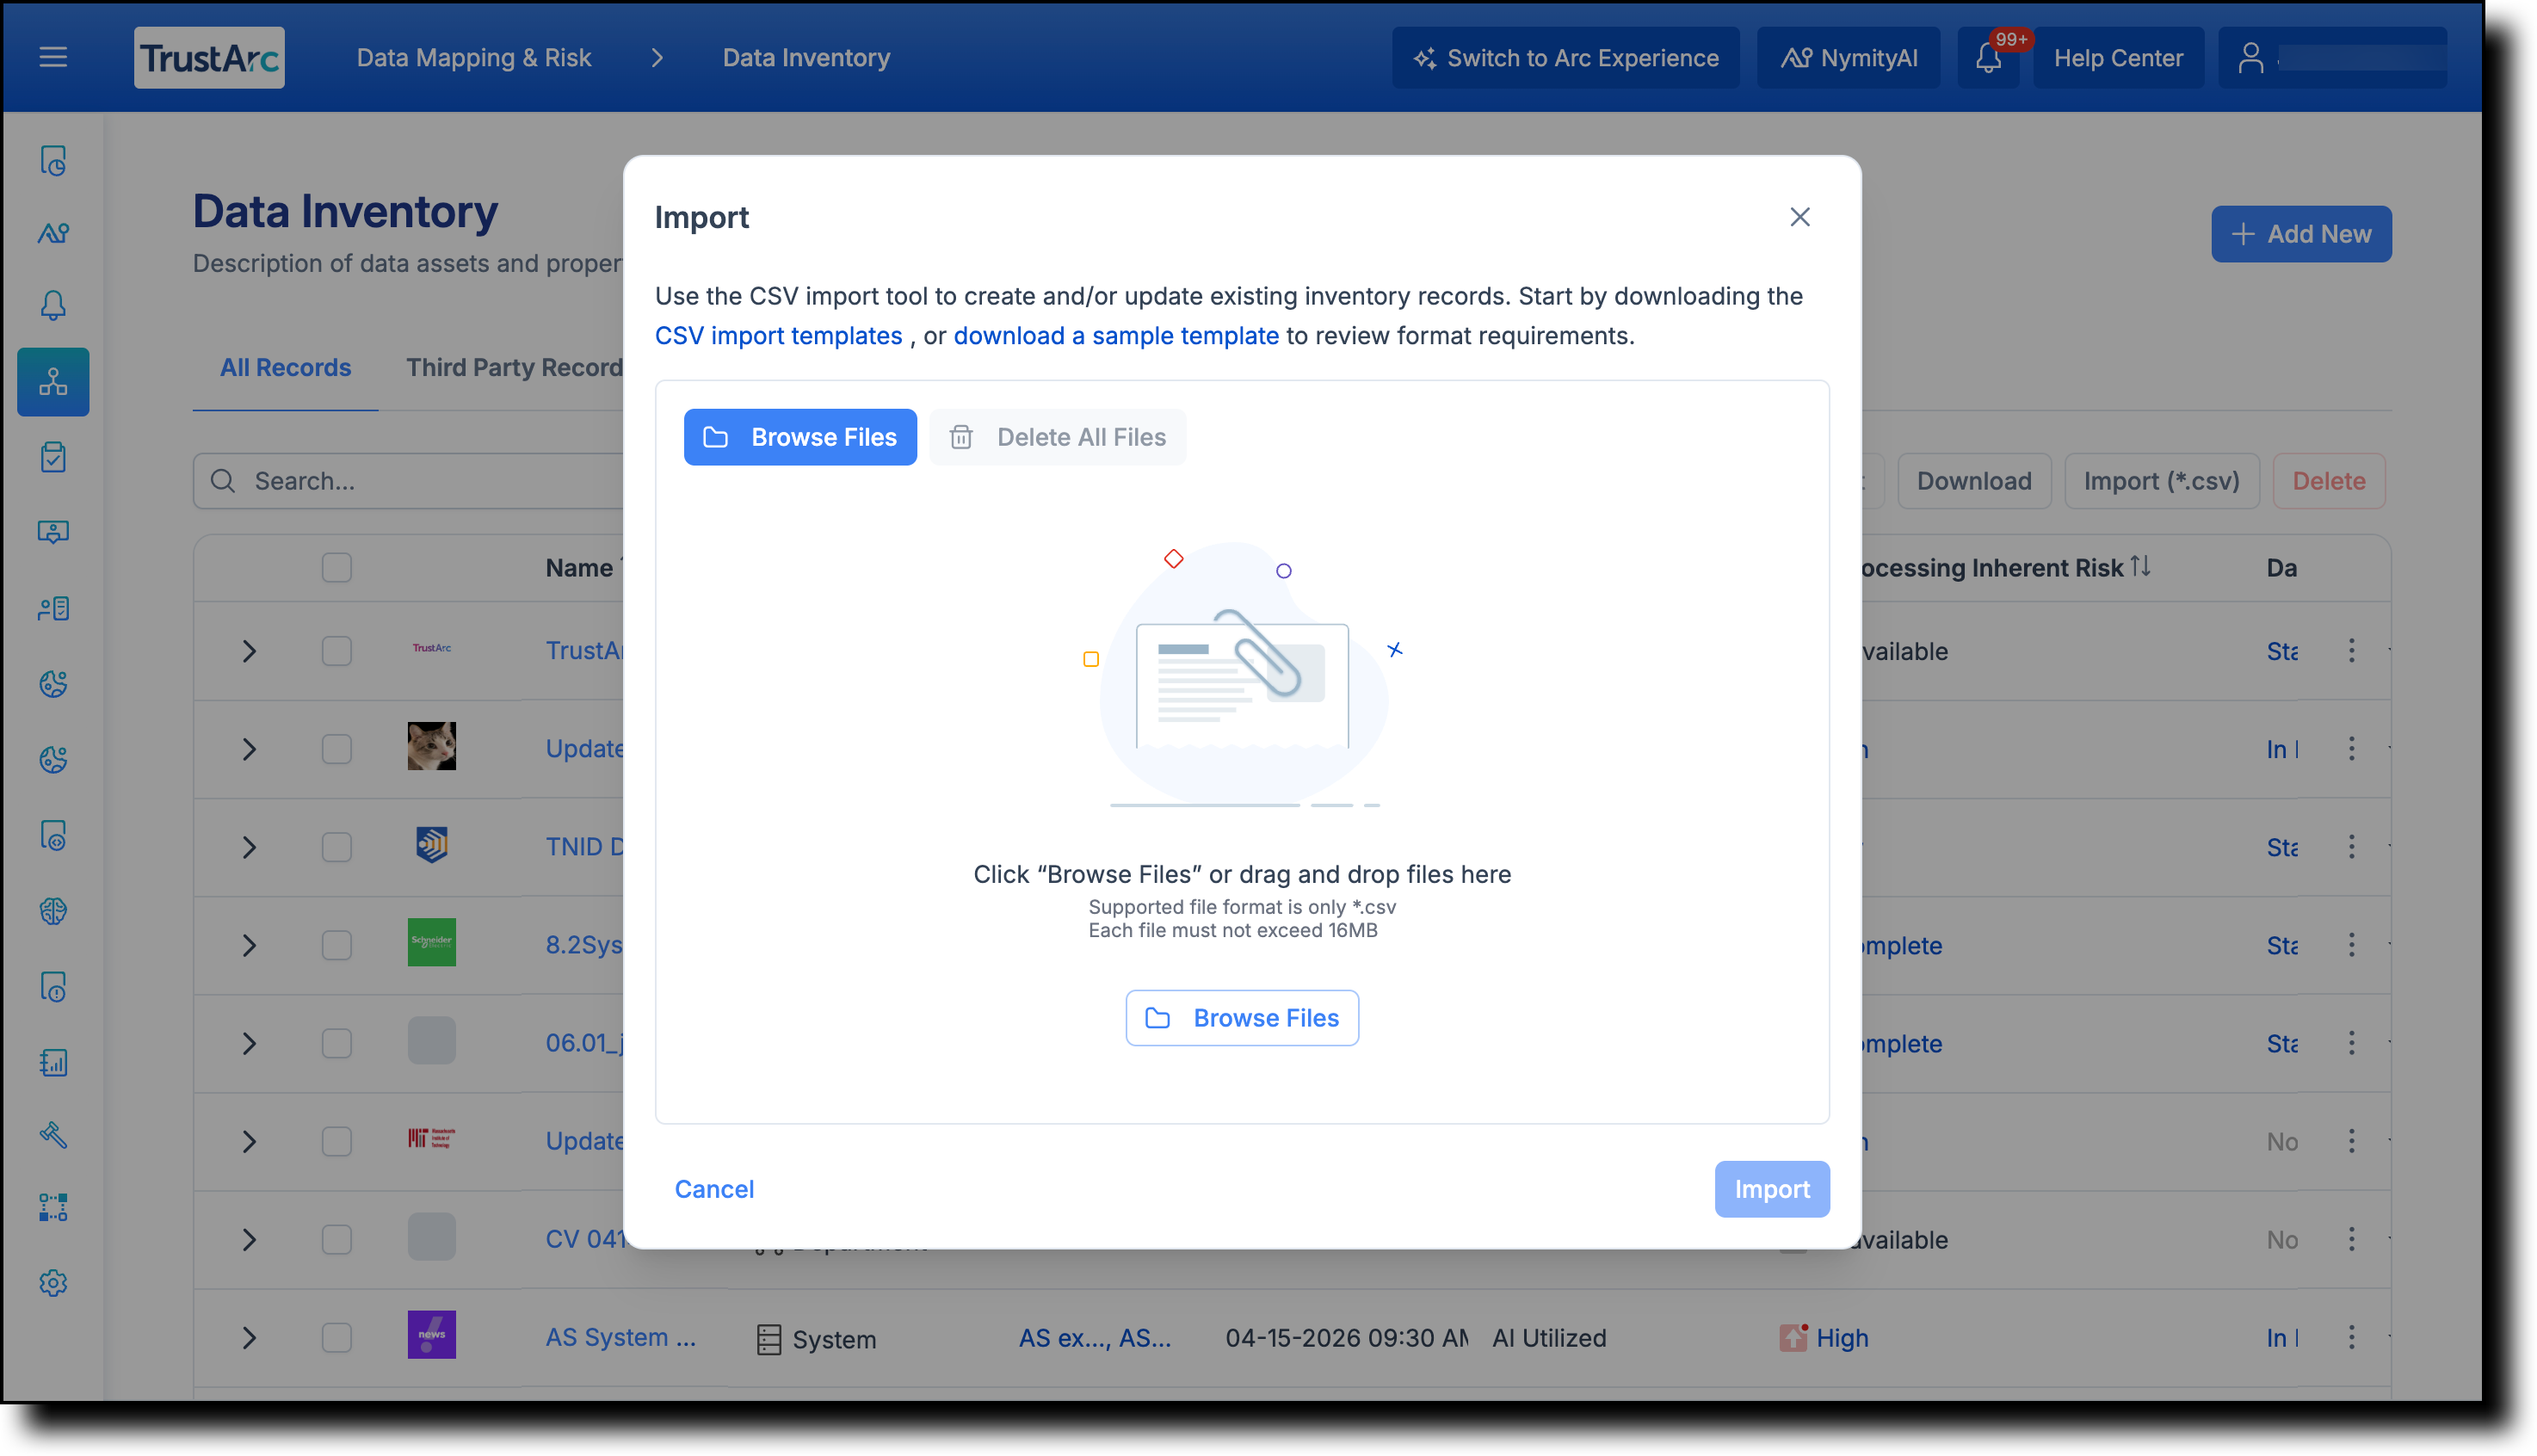
The Import modal appears with options to download the CSV Import templates or a sample template.
3
Complete the CSV Import template and drag and drop it into the Import modal.
4
Click Import.
📋 Note: Once the upload is complete, you will receive a confirmation email. If any records fail to import, the email will include an attachment explaining the reason for each failure.
TrustArc · Using the CSV Import Tool ·
support.trustarc.com