Trust Center brings together all trust and safety information in one location for buyers and customers. This trust center includes: policies, notices, security documentation, data requests, consents, certifications, system status or system information availability, legal agreements all in one place, while also allowing a place to exercise privacy rights.
In this guide, we will walk you through the steps to start the setup of your Trust Center using TrustArc.
Go to trust.trustarc.com
1. TrustArc's Trust Center
Trust Center is a single, unified online hub that brings together all trust and safety information in one location for buyers and customers. The page you are seeing is TrustArc's Trust Center, that was built using our own Trust Center module.
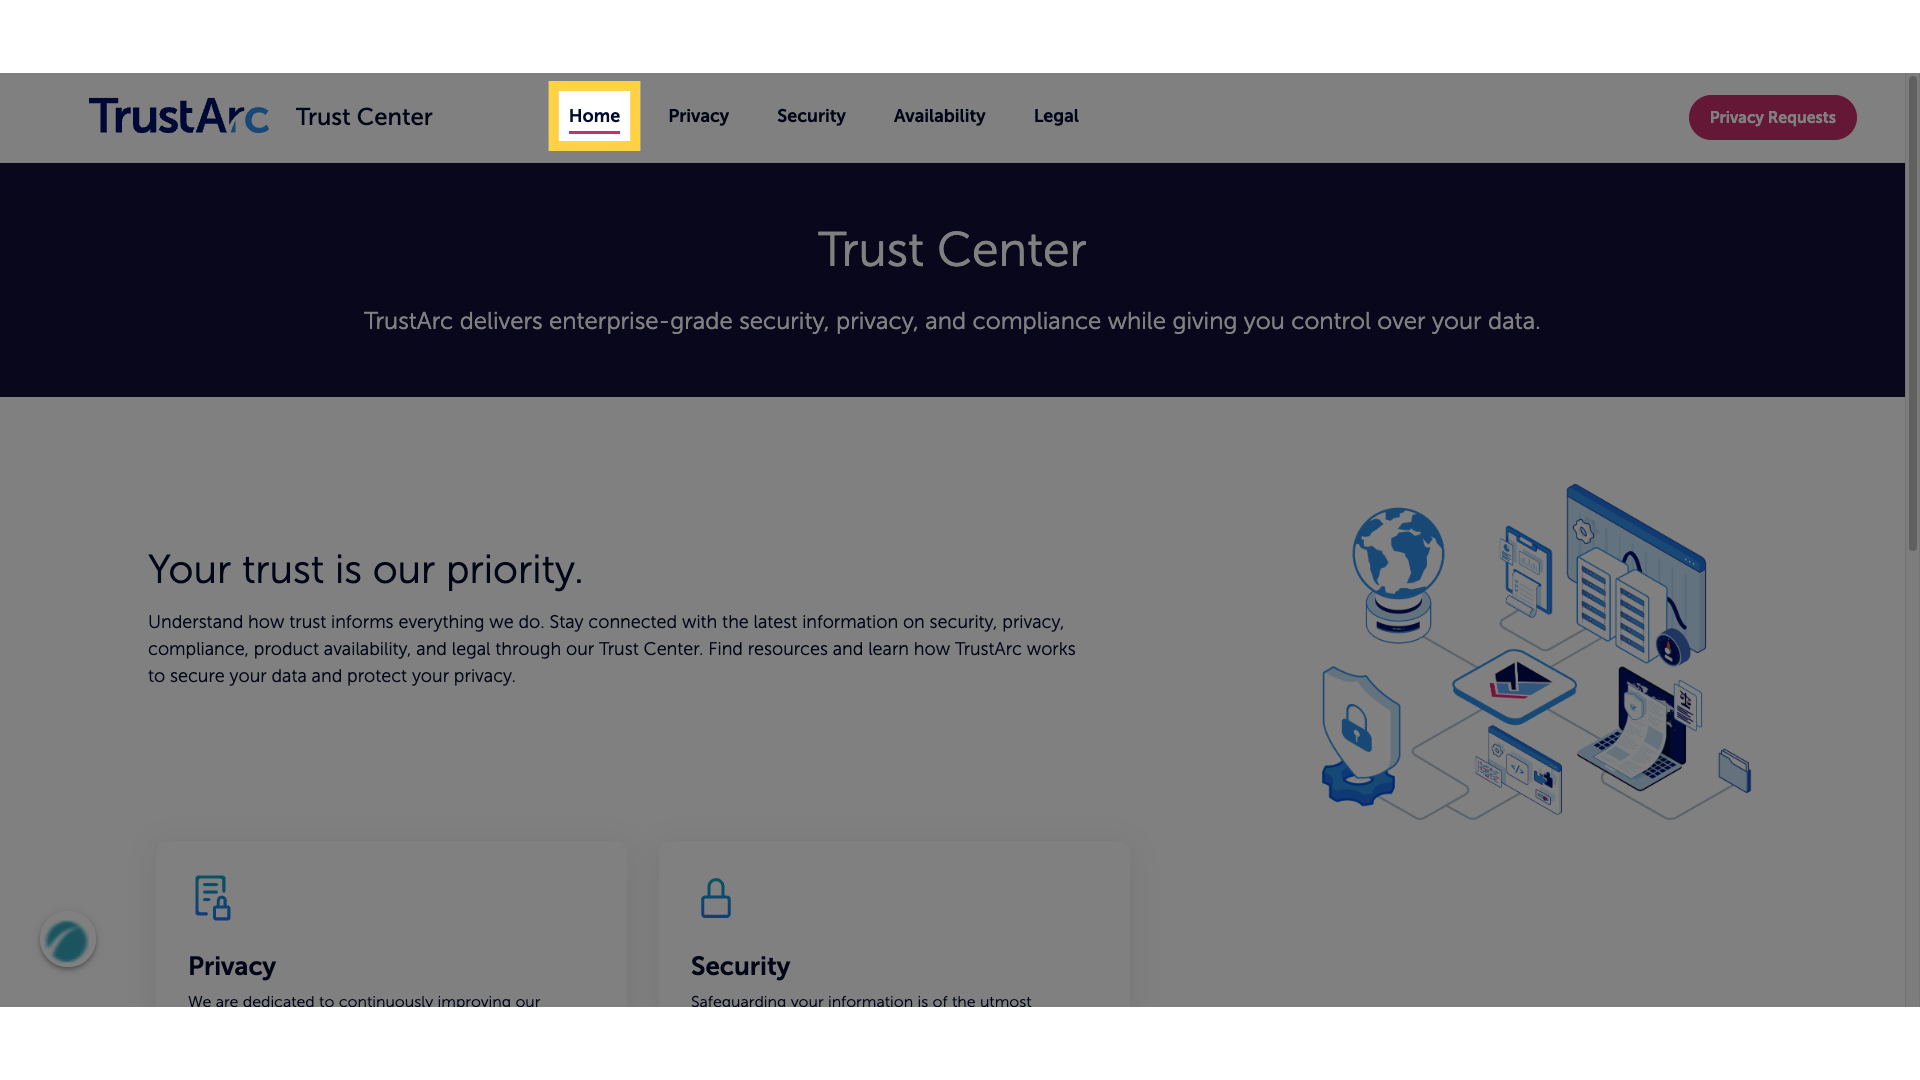
2. Privacy
This is to show you an example of how Trust Center can be deployed with no code involved, but in this video you will learn how to set up your own, with policies,
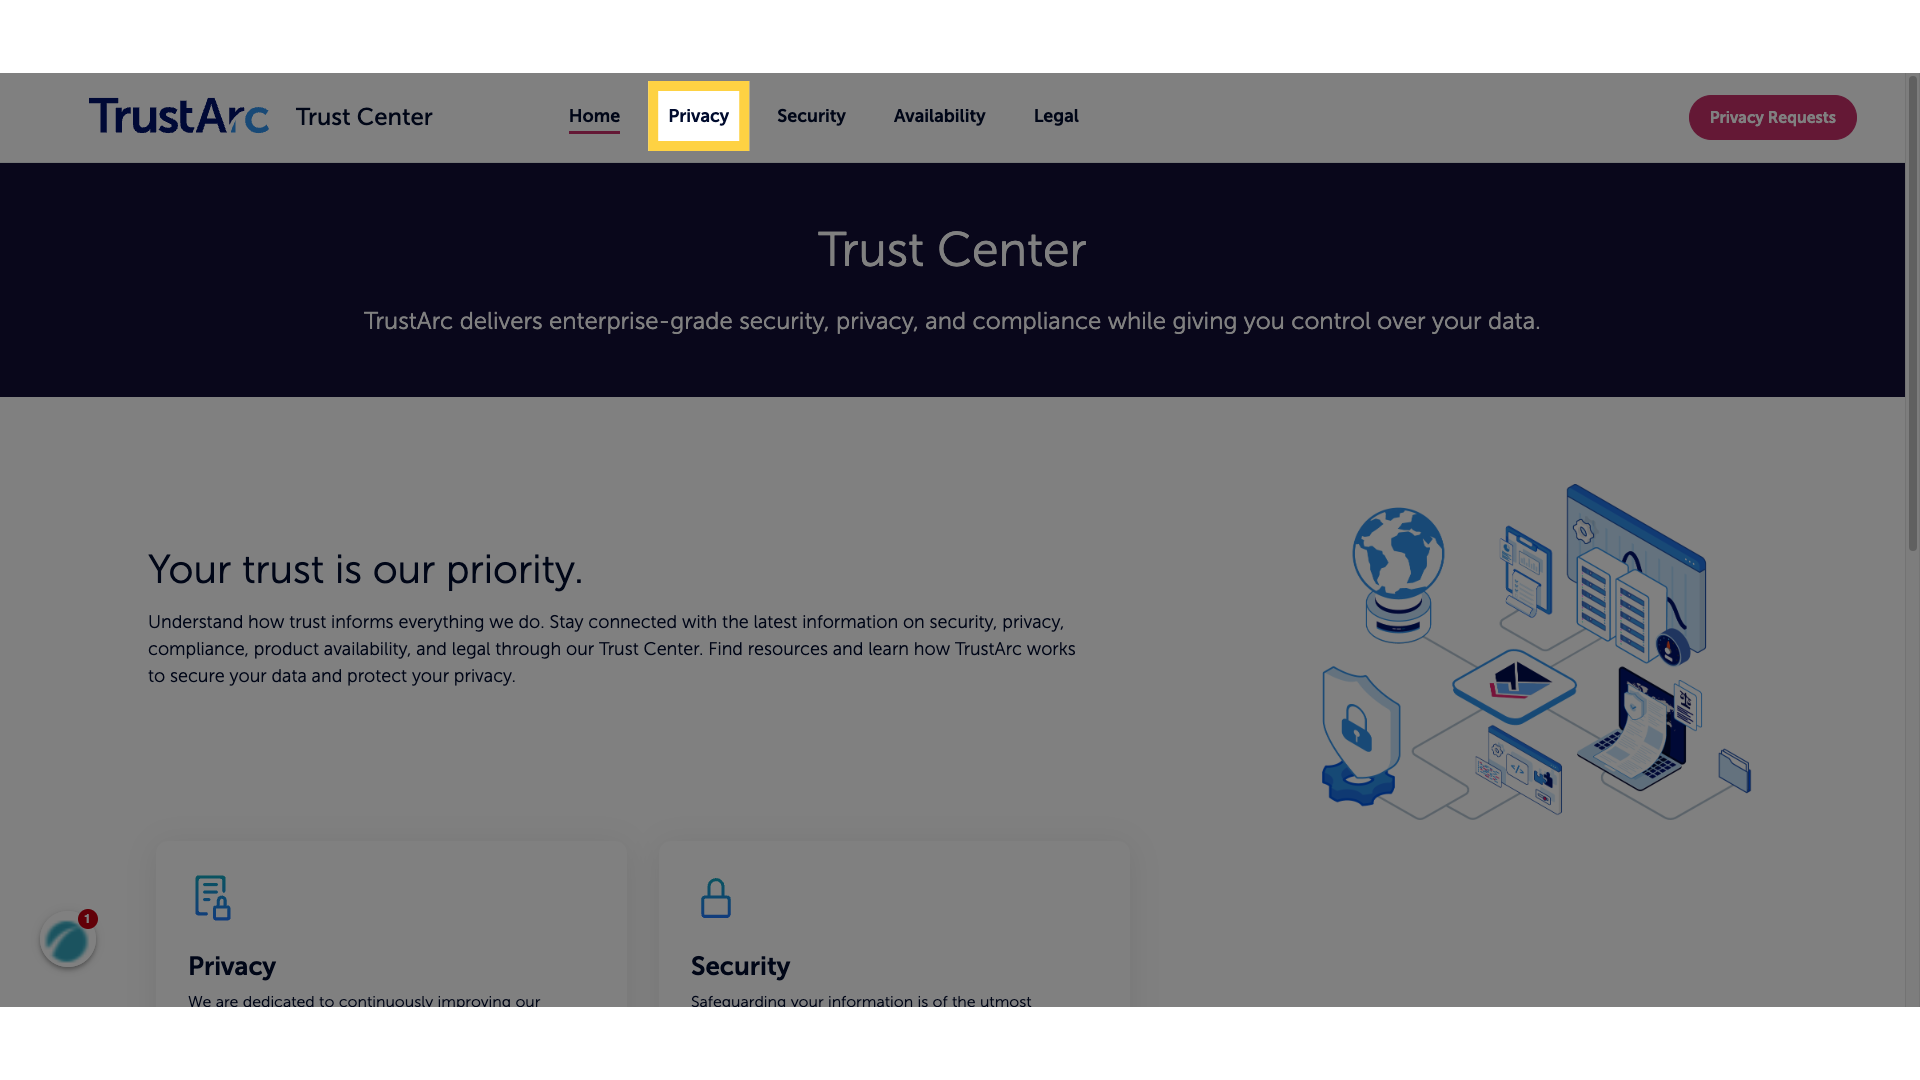
3. Privacy Documents
notices, including private documents,
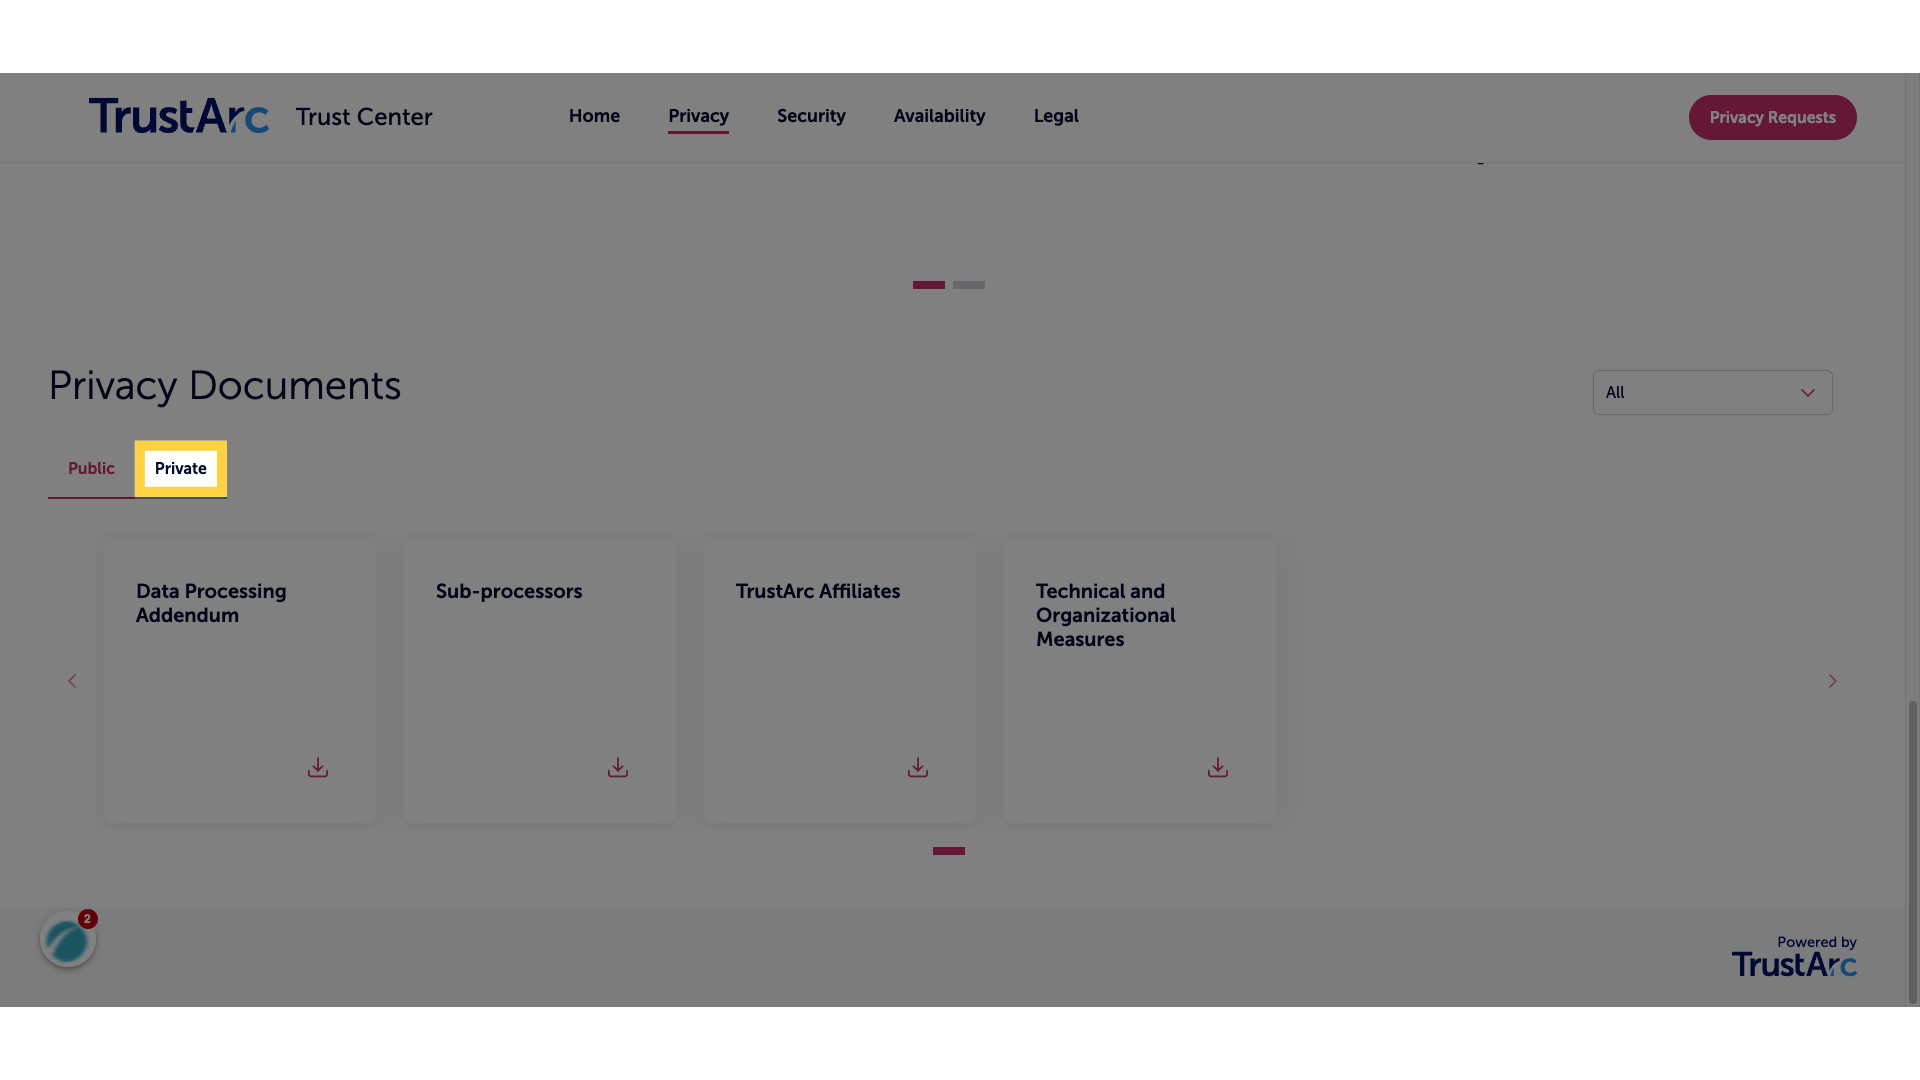
4. Security
security documentation, data requests, consents, certifications,
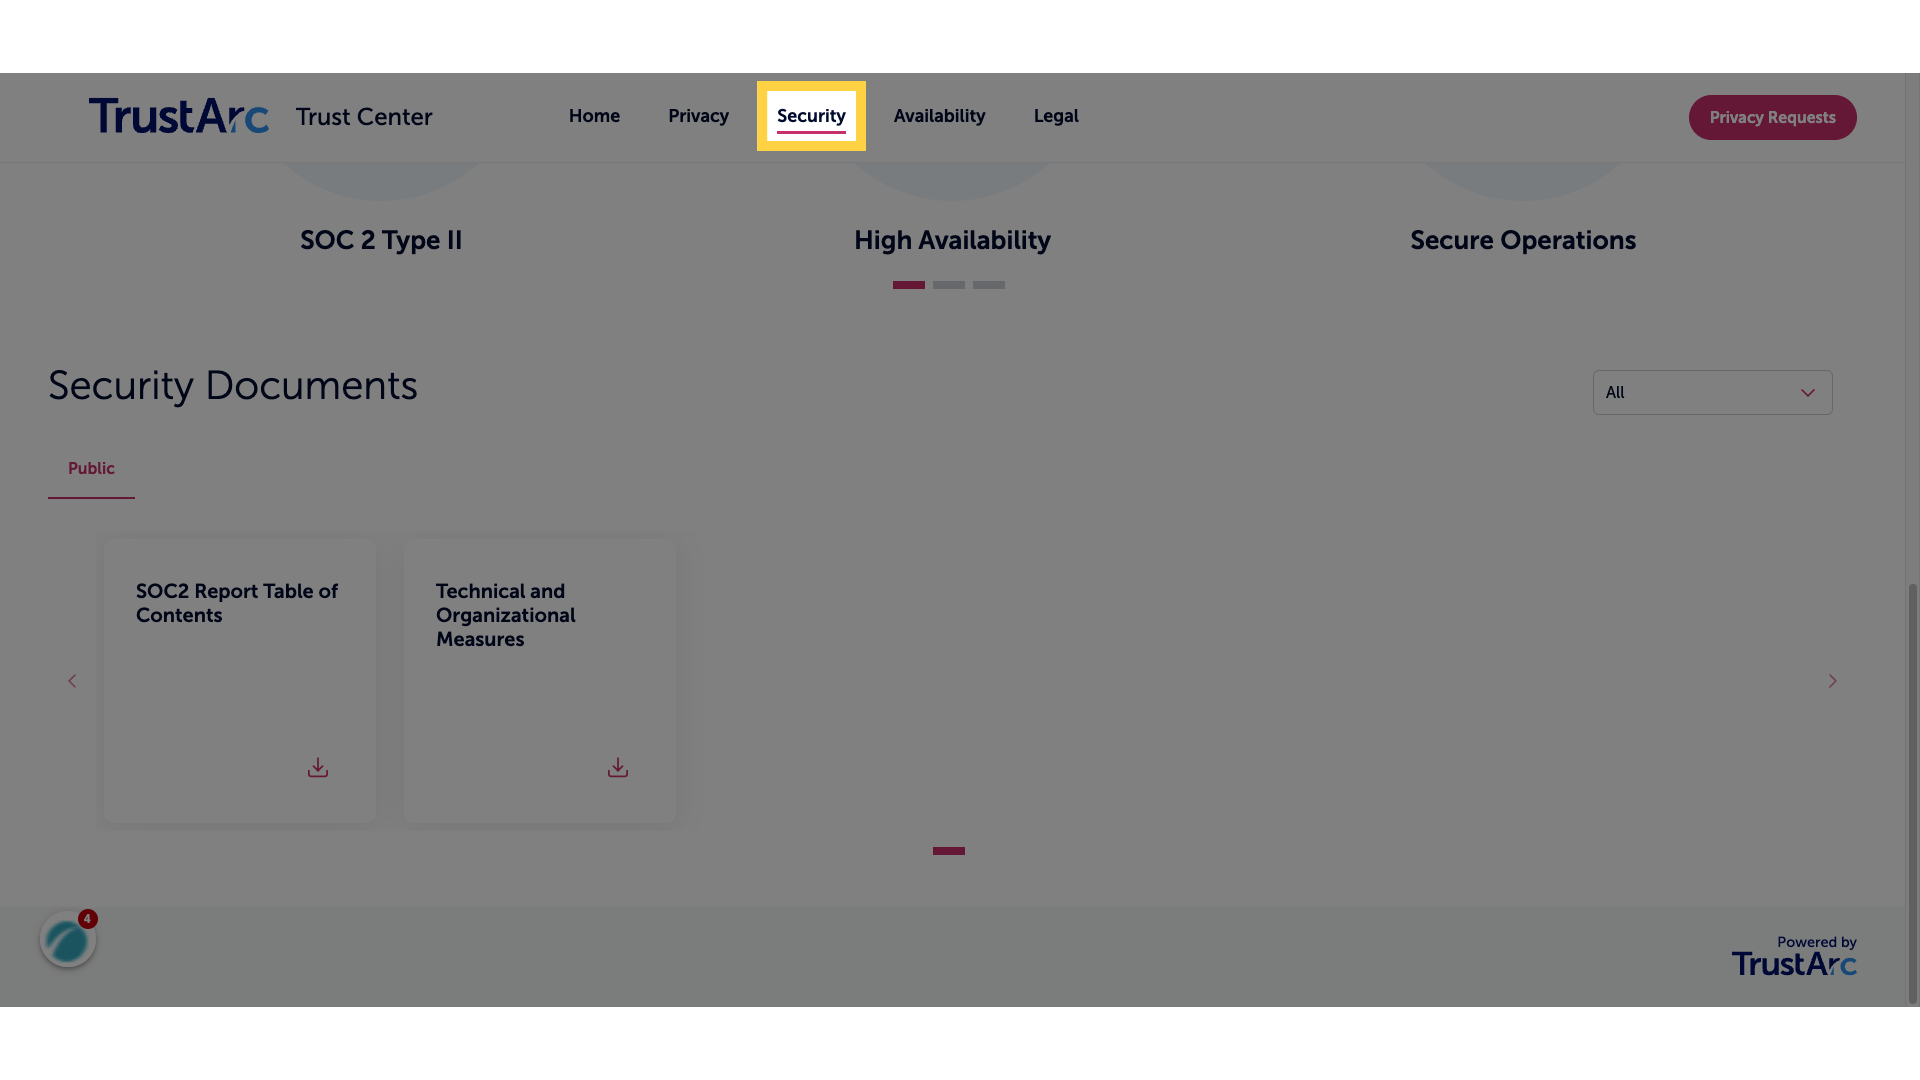
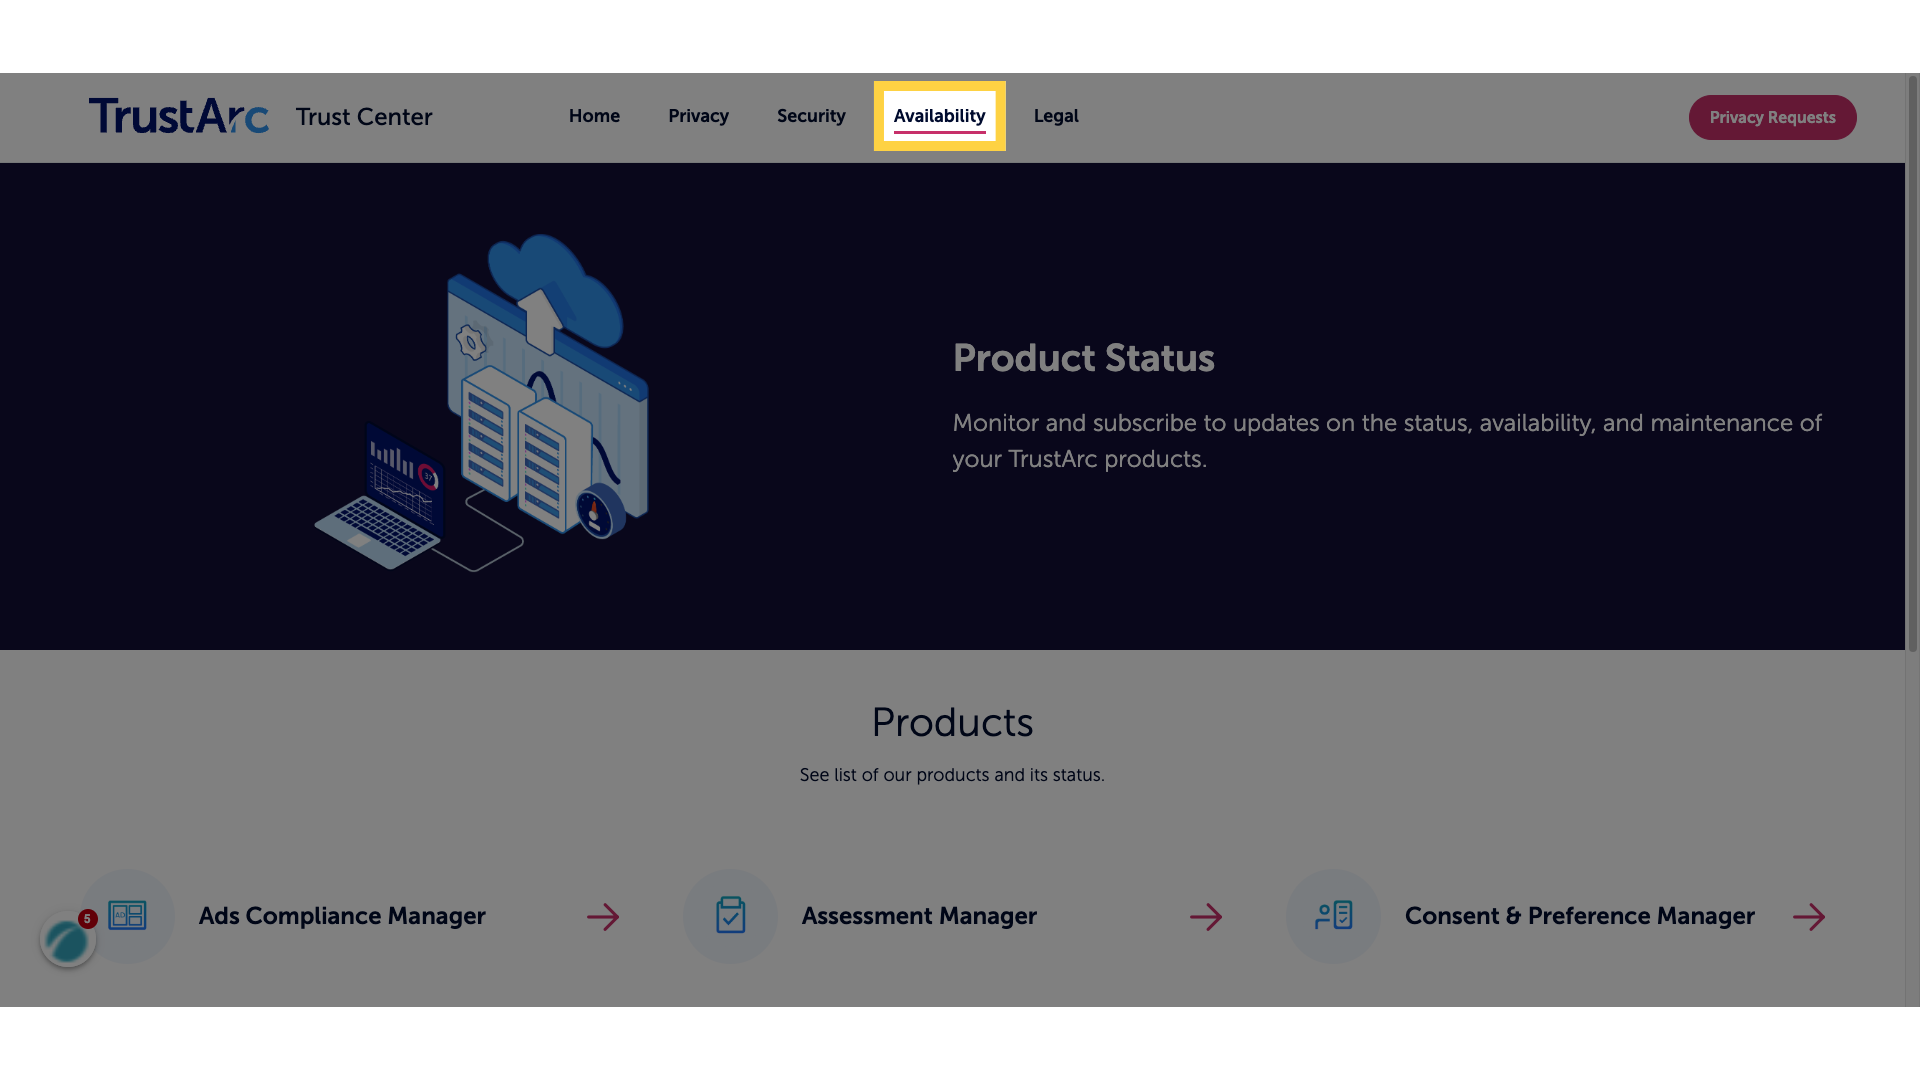
5. Availability
system status or system information availability,
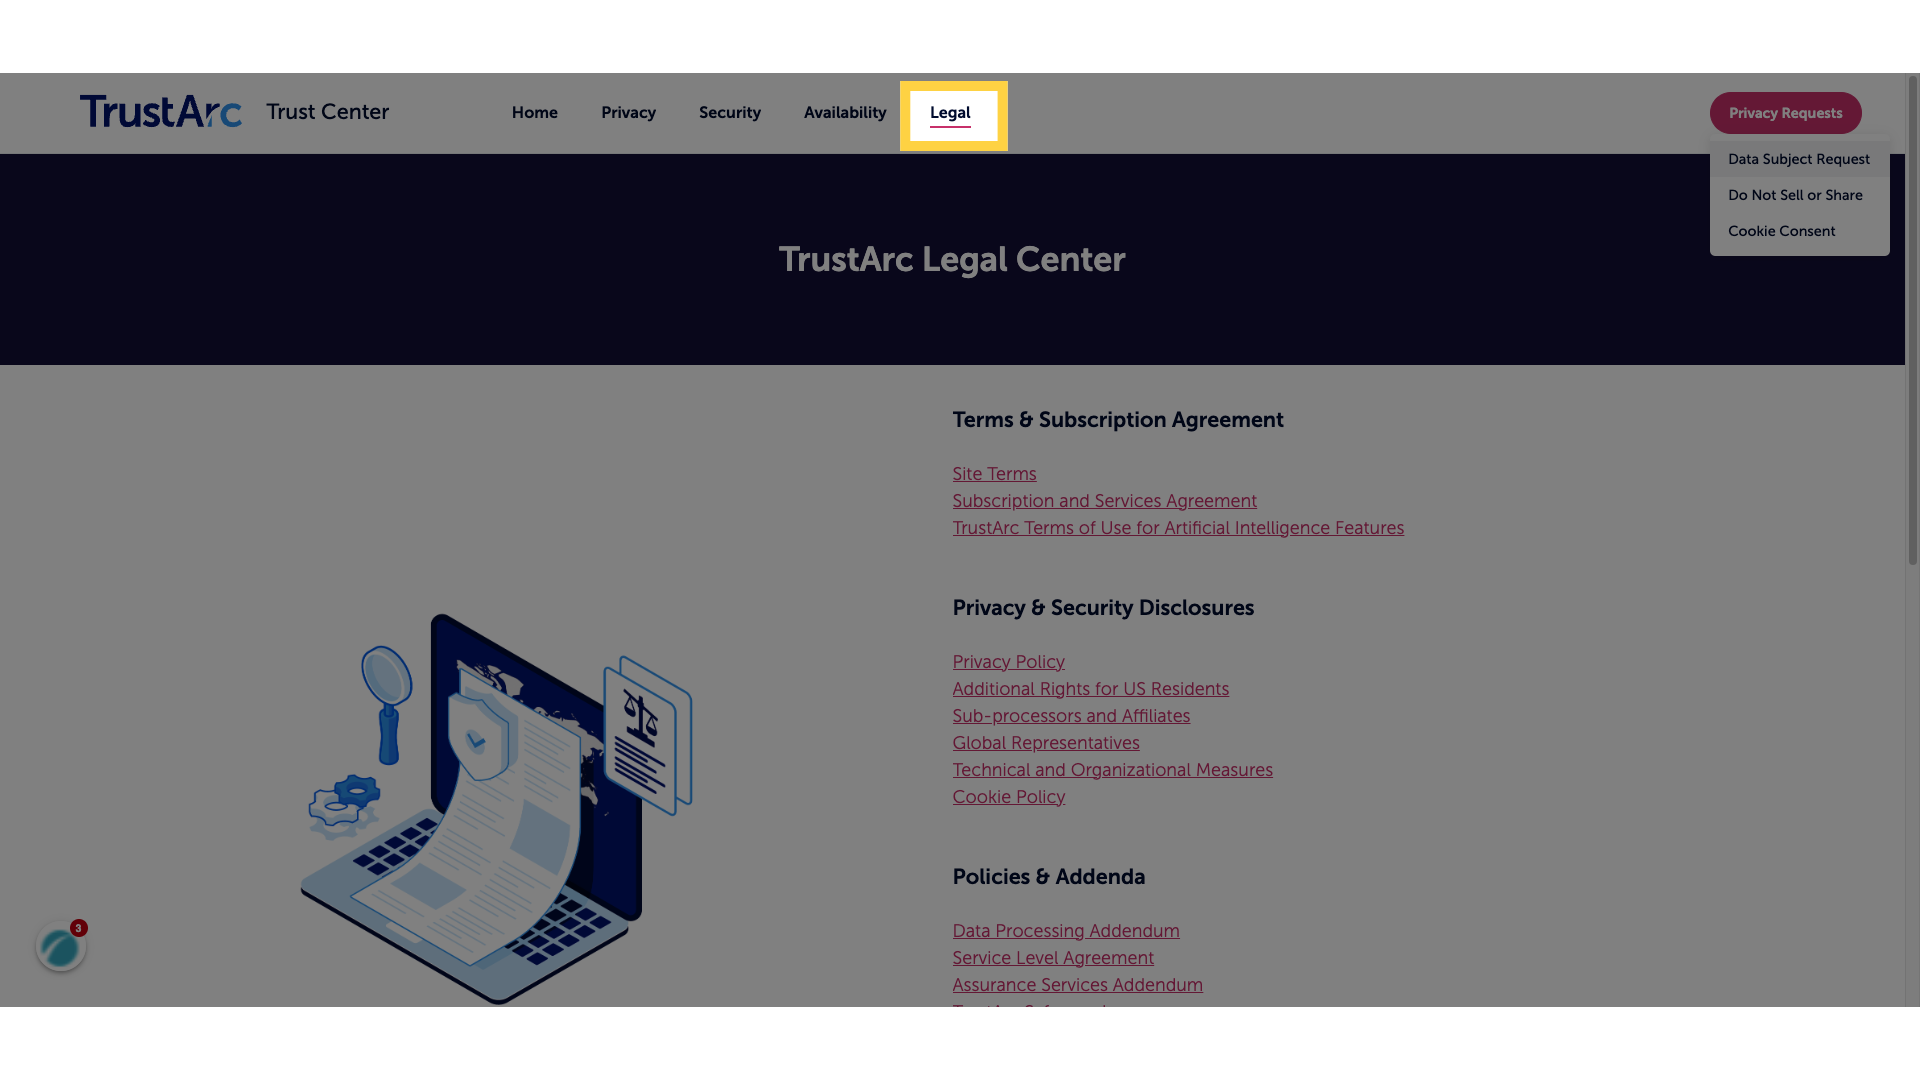
6. Legal
legal agreements, all in one place,
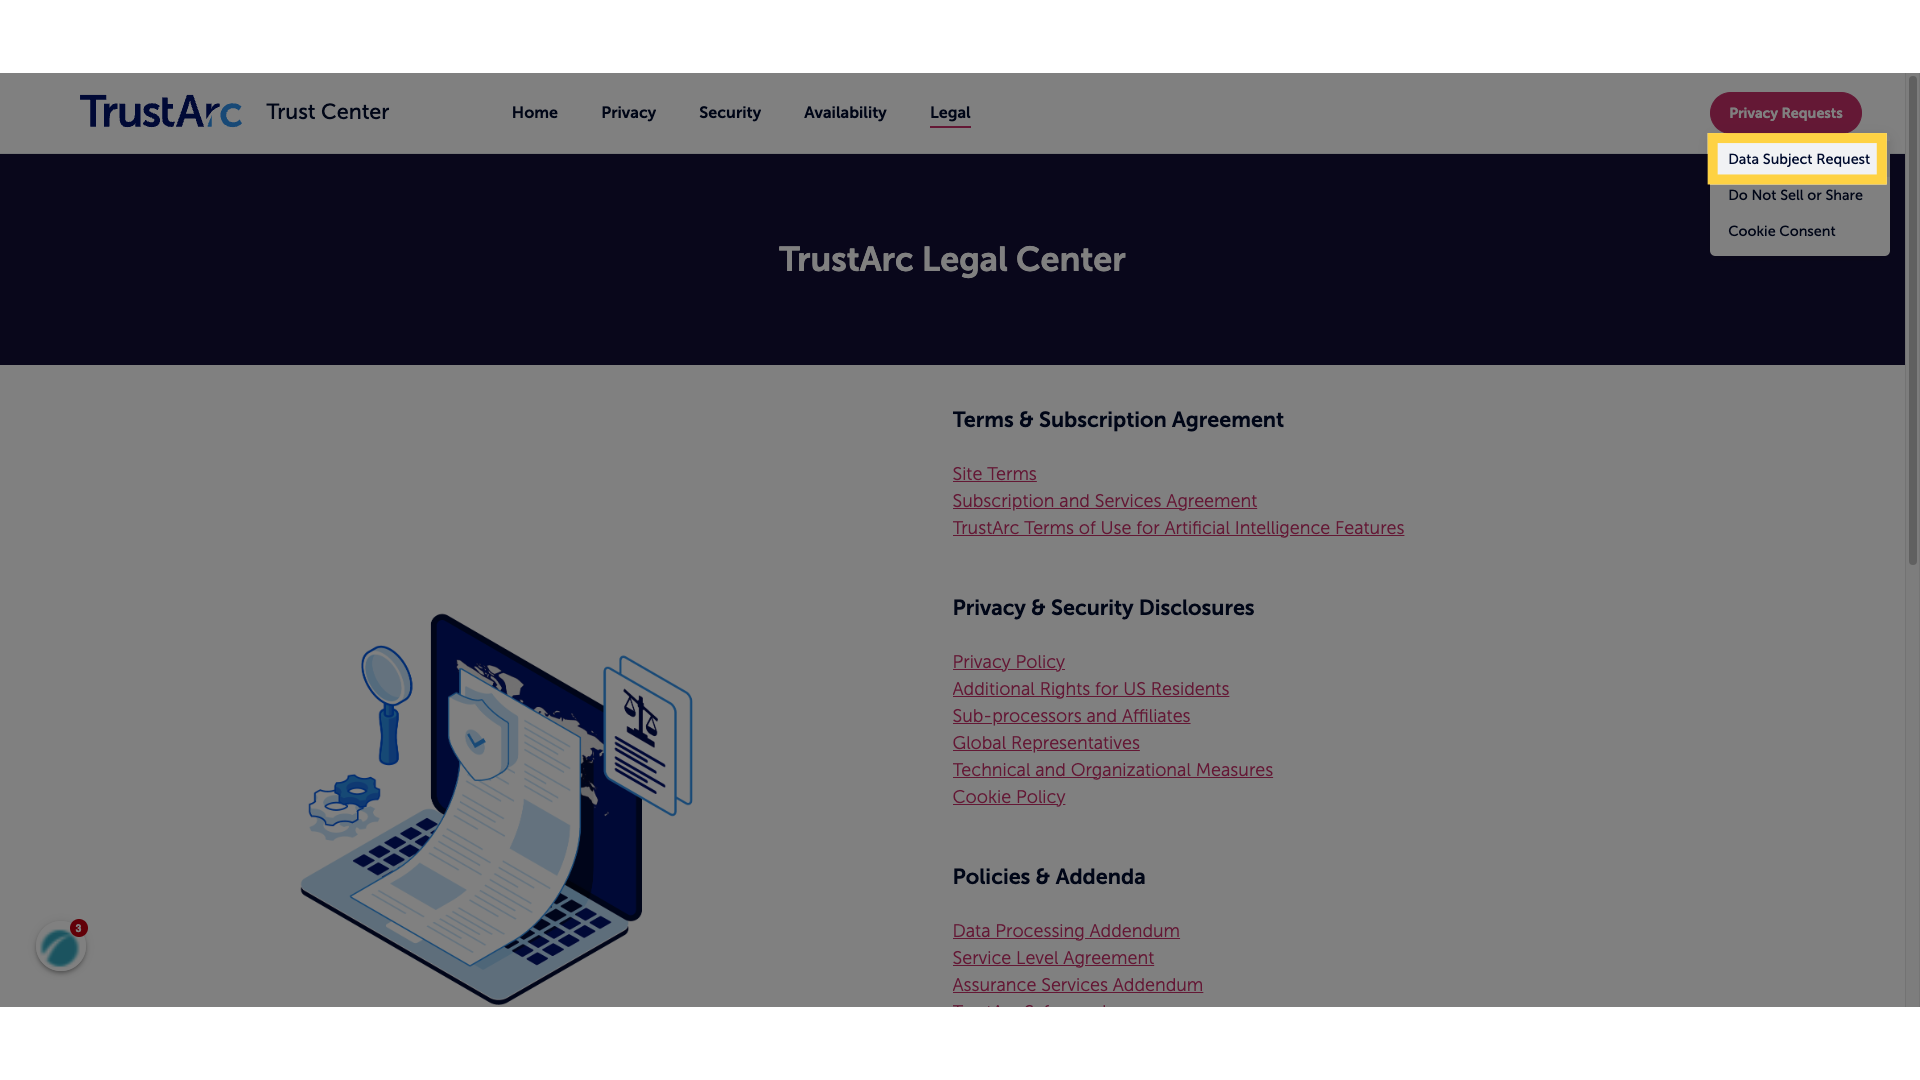
7. Data Subject Requests
while also allowing a place to exercise privacy rights.
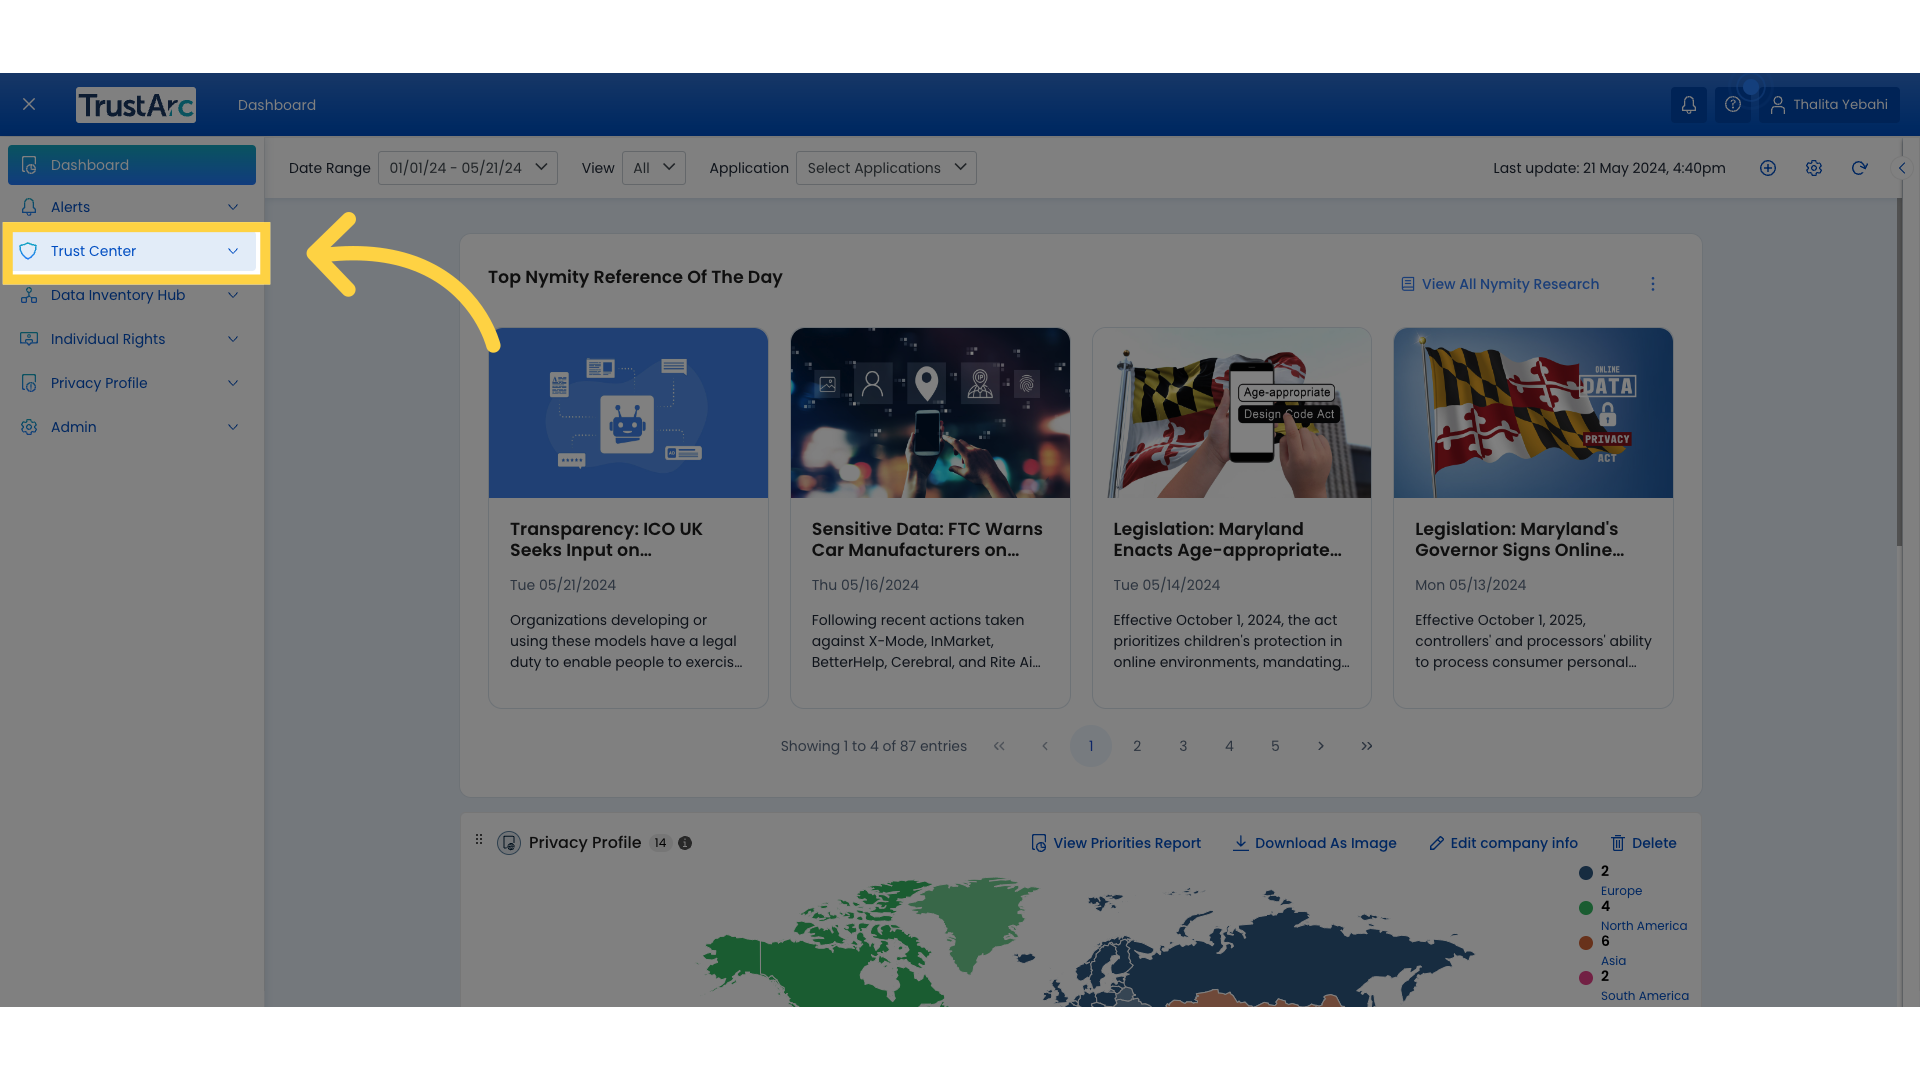
8. Open Trust Center module
We will now navigate to the Trust Center module
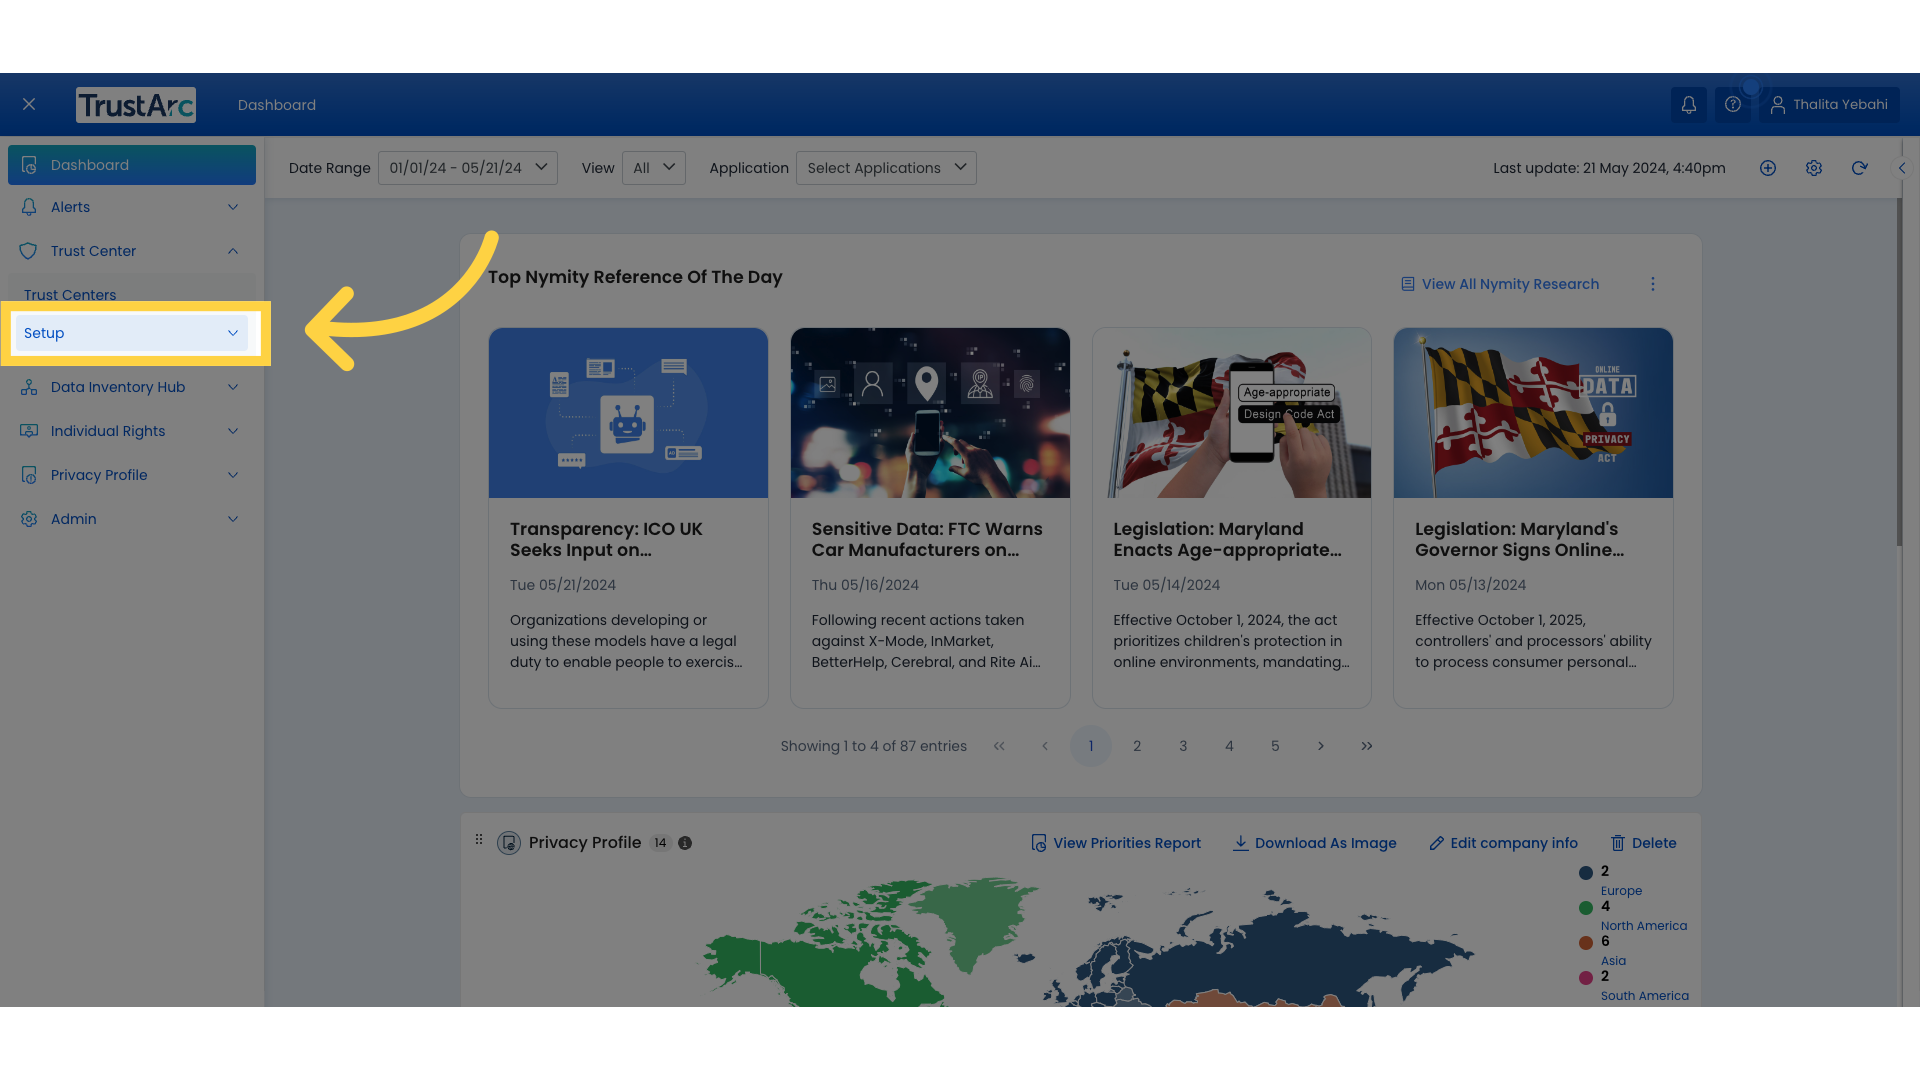
9. Click "Setup"
and open the setup, where all the elements that can be added to your Trust Center are configured.
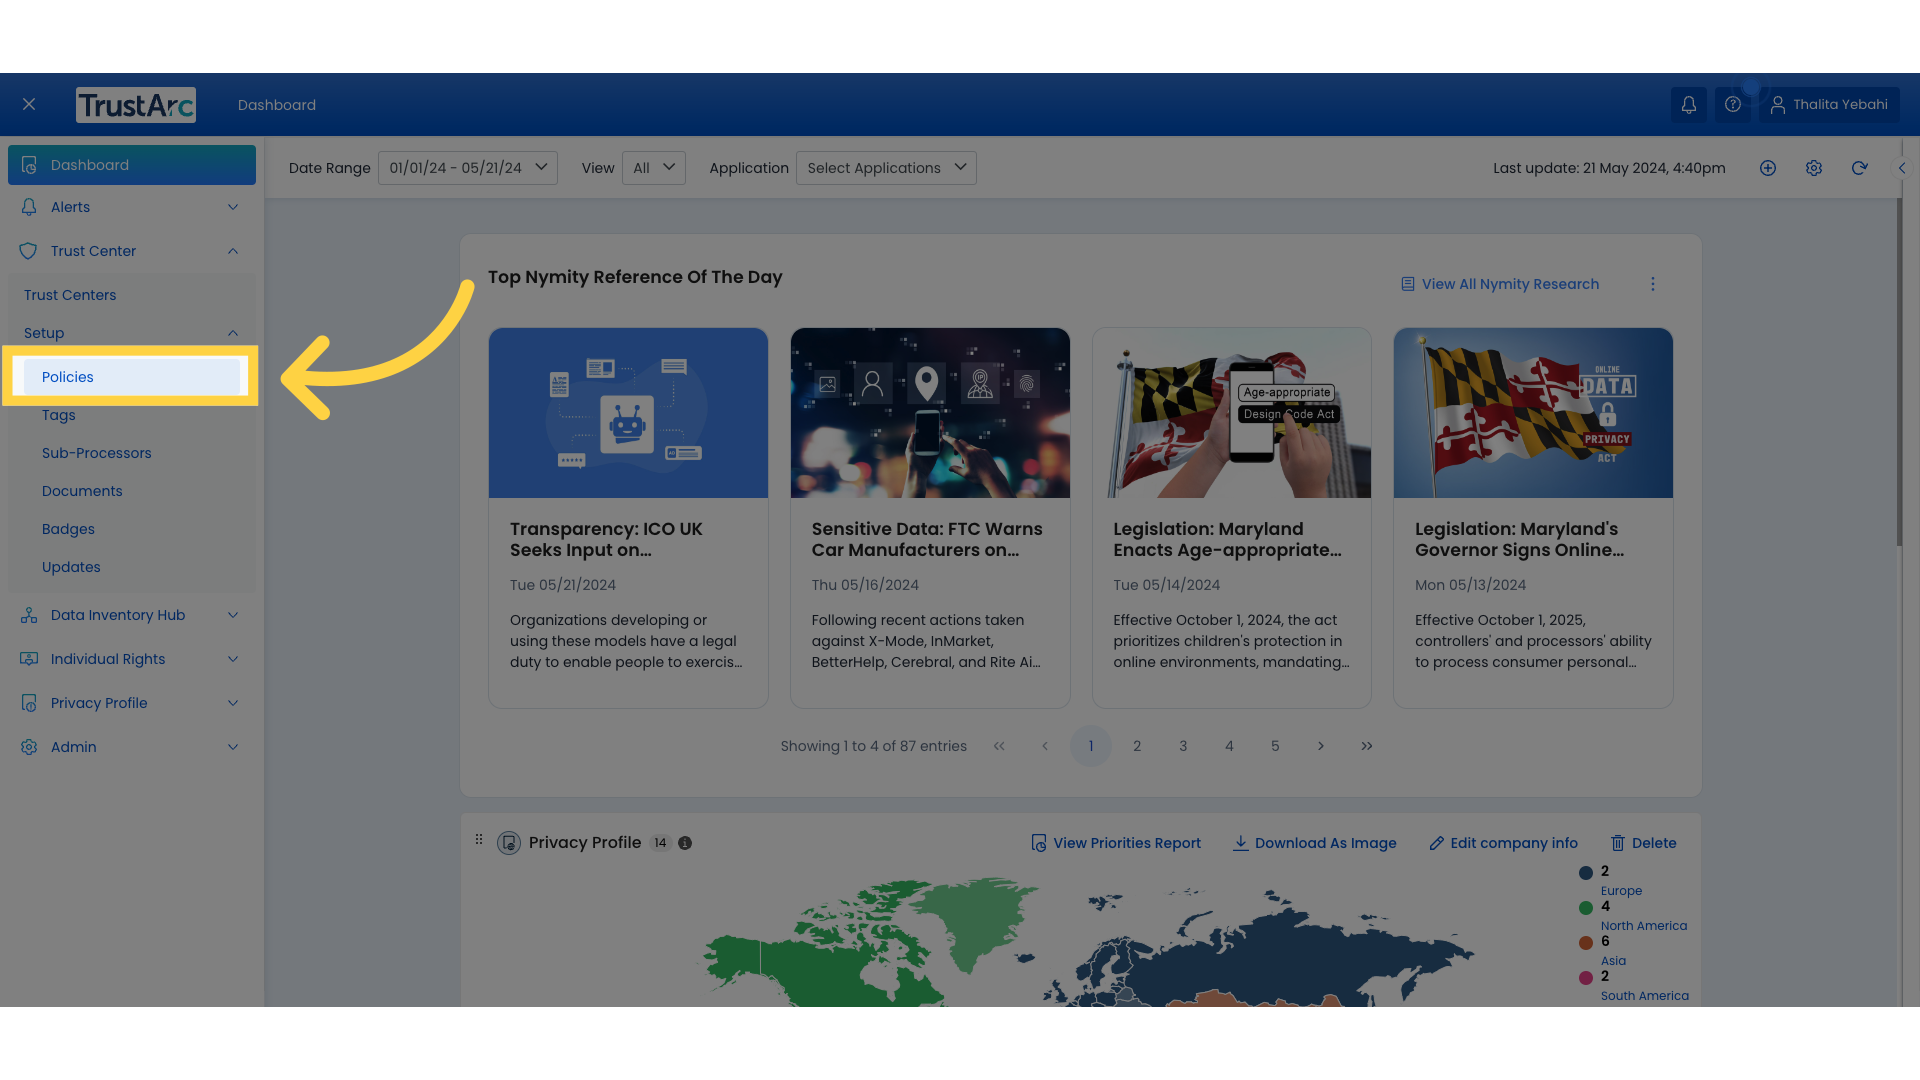
10. Click "Policies"
We will start with policies, to create our Privacy Policy, as an example.
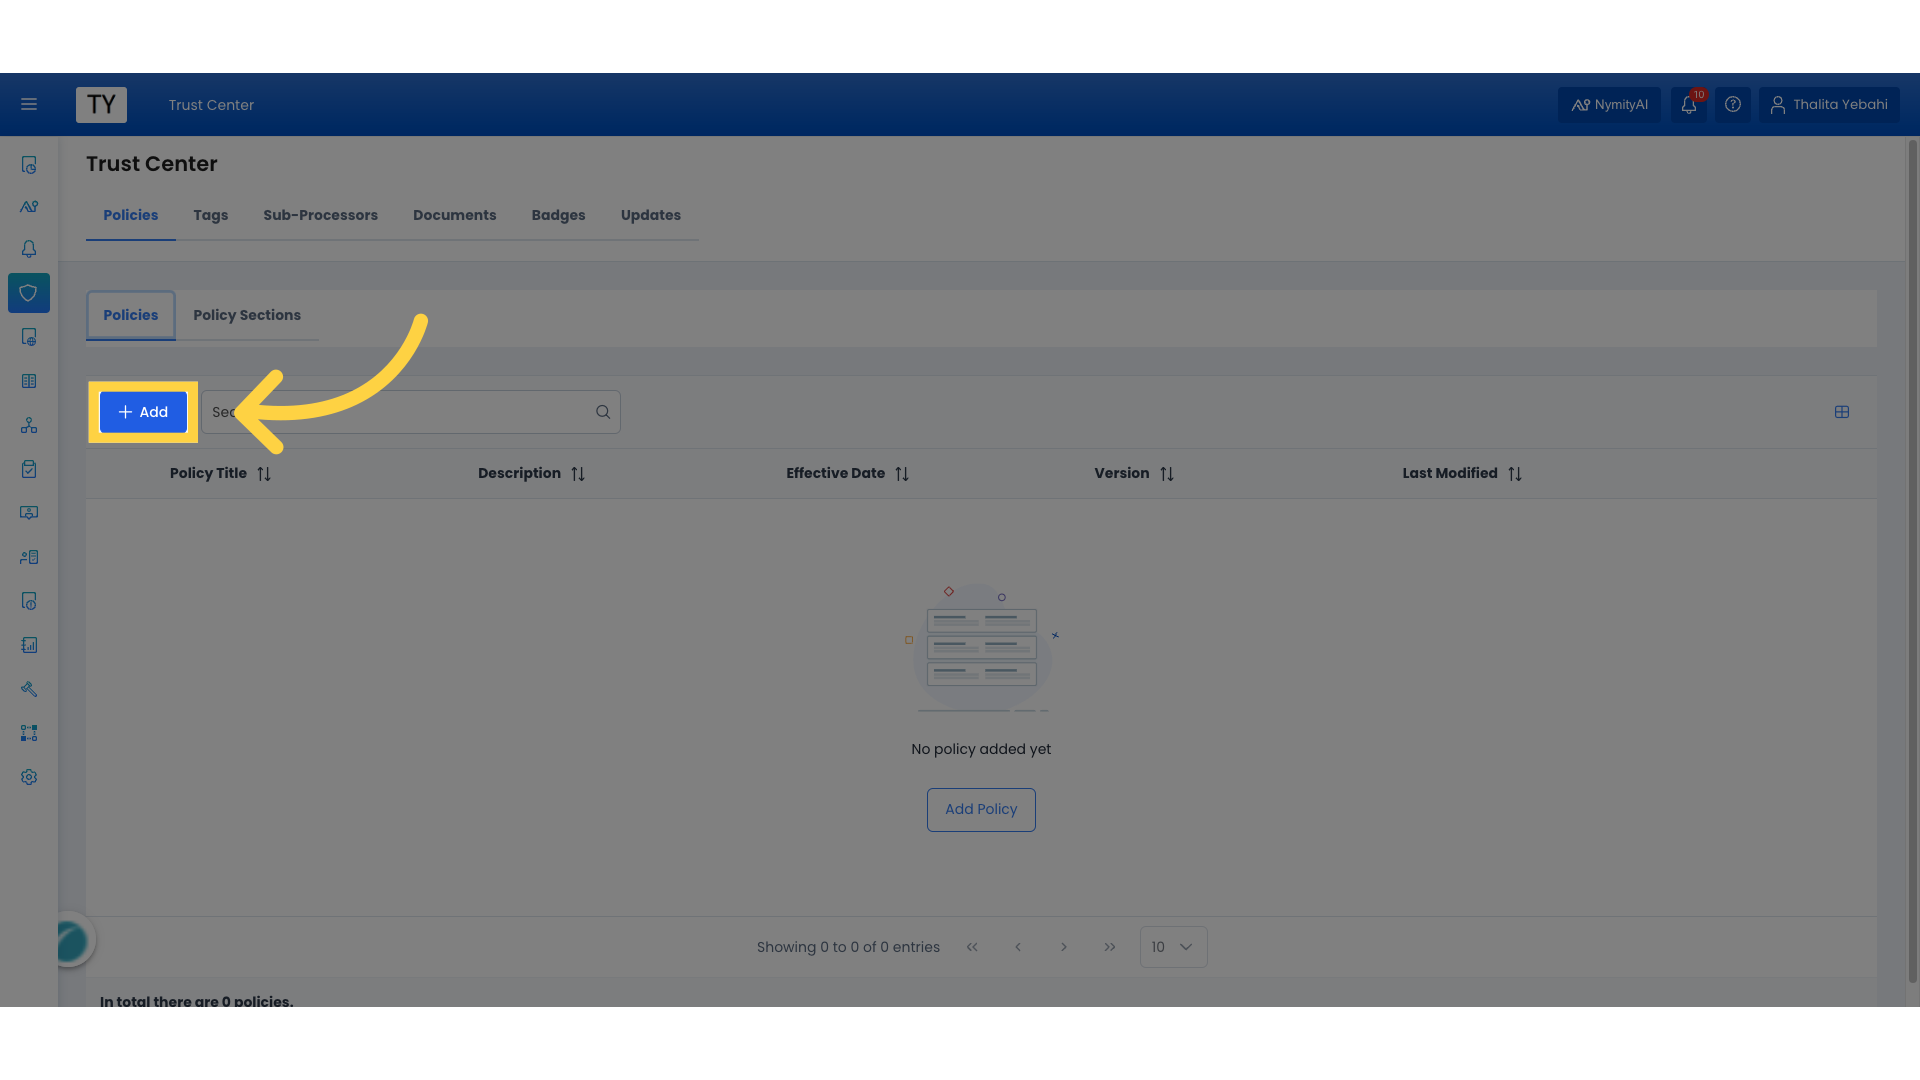
11. Click "Add"
Since we're creating our Privacy Policy from scratch, we will create our sections from within the policy, in the same page, but we could also click on "Policy Sections", create all the sections first and then add those to our Policies.
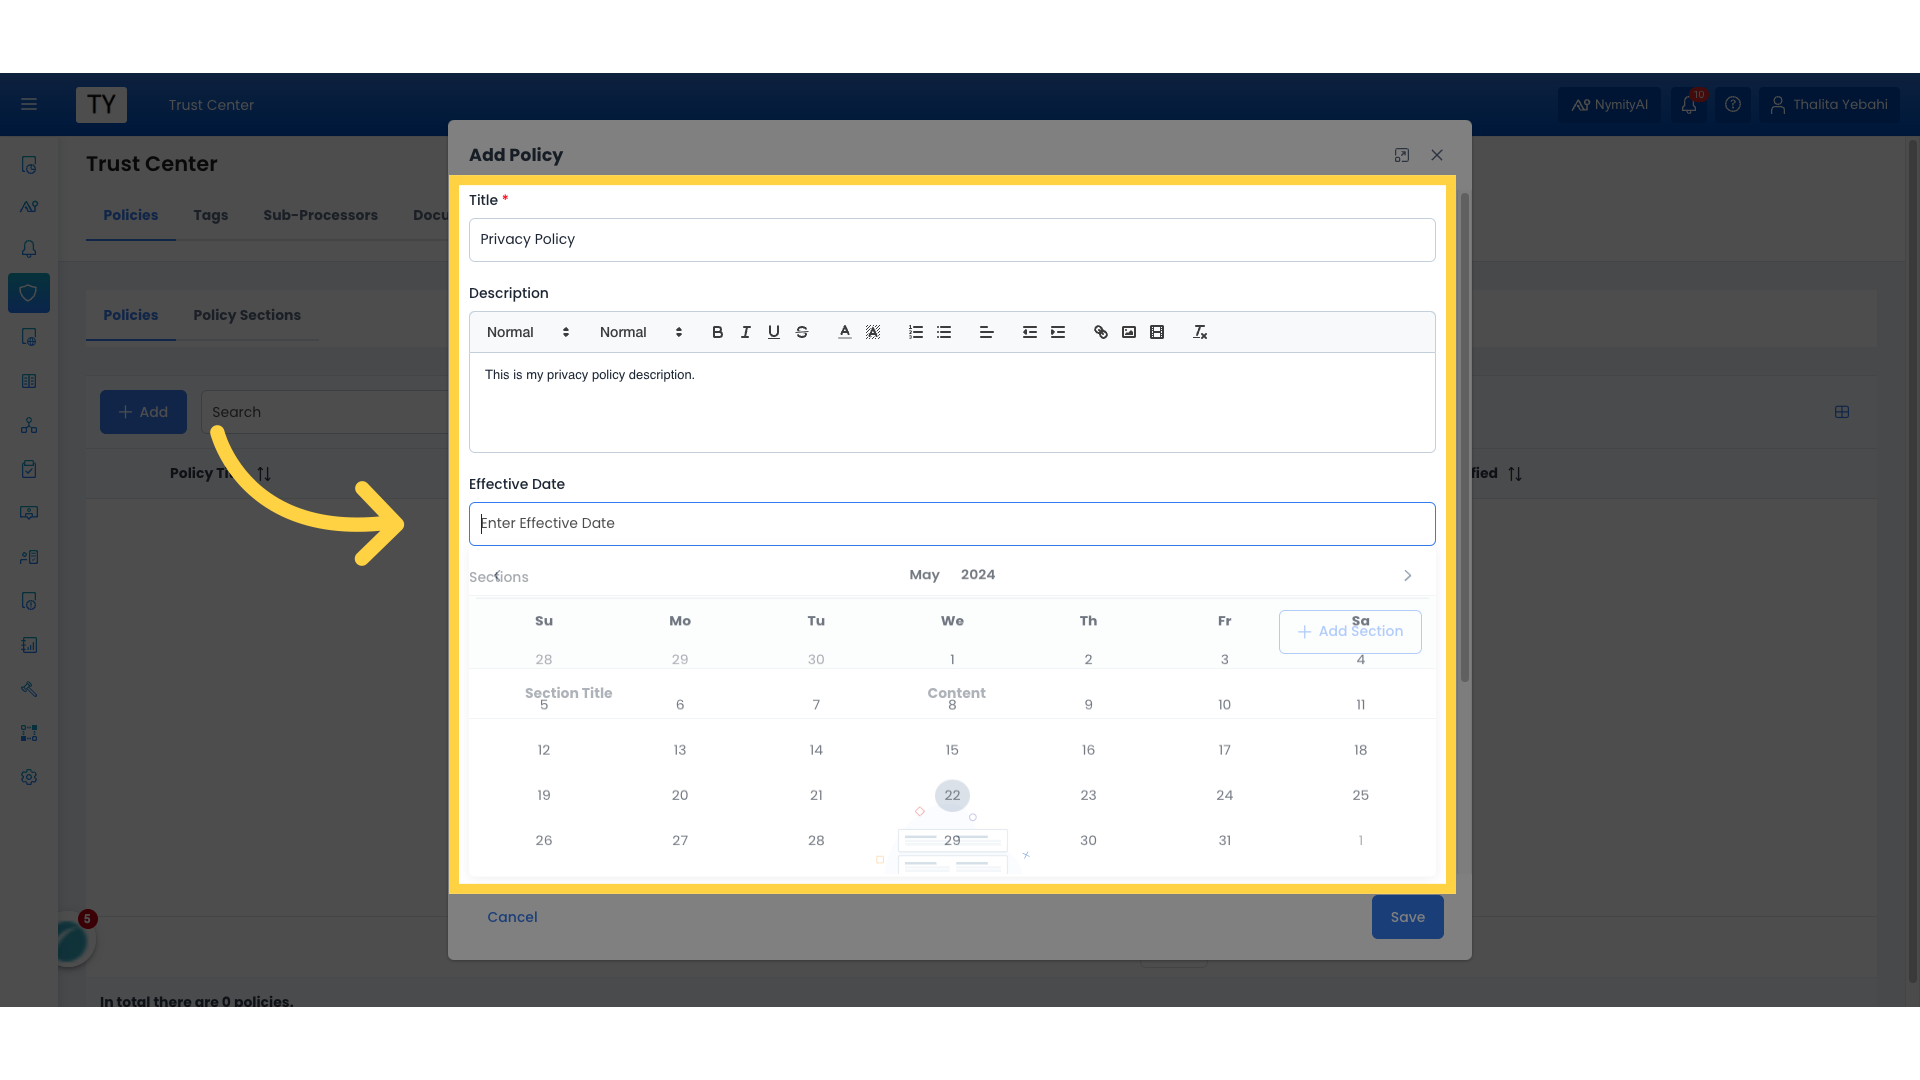
12. Enter the details
We will start entering the name of the policy, that is a required field, followed by its description and effective date, but those are not required.
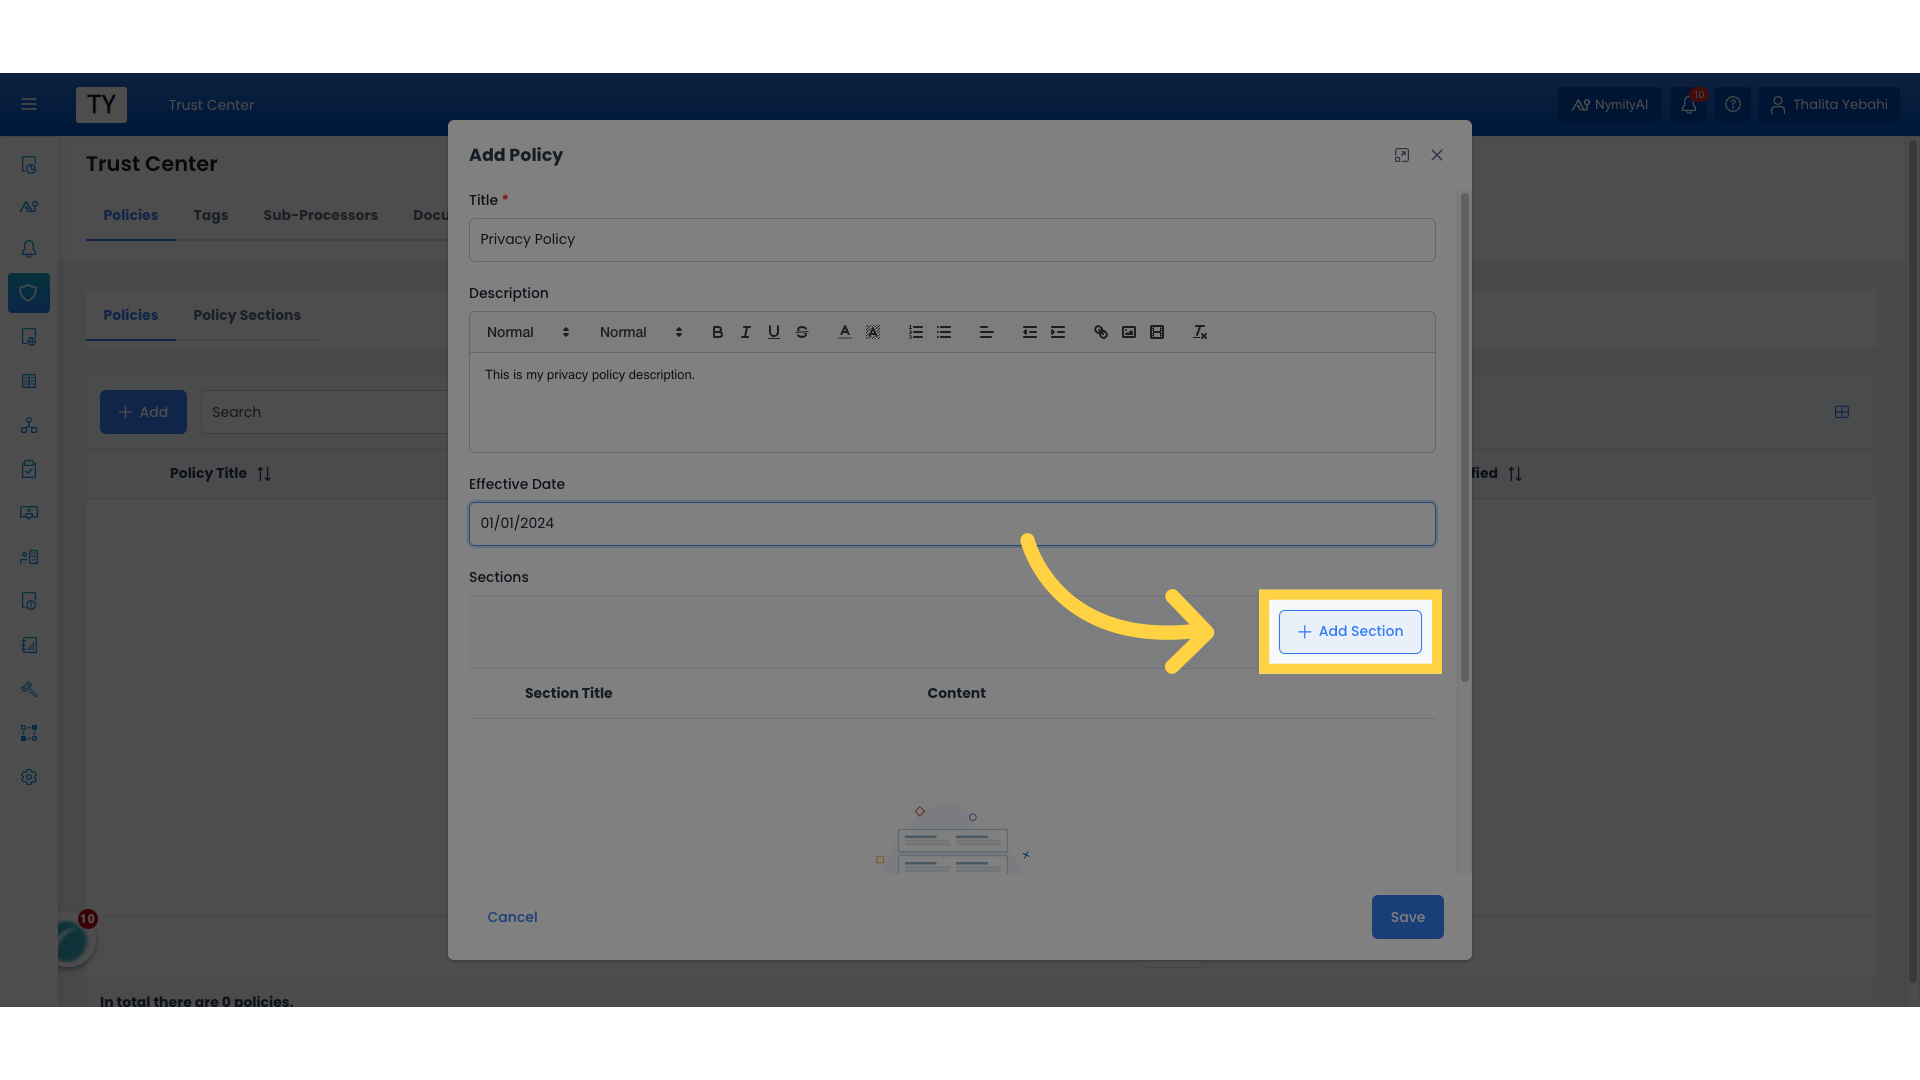
13. Click "Add Section"
Then, we will click on "Add Section" to start adding all our Privacy Policy sections.
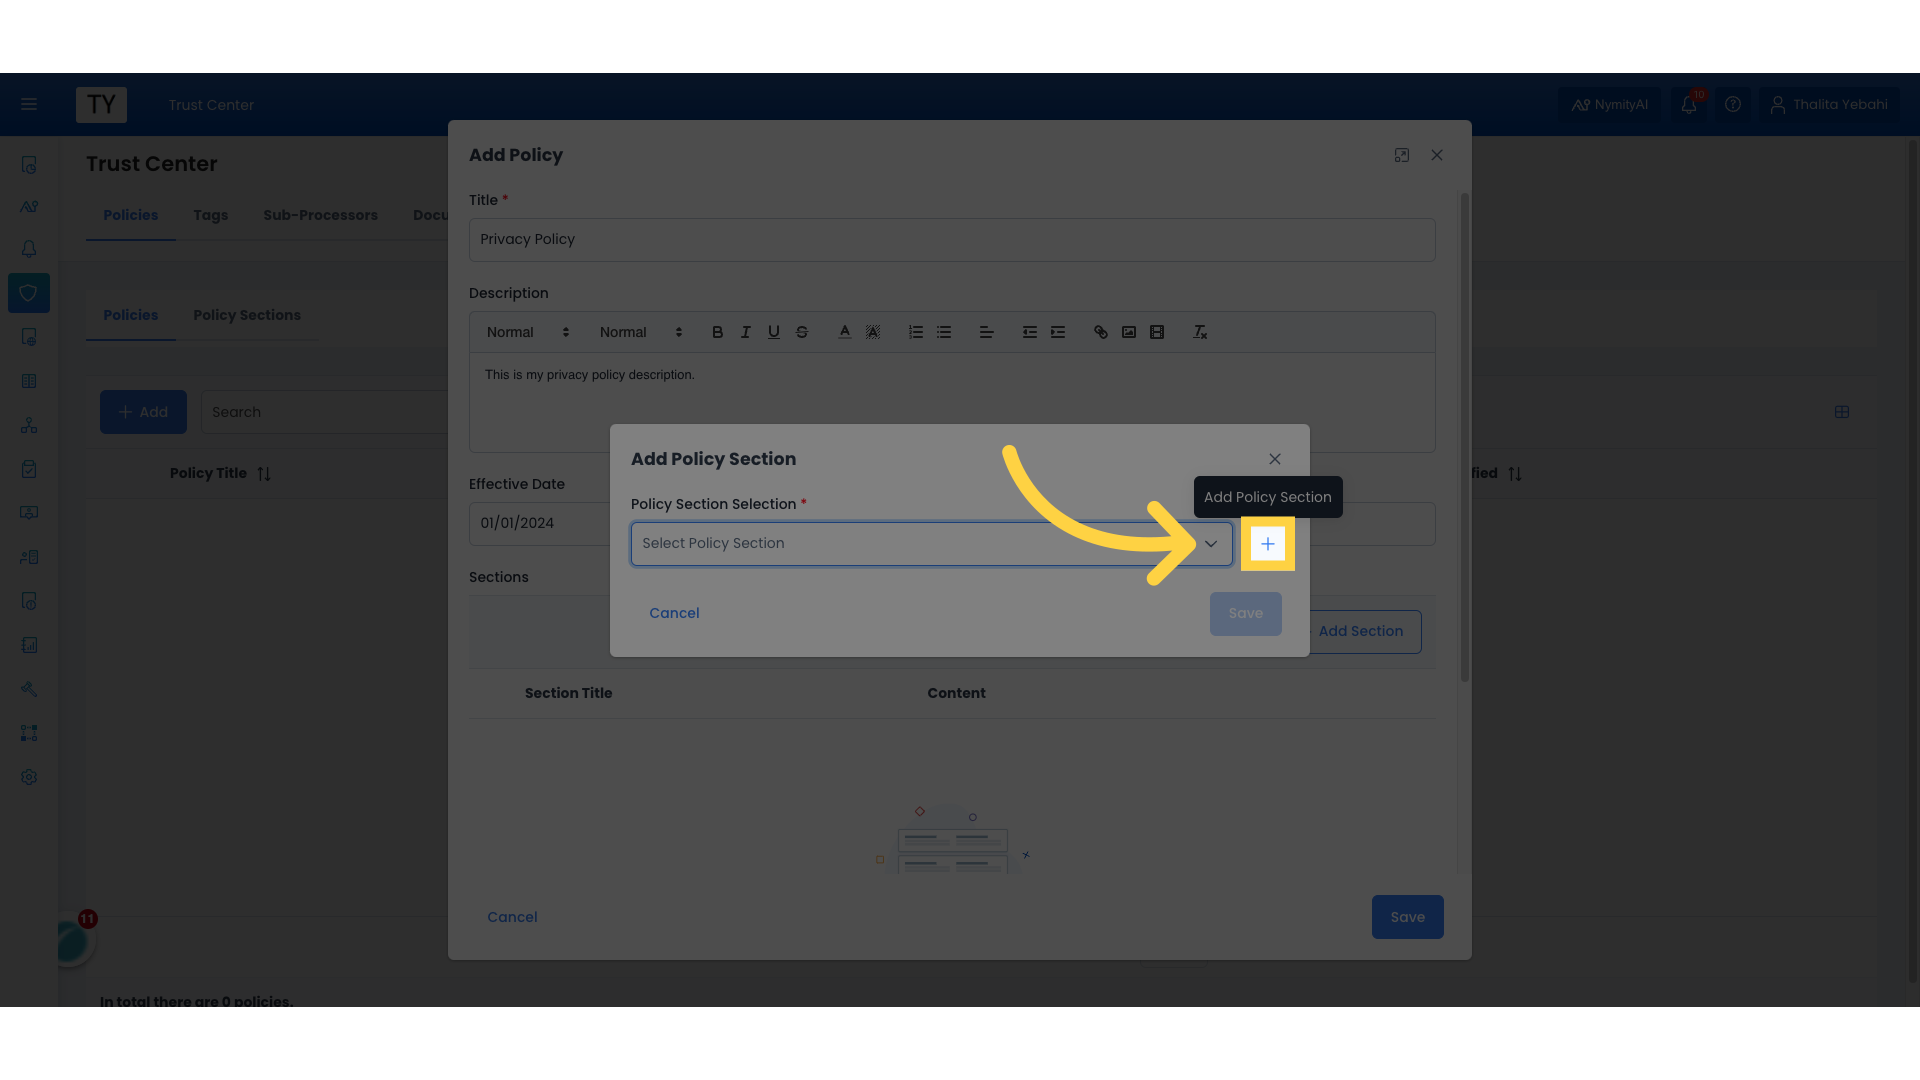
14. Click "Add Policy Section"
One of the key benefits of maintaining a library of sections is that we can reuse those sections in other documents that have the same text, so we don't have to copy and paste the same text again. We will add a new section here because it's our first policy and our first section.
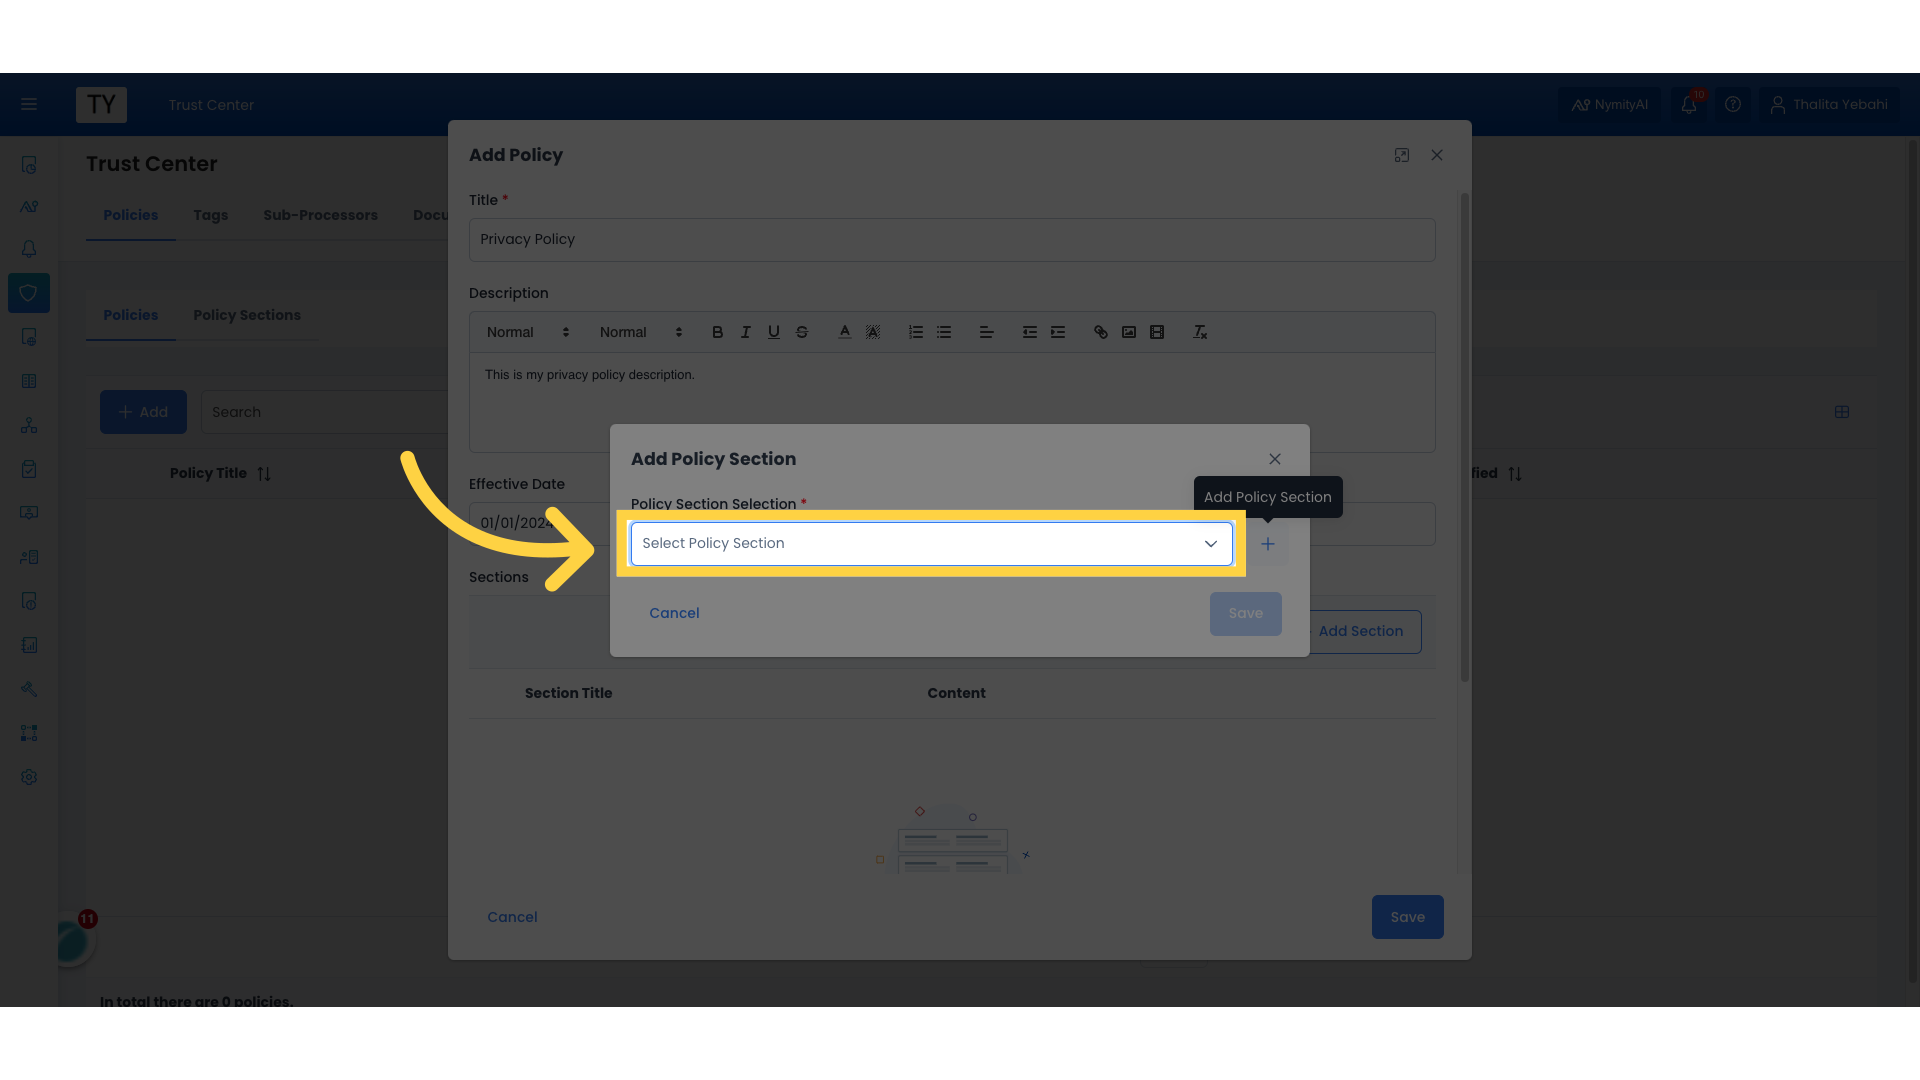
15. Select Policy Section
However we could click on the dropdown if we wanted to use an existing one that is already in our library of sections.
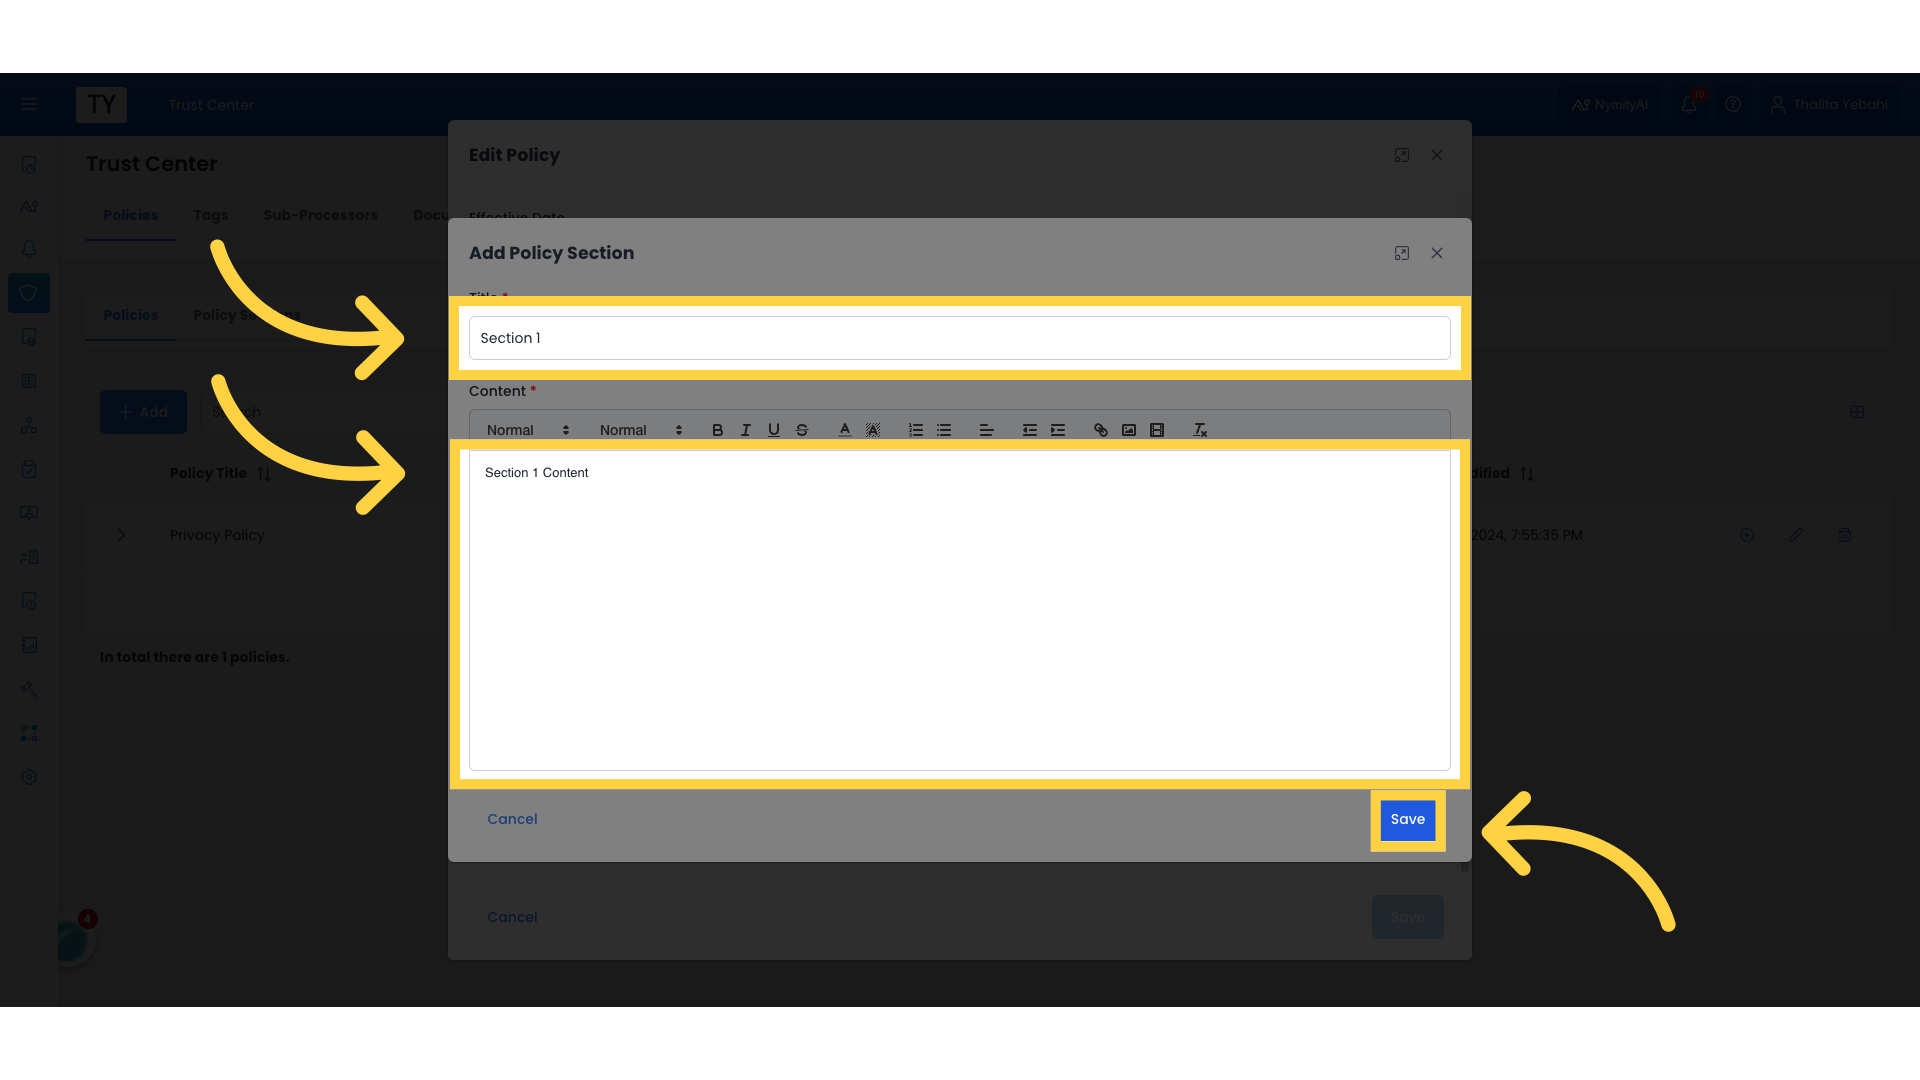
16. Click "Save"
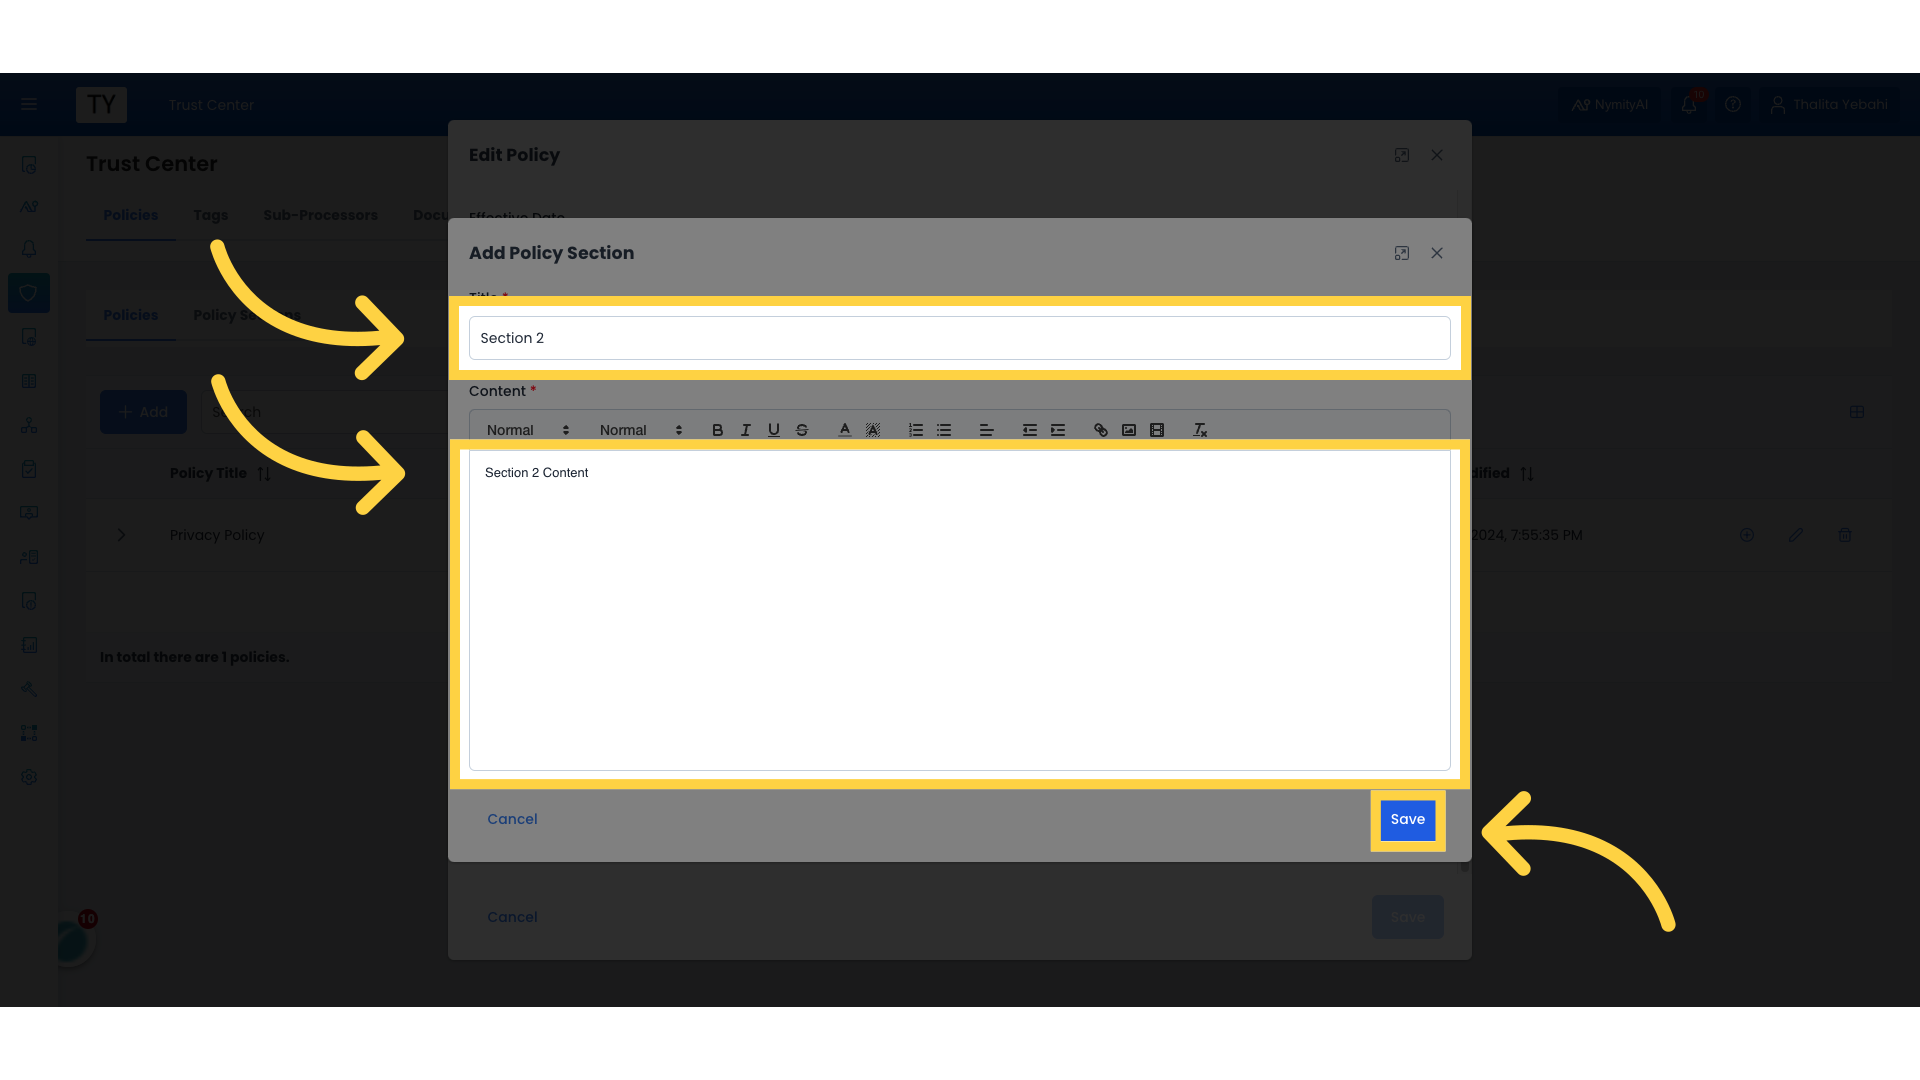
We will enter the title of the first section, its content - that supports rich text format - and save.
17. Click "Add Policy Section"
We will repeat the same process to add the second section.
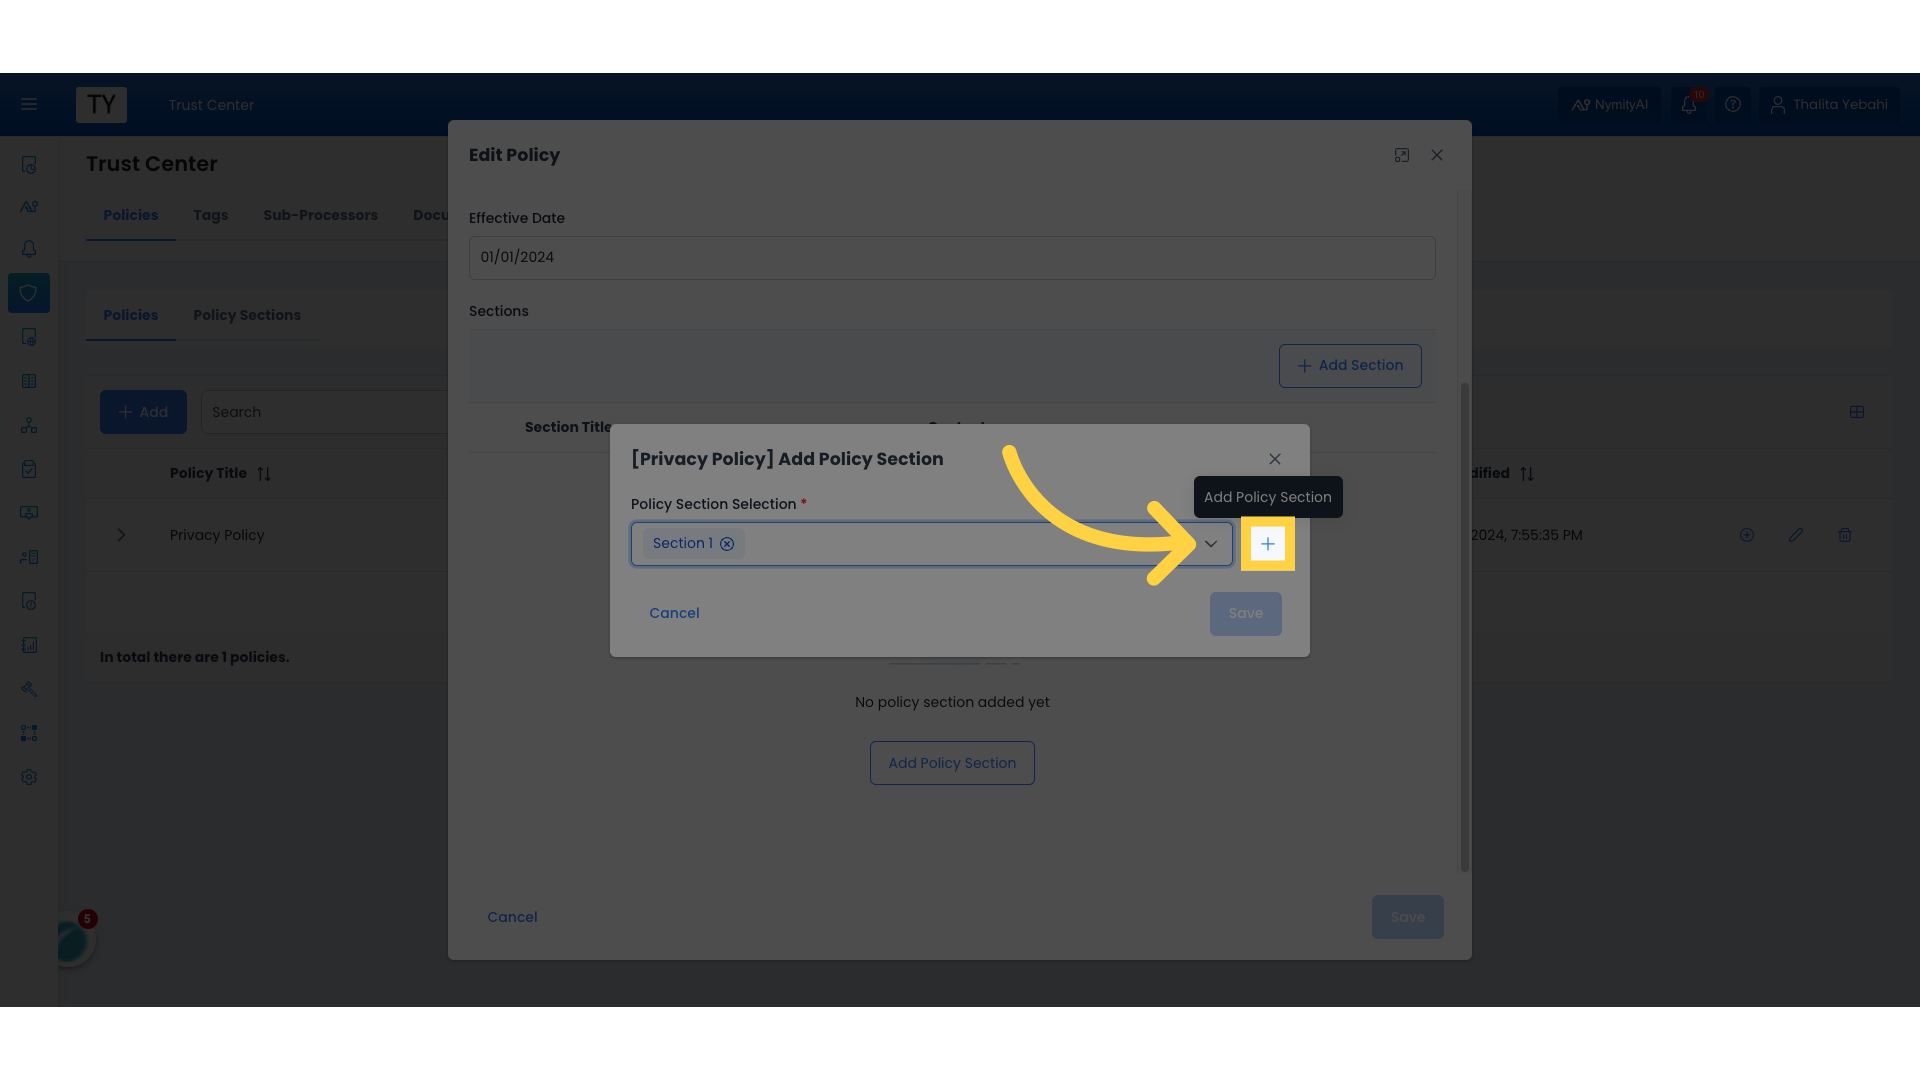
18. Click "Save"
Save the changes made.
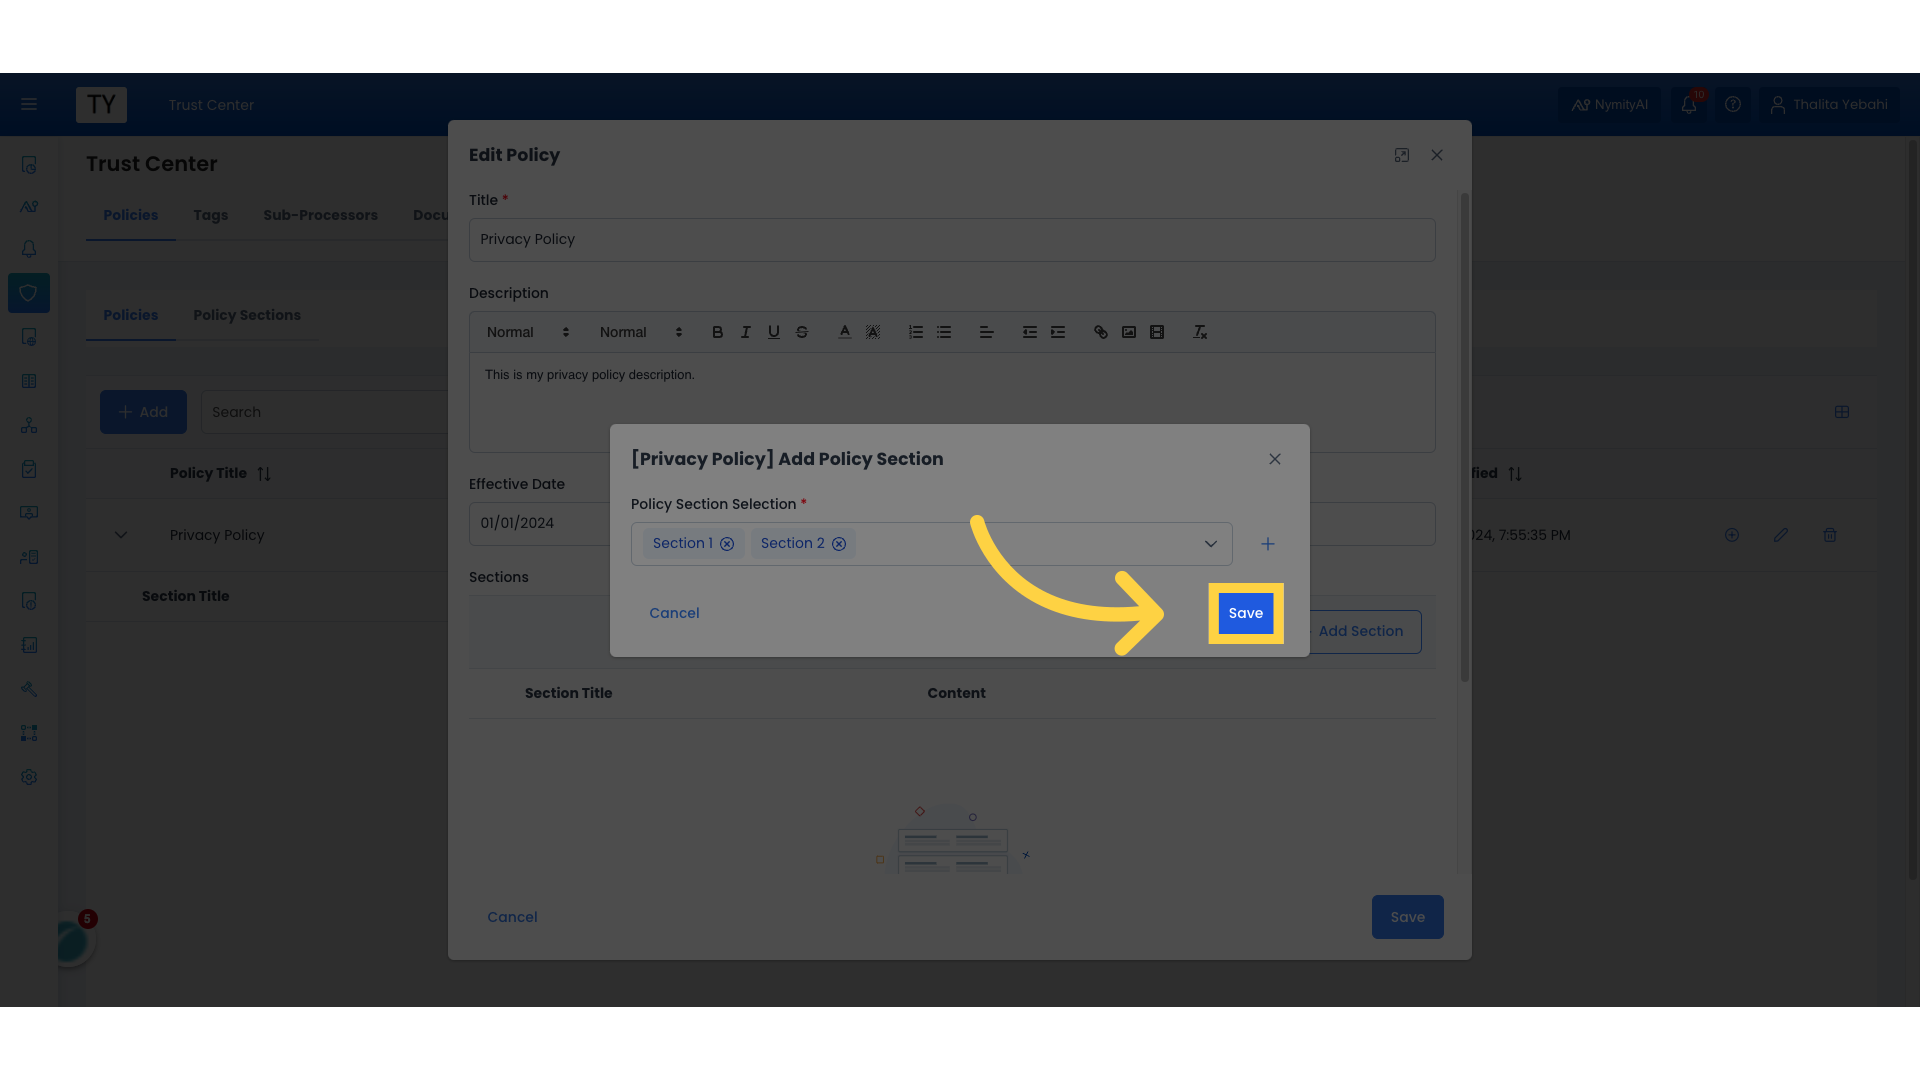
19. Click "Save"
Once we've finished creating all sections, we can save, which will add the newly created sections to our Privacy Policy,
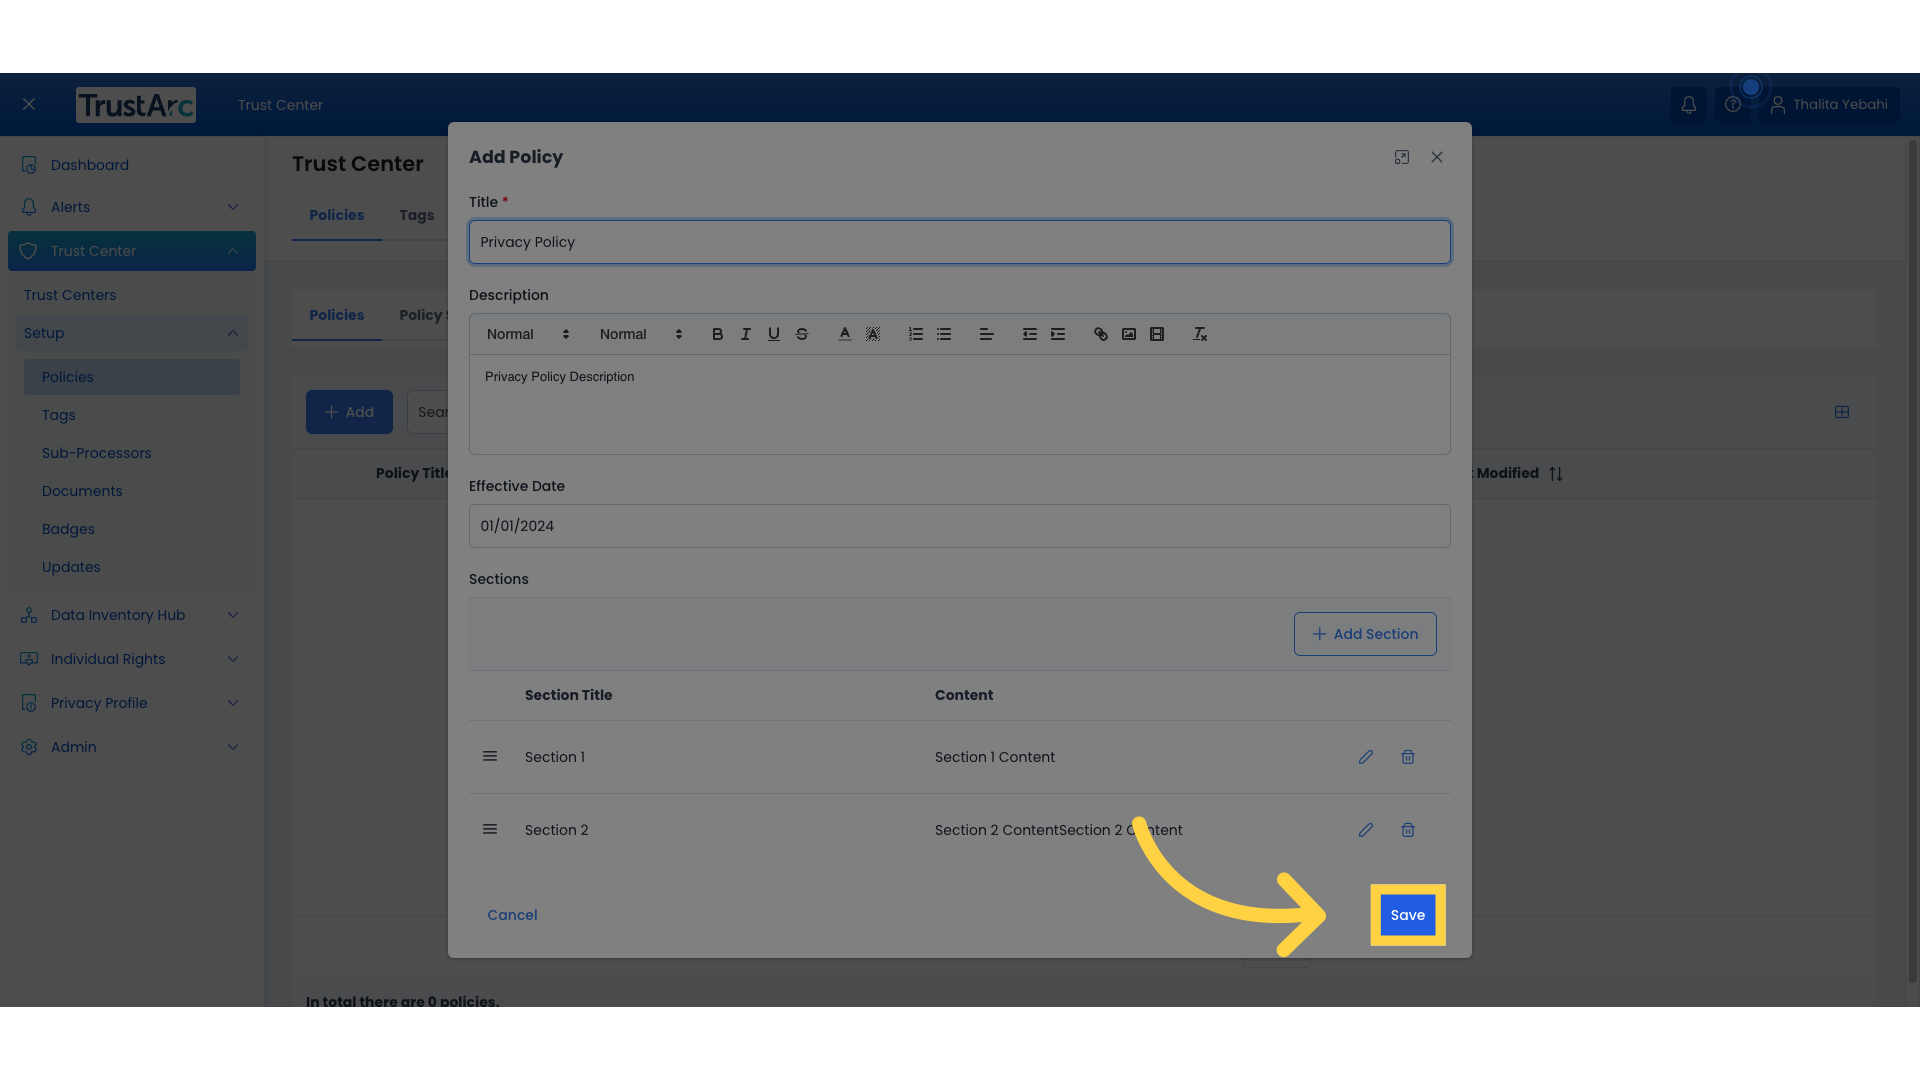
20. Click "Save"
and then click on "Save" again to finish the setup of our first policy.
21. Click "Tags"
The next option available in the setup is Tags. This is a custom categorization field that you can create and link to sub-processors, documents, updates and availability pages to classify those by product, service, entity or any other portion of your business.
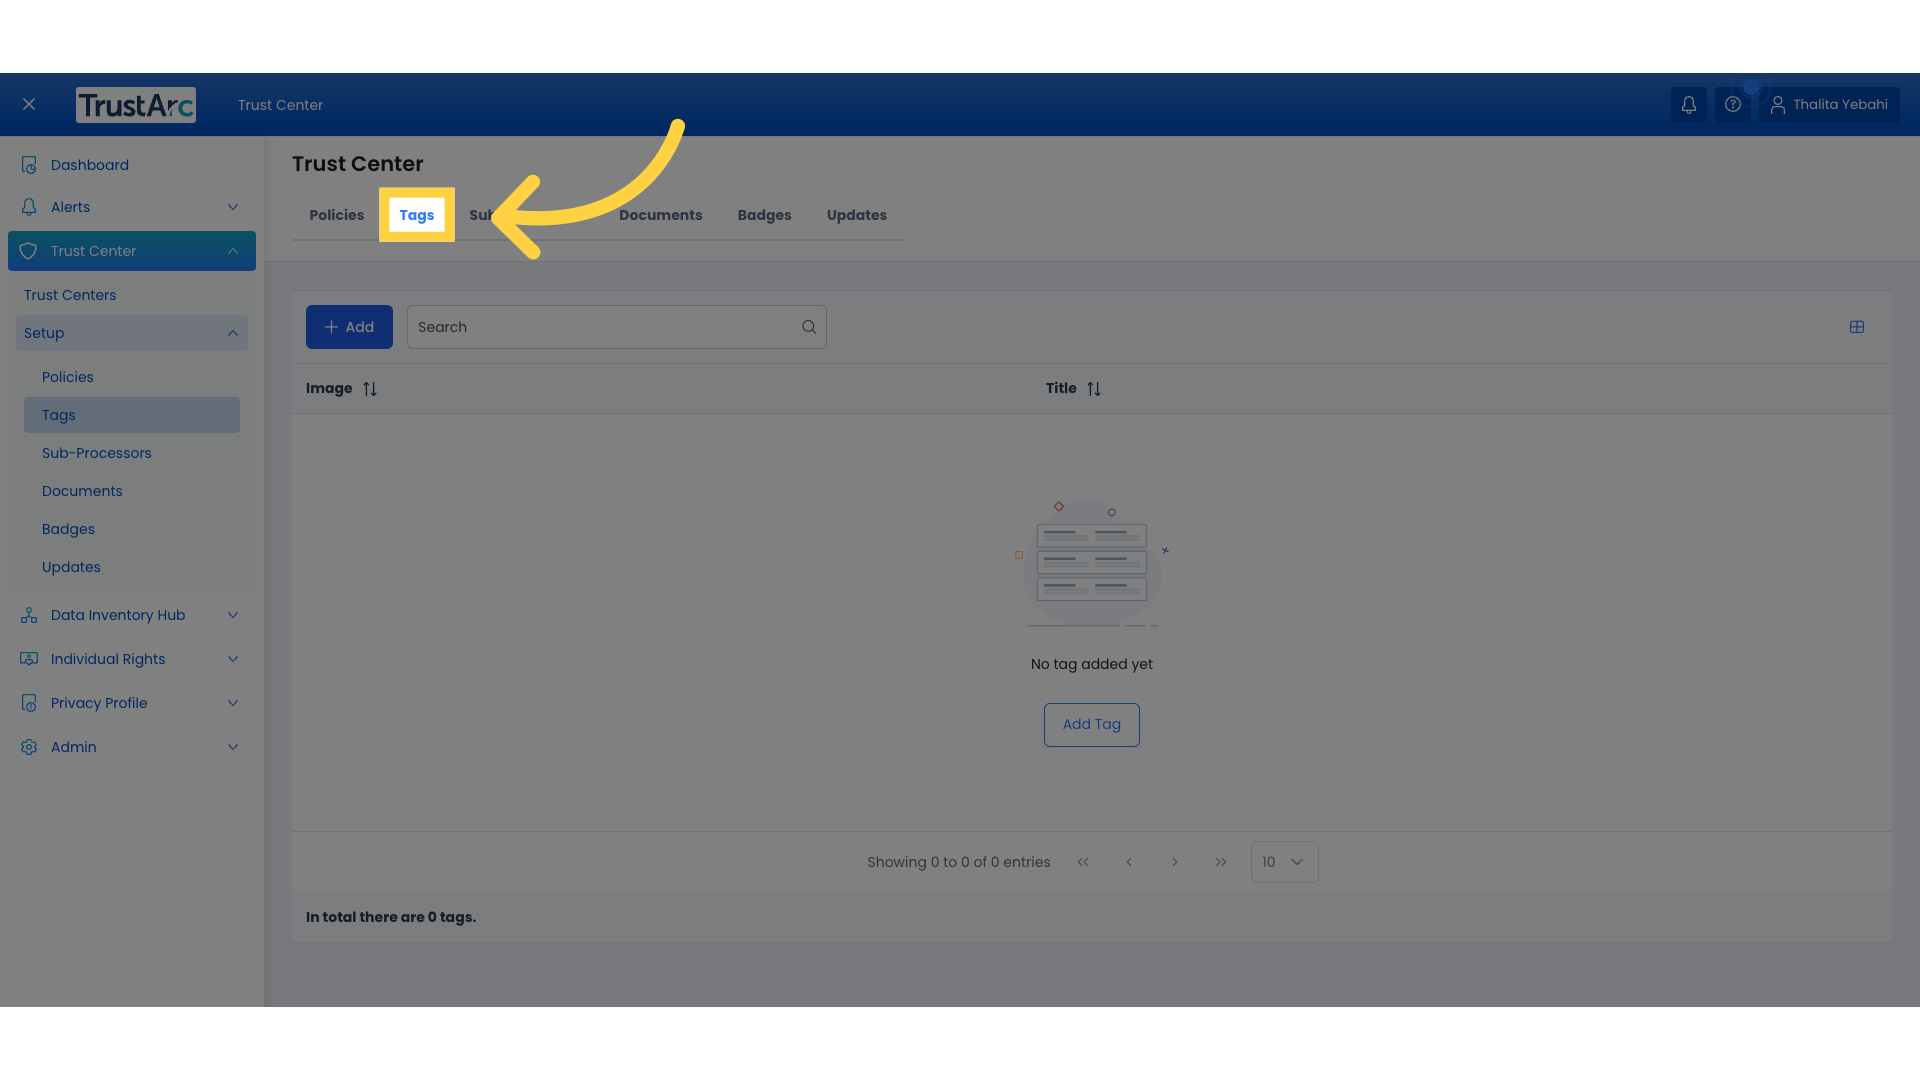
22. Click "Tags" and "Add"
As an example, in TrustArc's Trust Center, the Tags are our platform modules such as Assessment Manager, Data Inventory Hub, etc. You can skip this if you don't need to segregate documents or any of the sections previously mentioned. In our example, we will create Tags per product, so we will click on "Add"
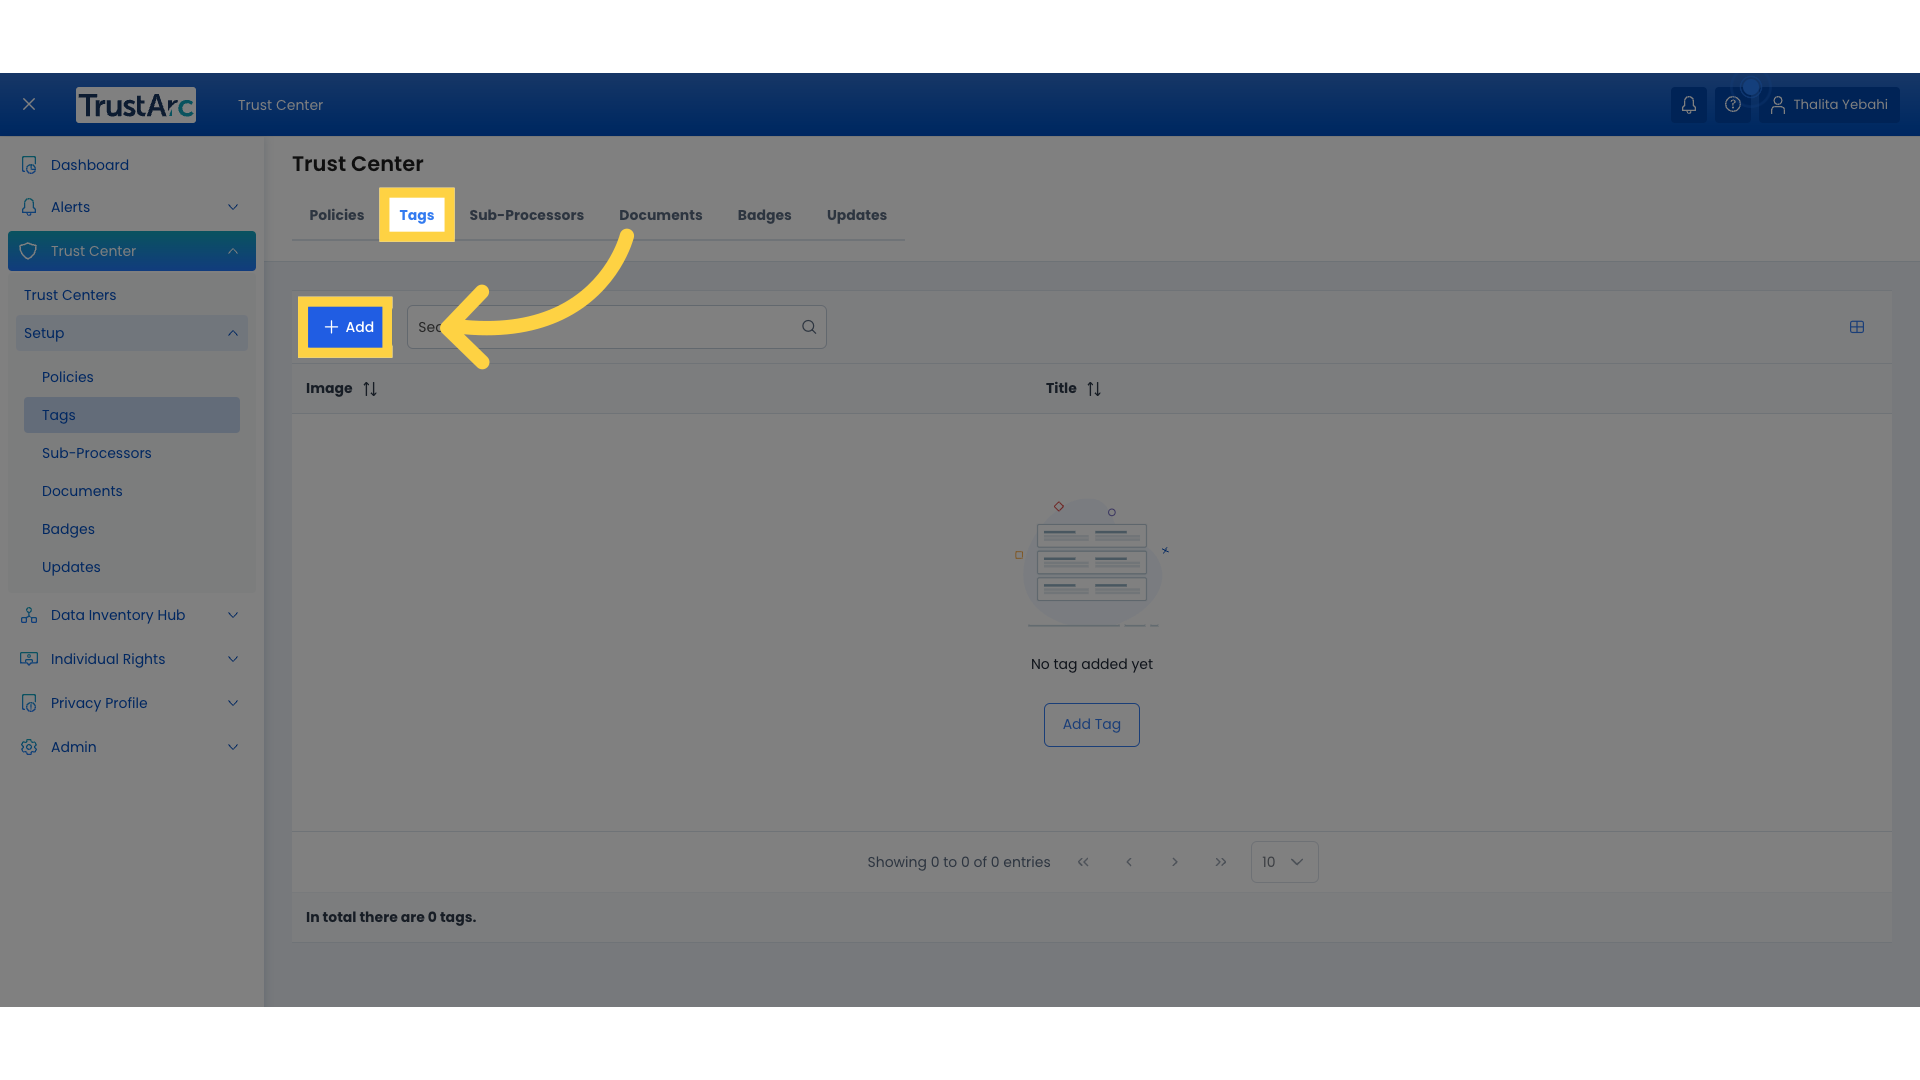
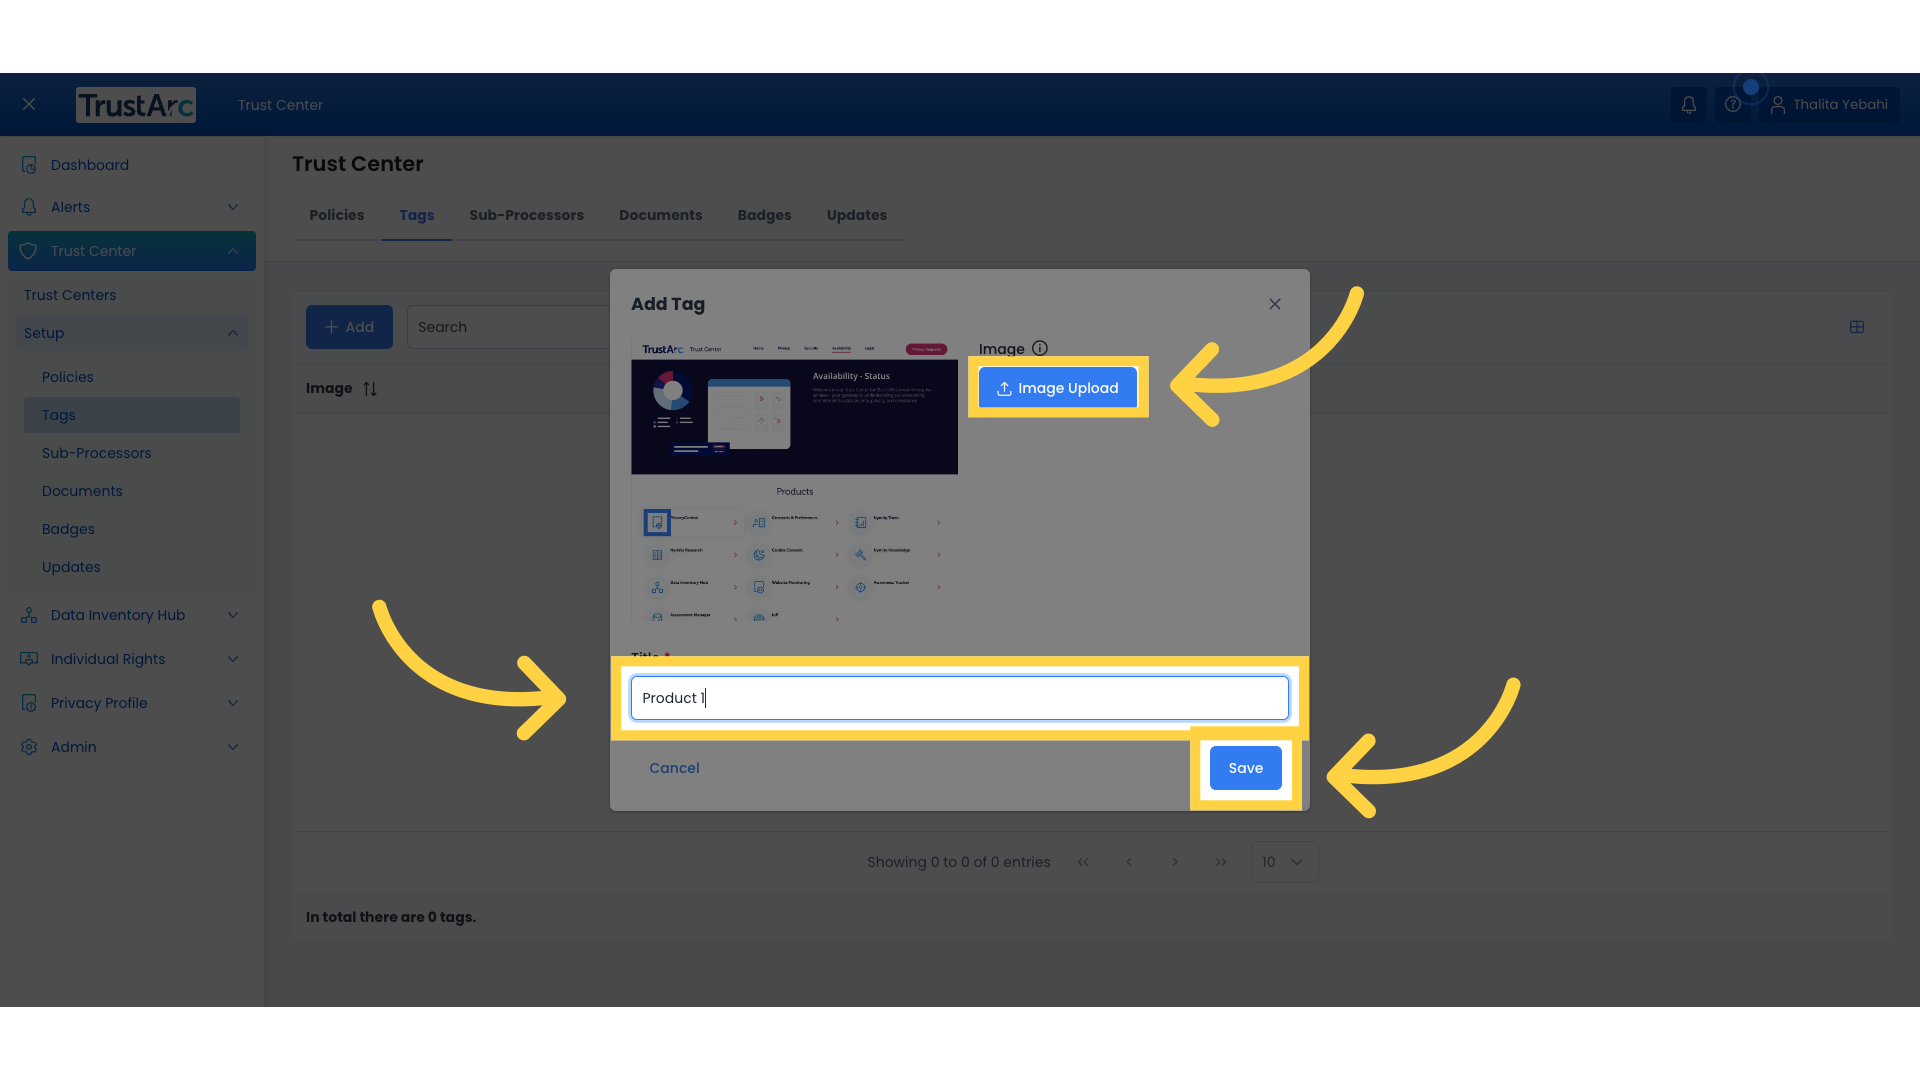
23. Enter the details and save
and enter our title, that is "Product 1", and we could also upload an image.
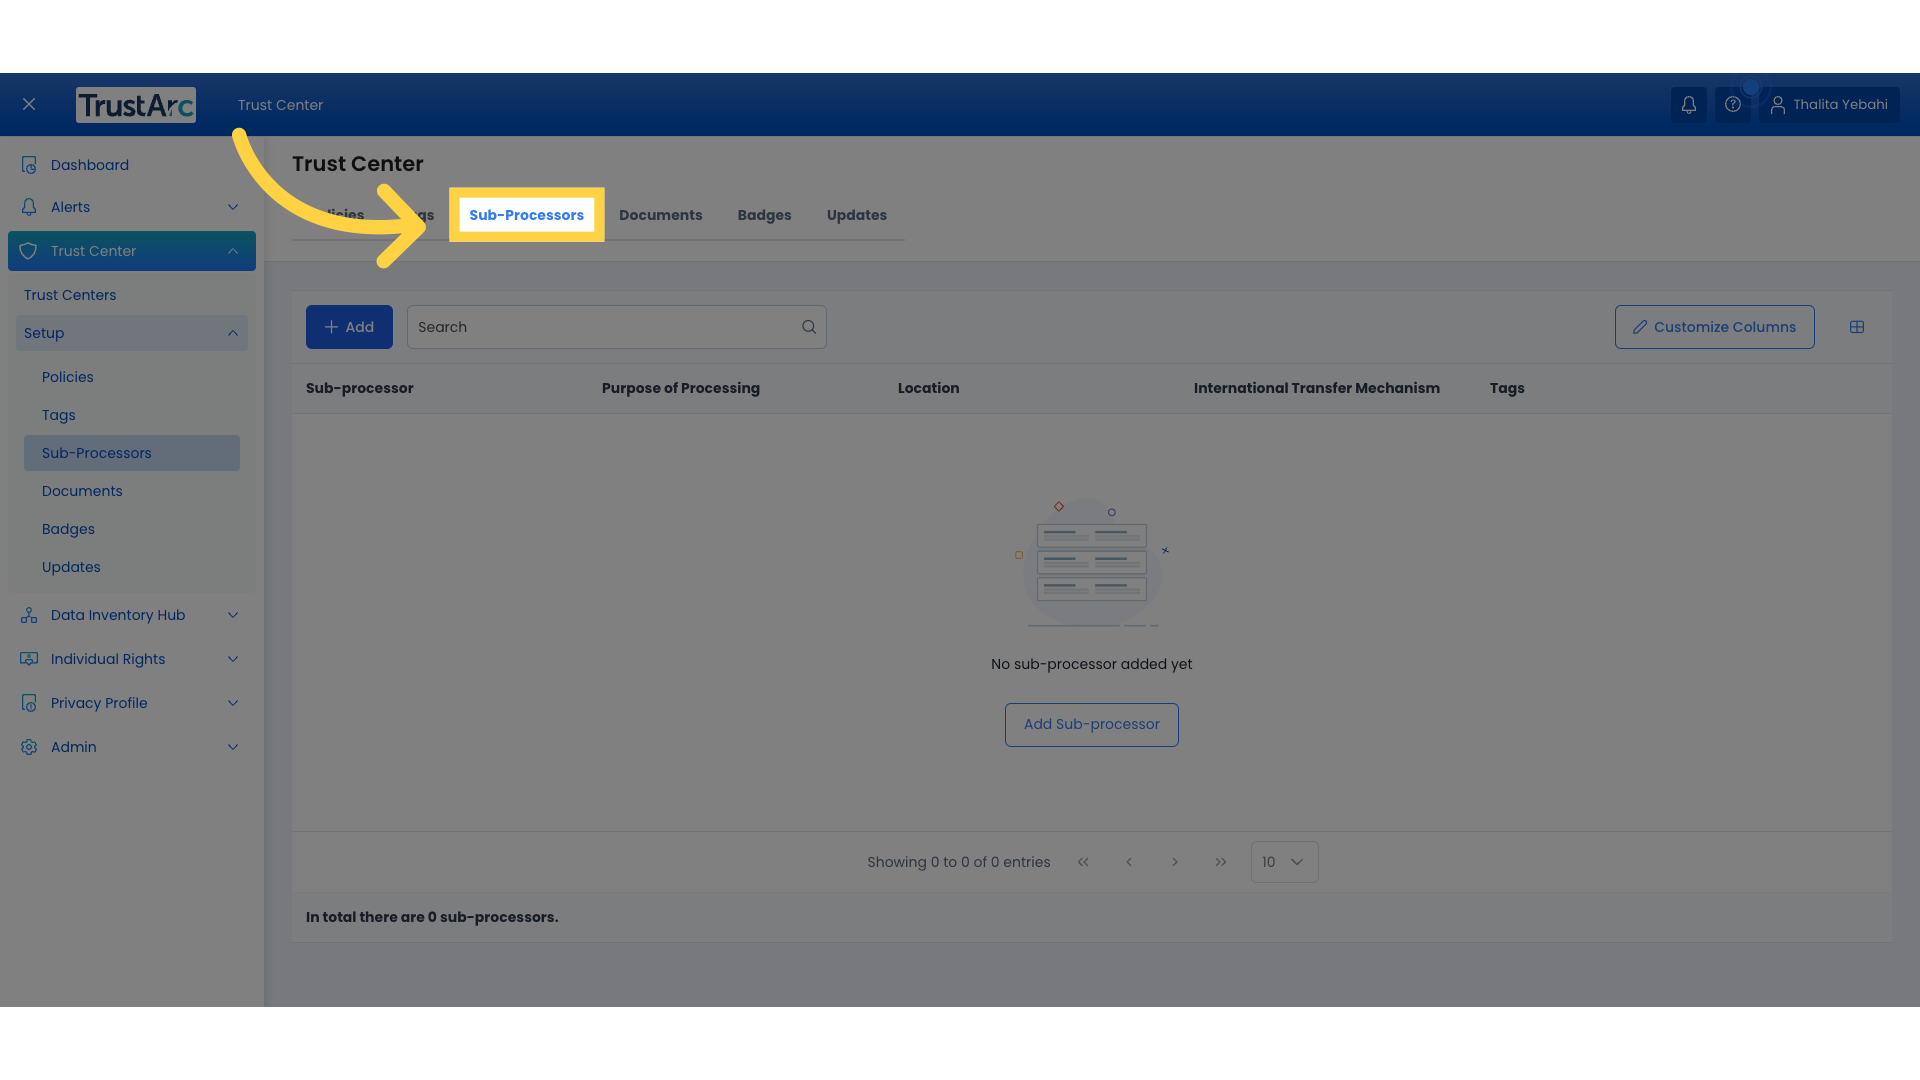
24. Click "Sub-Processors"
The next option in the setup is sub-processors, where we can add the companies that act as sub-processors for our organization and need to be listed in our Trust Center. You can also skip this option if that's something you don't need to add to your Trust Center.
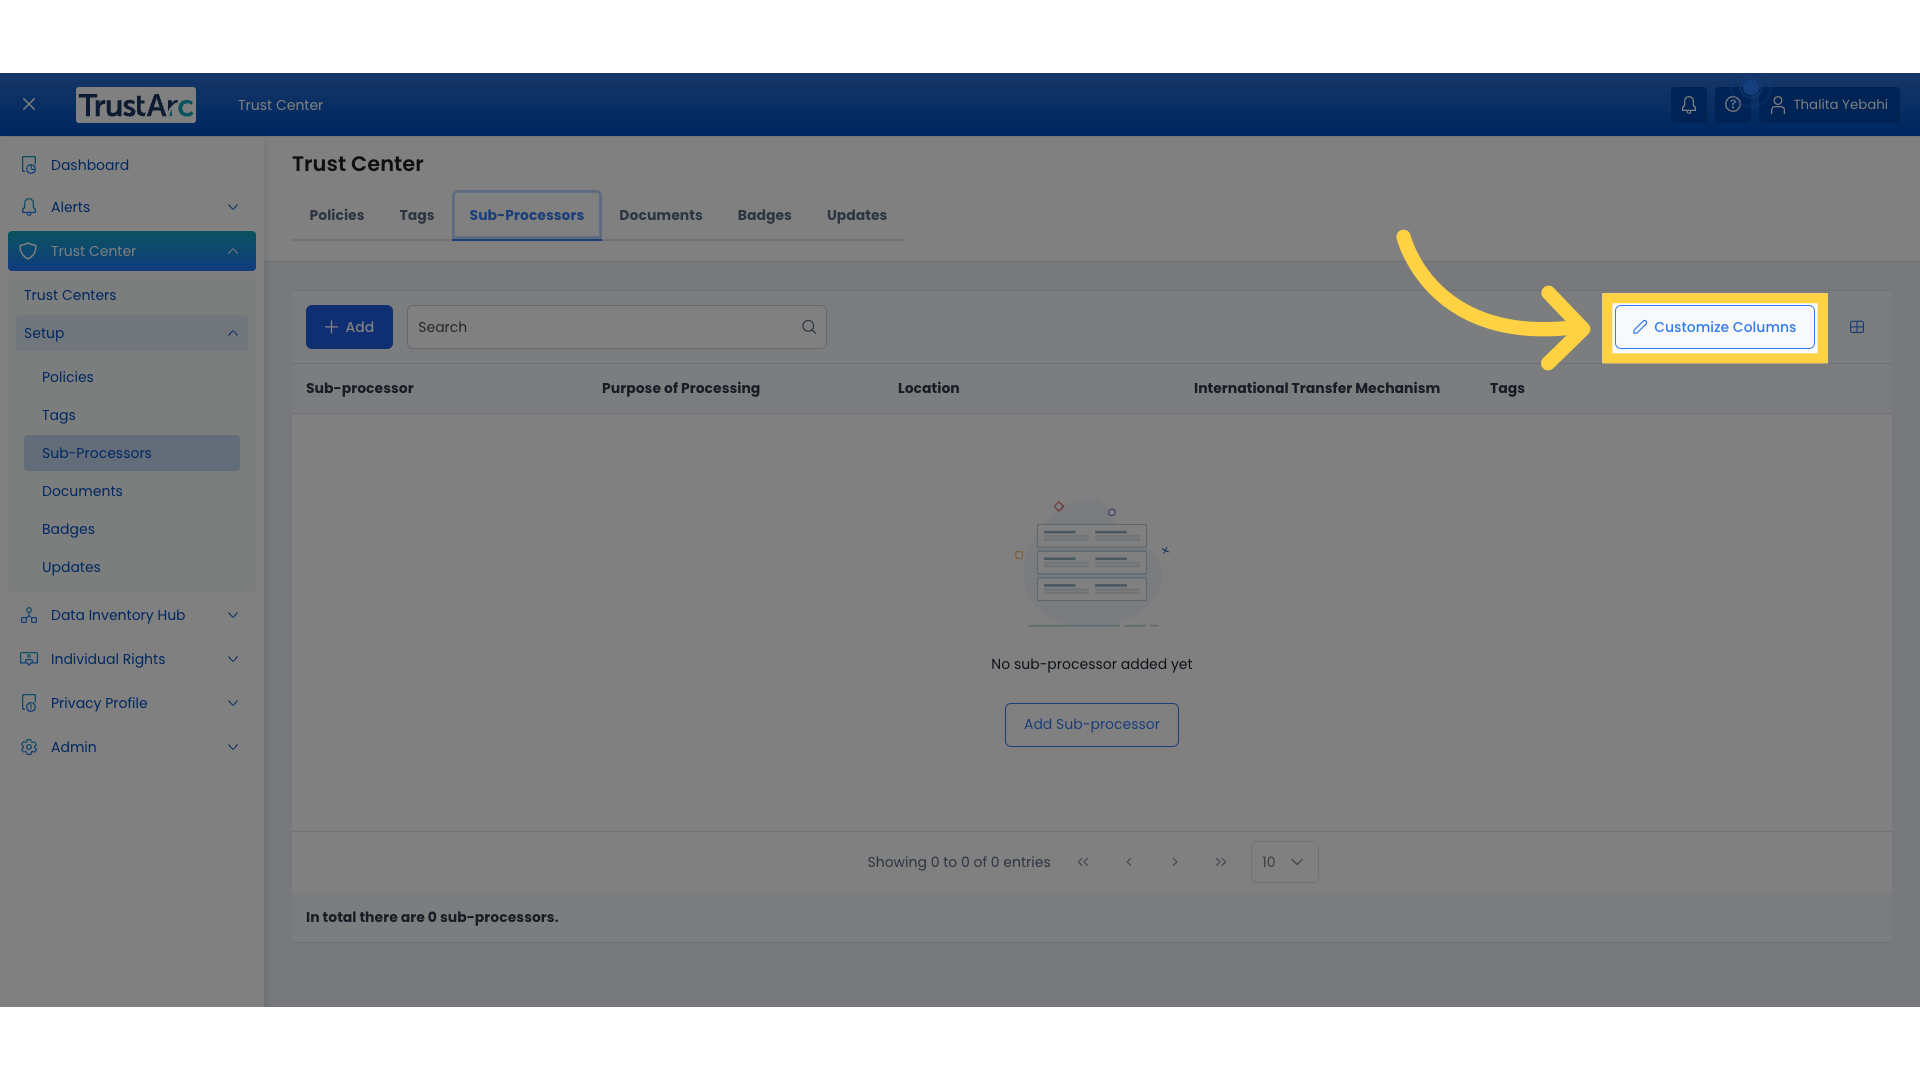
25. Click "Customize Columns"
Before adding our sub-processors, we will click on "Customize Columns" to review the default columns for the sub-processors list.
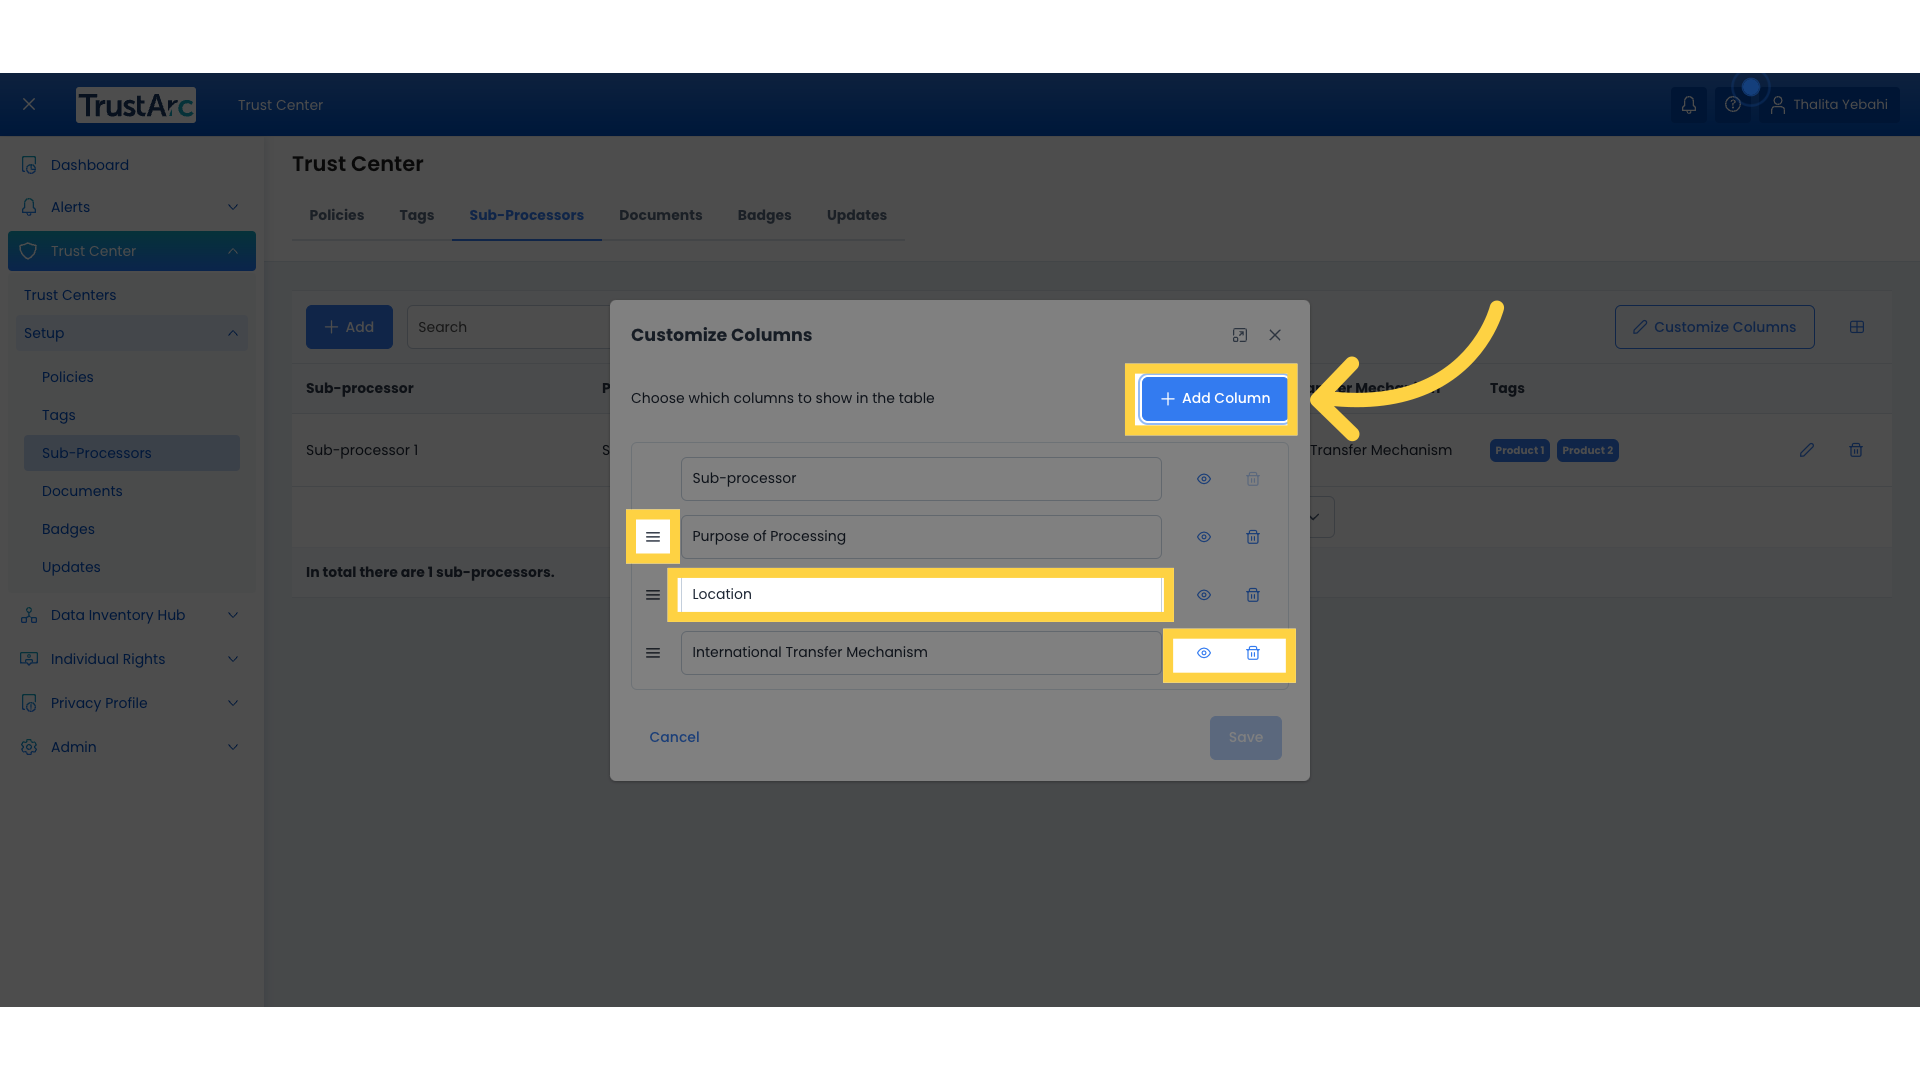
26. Click "Add Columns"
Sub-processors are displayed in a pre-defined list with default columns that you can rename, reorder, hide or remove, but you can also add as many custom columns as you want.
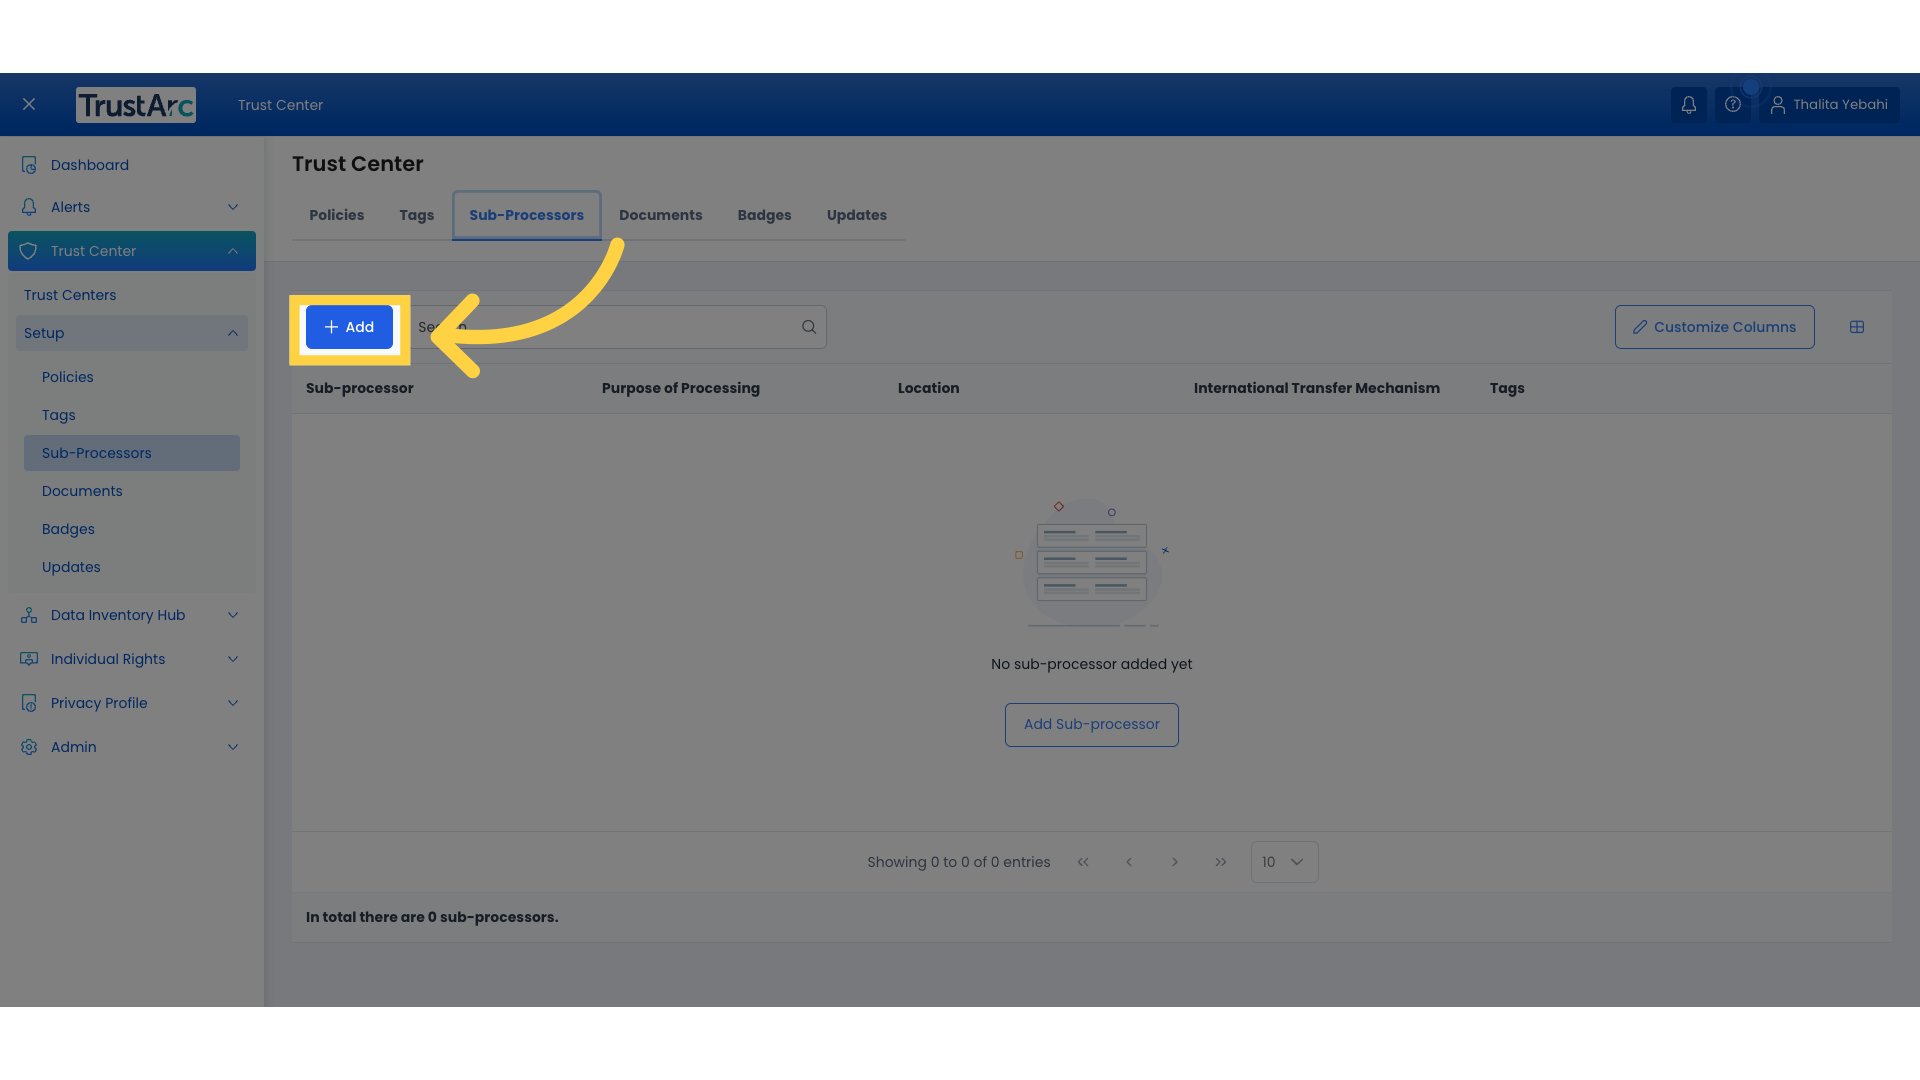
27. Click "Sub-Processors" and "Add"
For our example, we will leave the default columns and start adding our sub-processors.
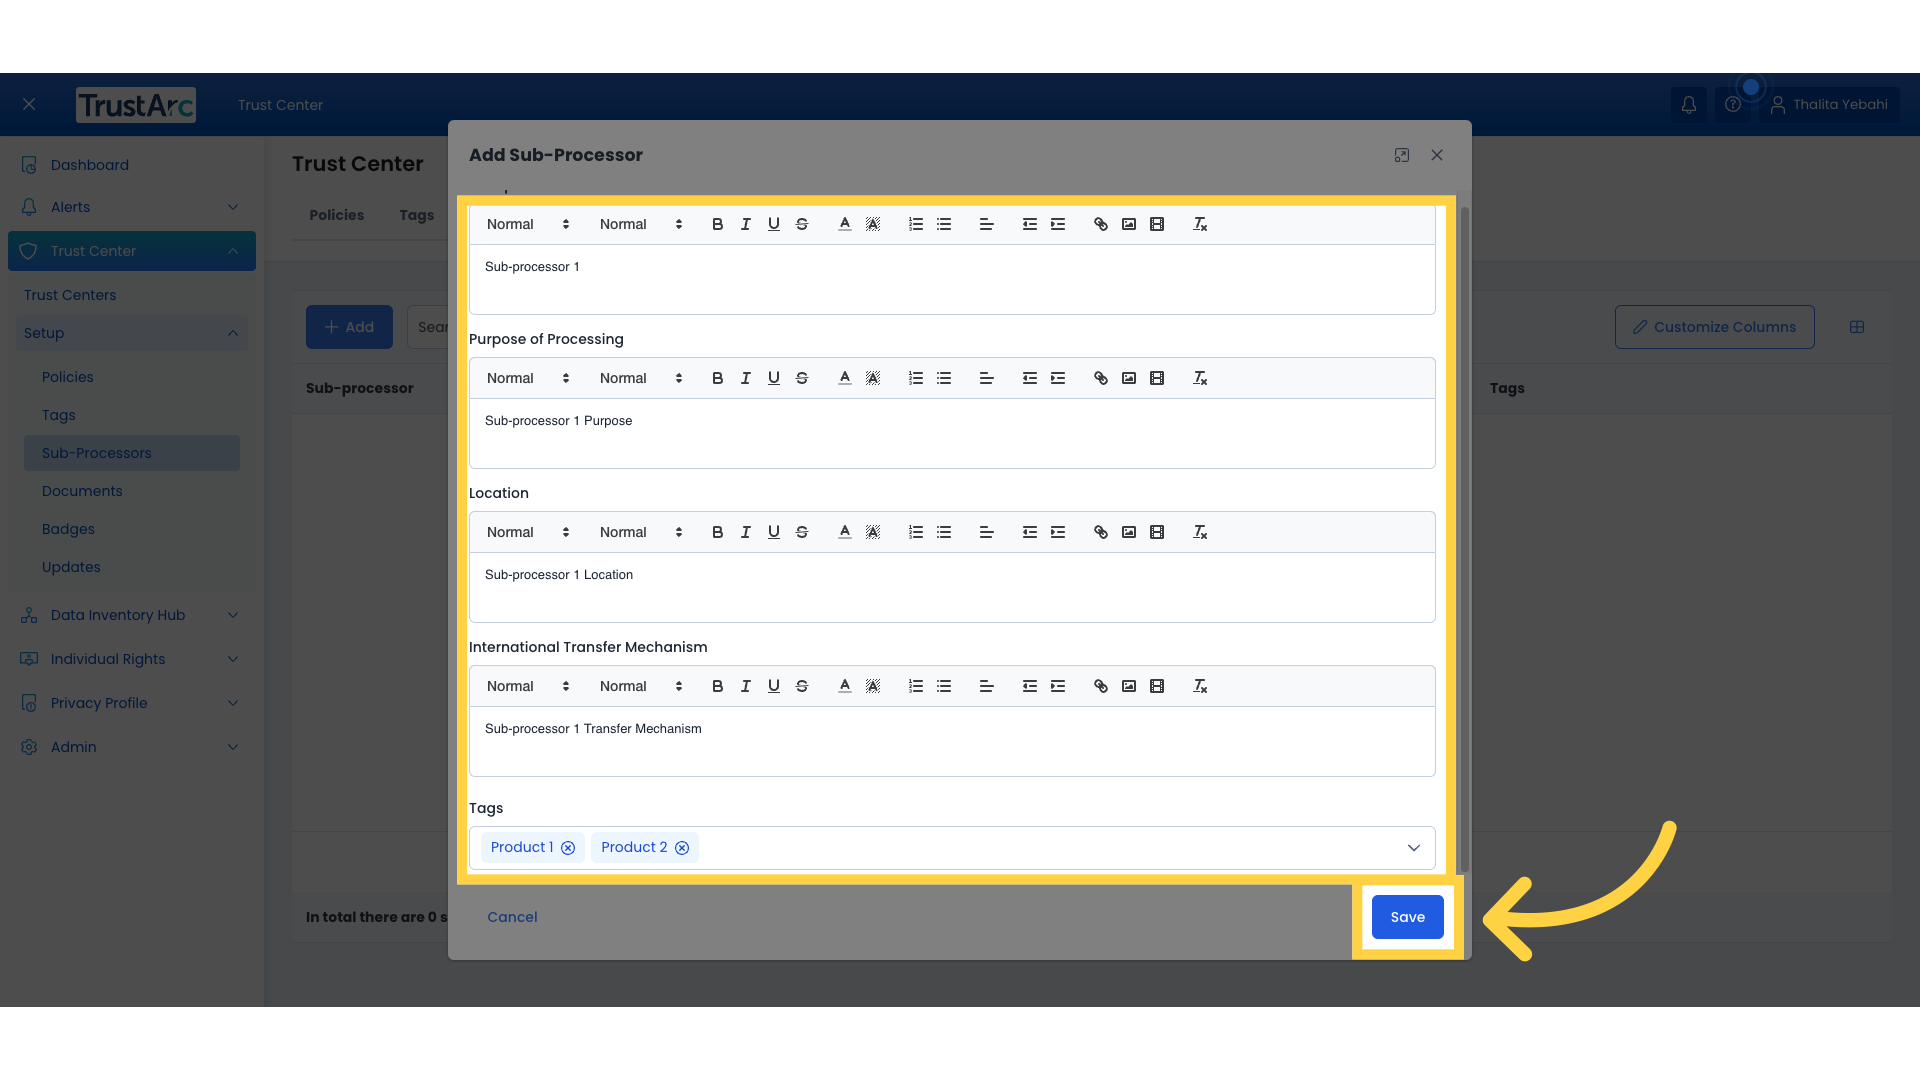
28. Enter the details and save
We will enter all the details of the sub-processor, including our tags, which are the products associated with this sub-processor and save.
29. Click "Documents" and "Add"
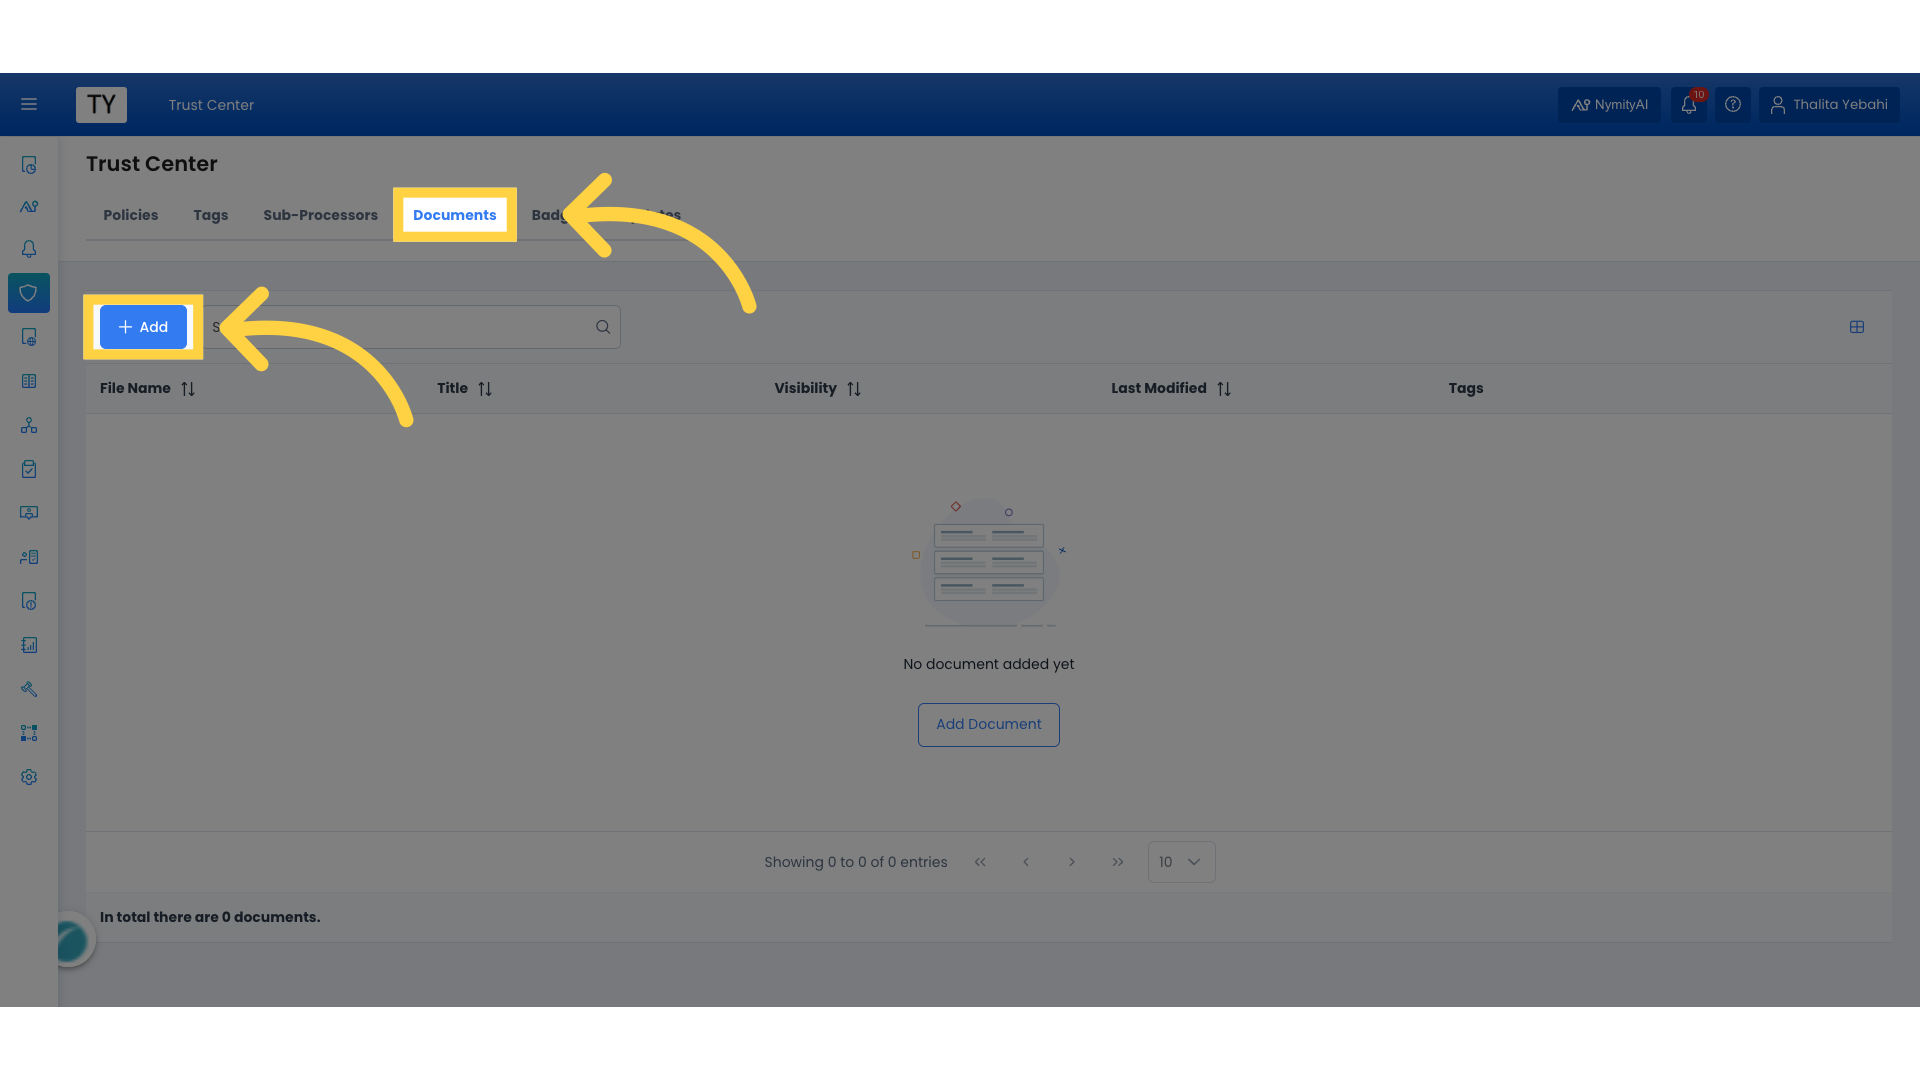
In the "Documents" section, we can add any files that can be downloaded from our Trust Center.
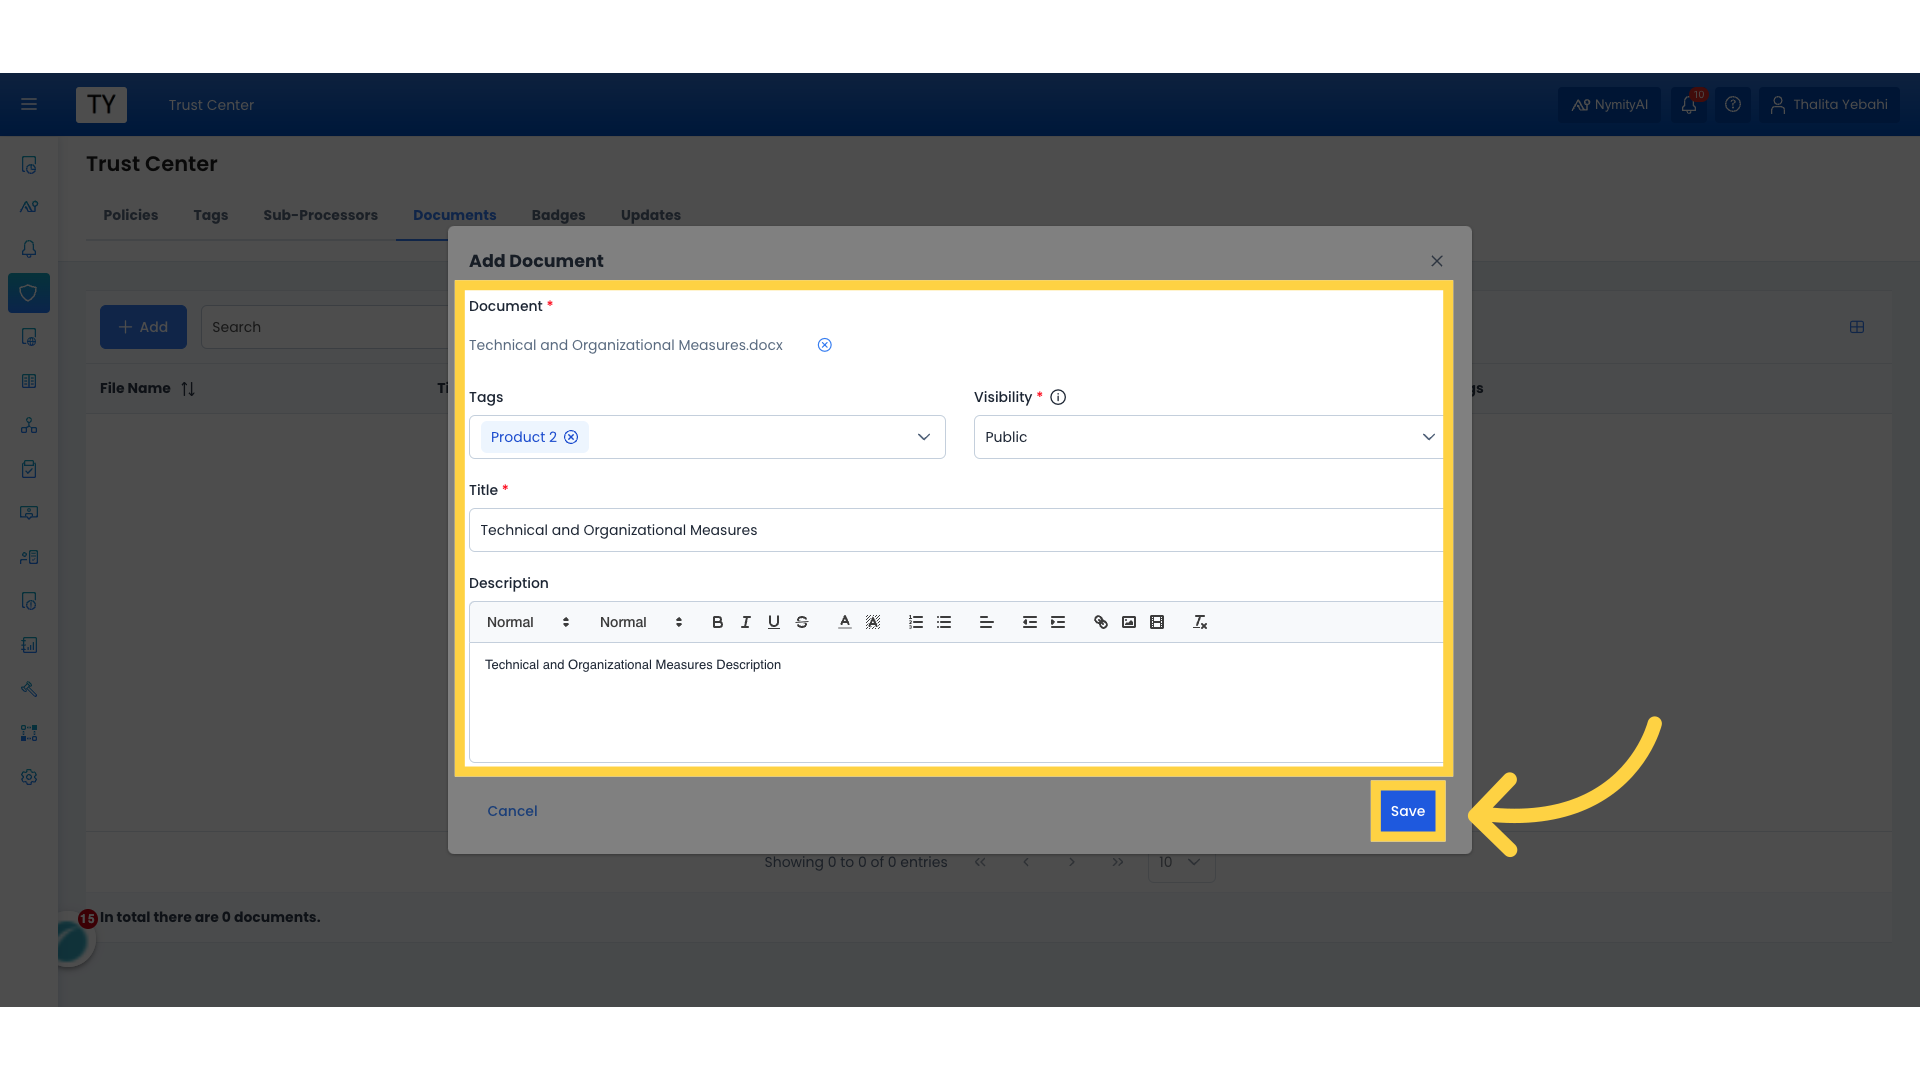
30. Enter the details and save
In our example, we will add the Technical and Organizational Measures document, that will be added to our security section as public. The visibility could also be private, which means that the requestor can enter their email address to request access and receive an email with the download link after it's approved. The approver is set up in the Trust Center configuration, which we will review in the next video.
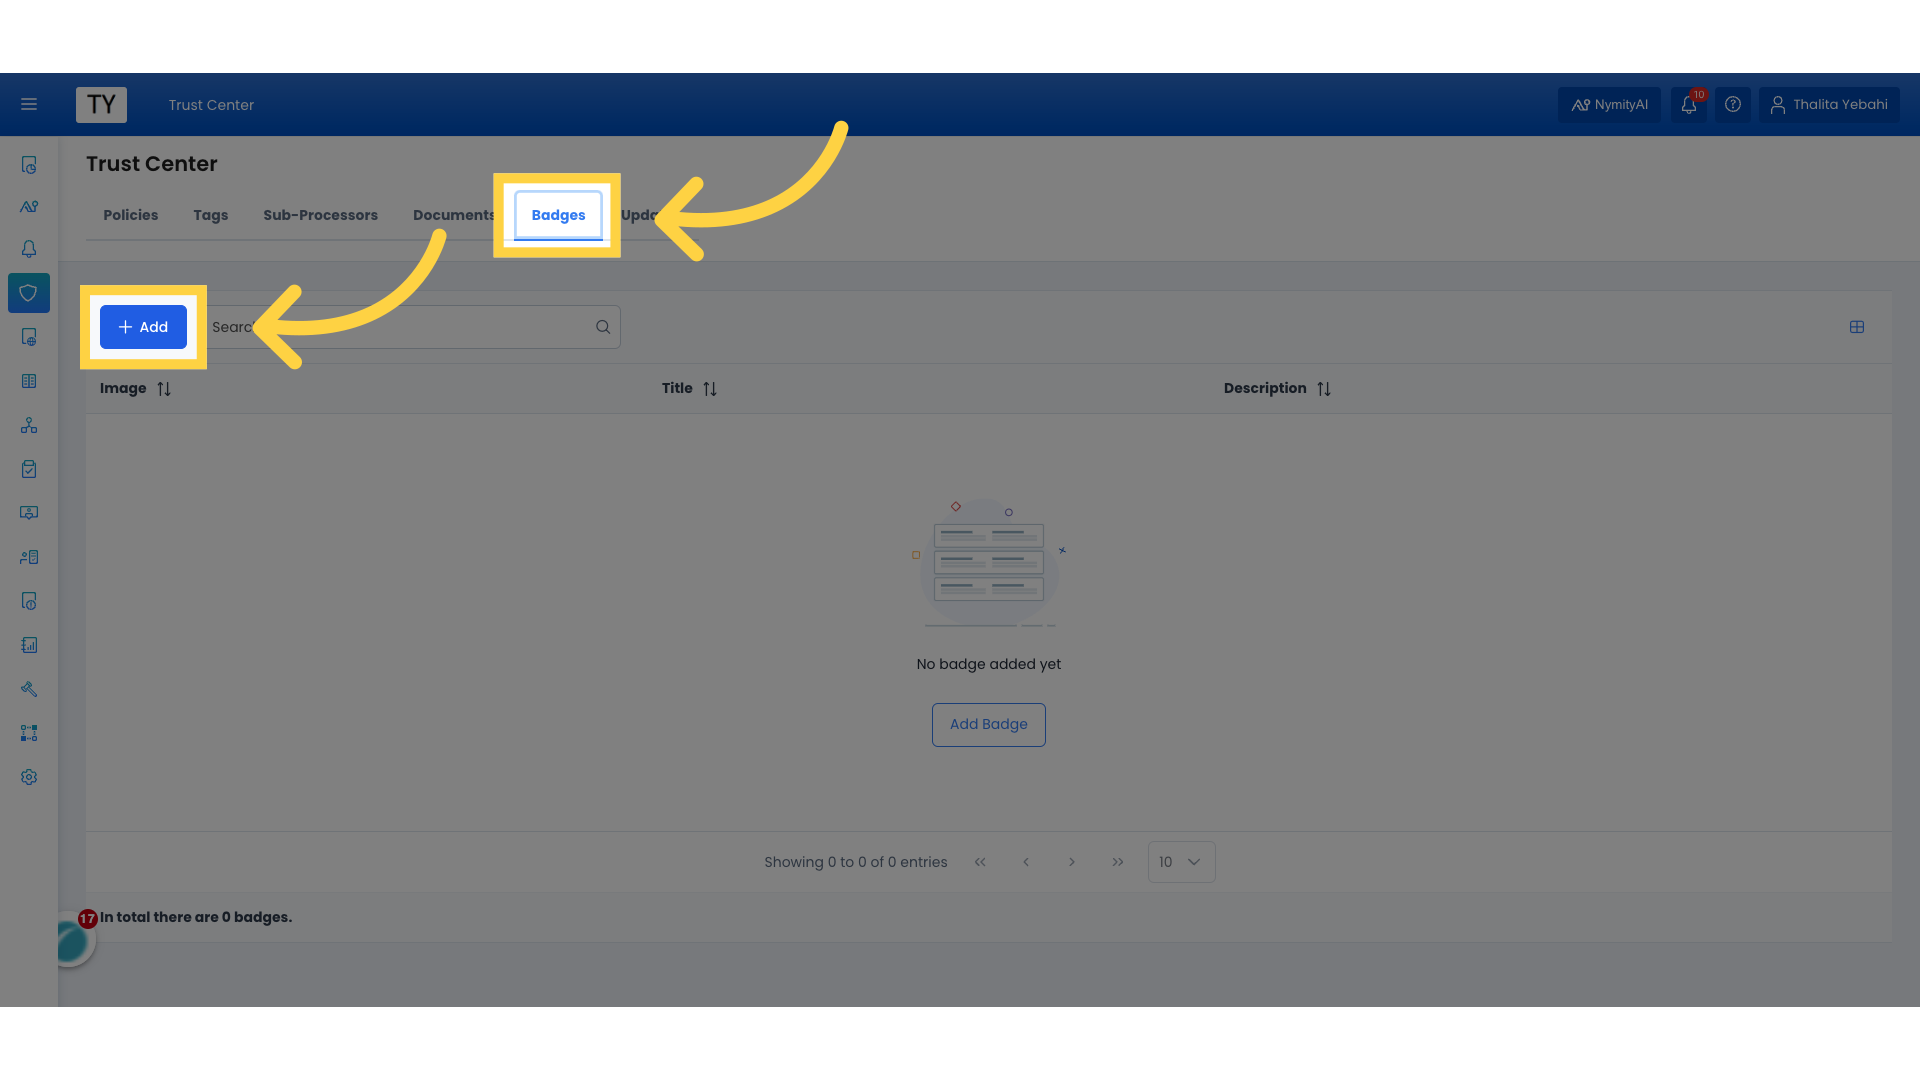
31. Click "Badges" and "Add"
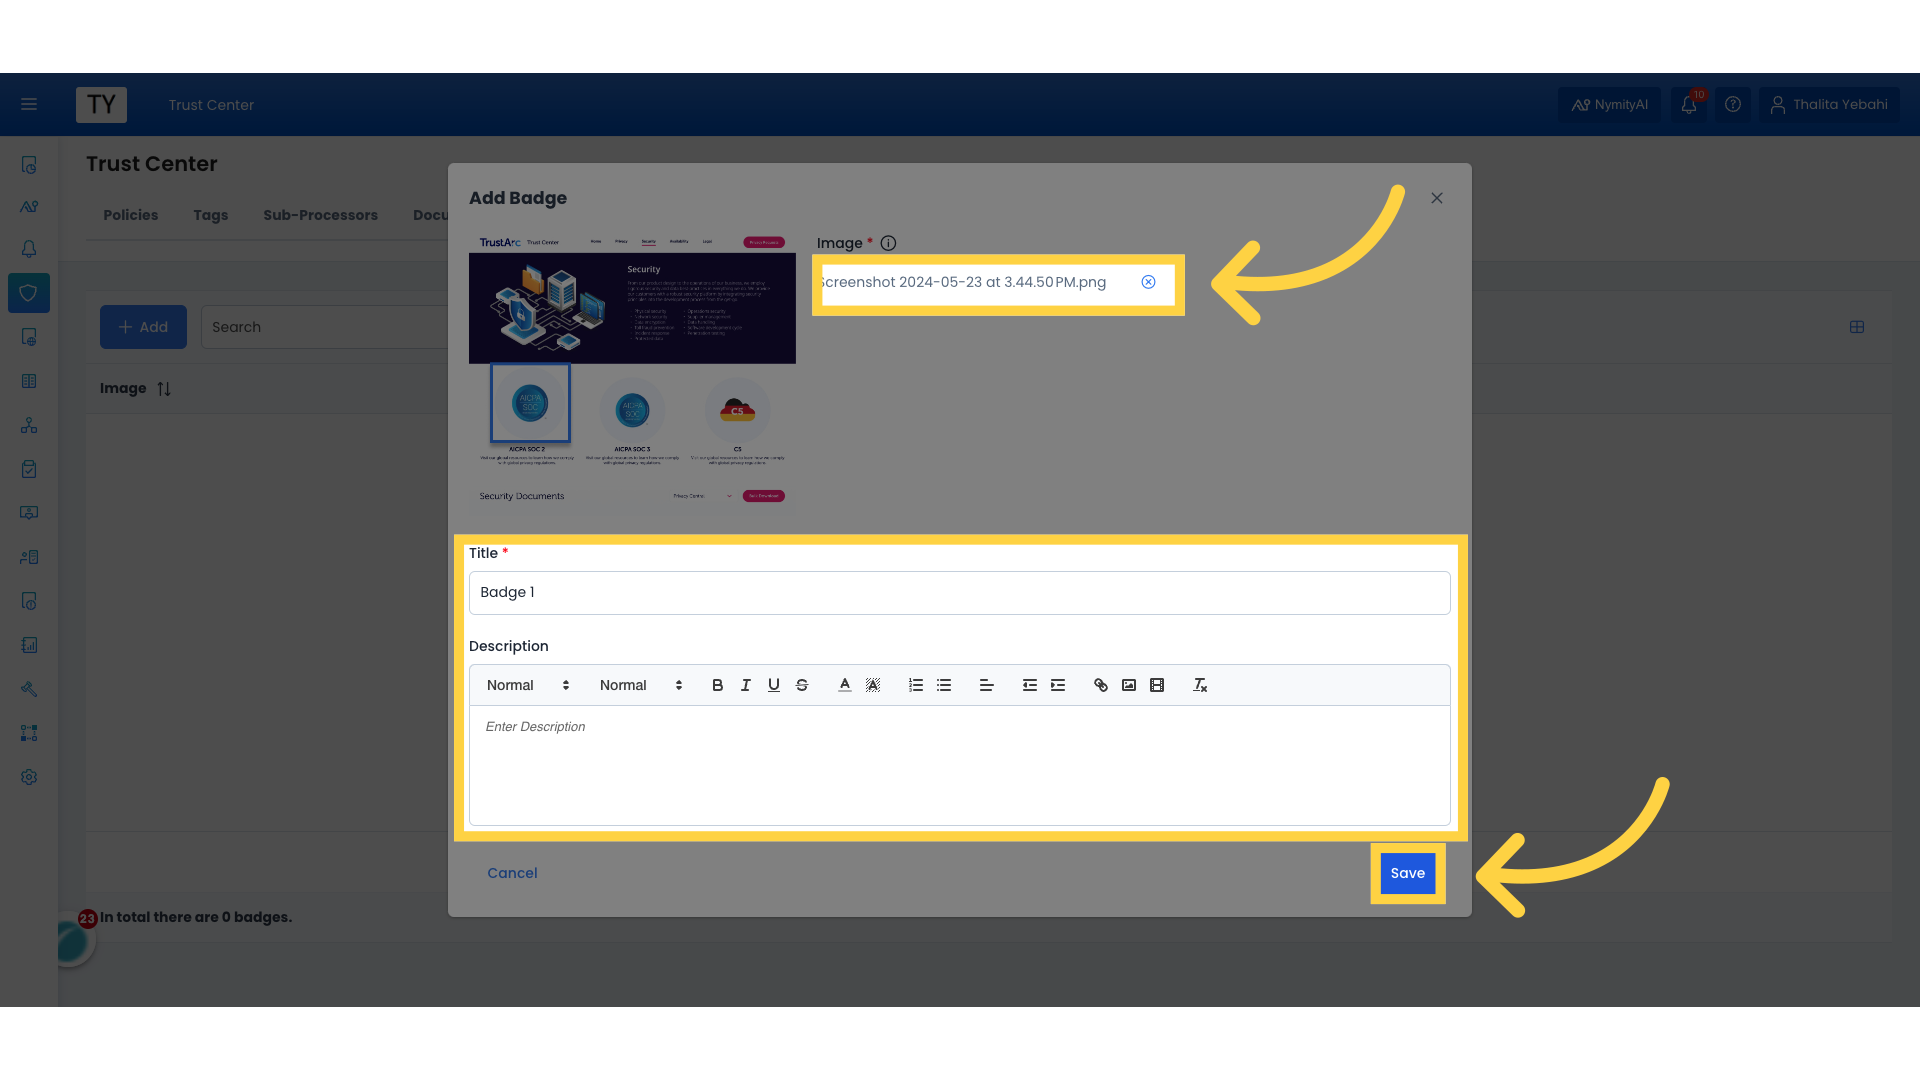
In the badges section, you can add images for any badges that need to be displayed in your Security or Privacy section.
32. Enter the details and save
You can skip this configuration if no badges need to be displayed in your Trust Center.
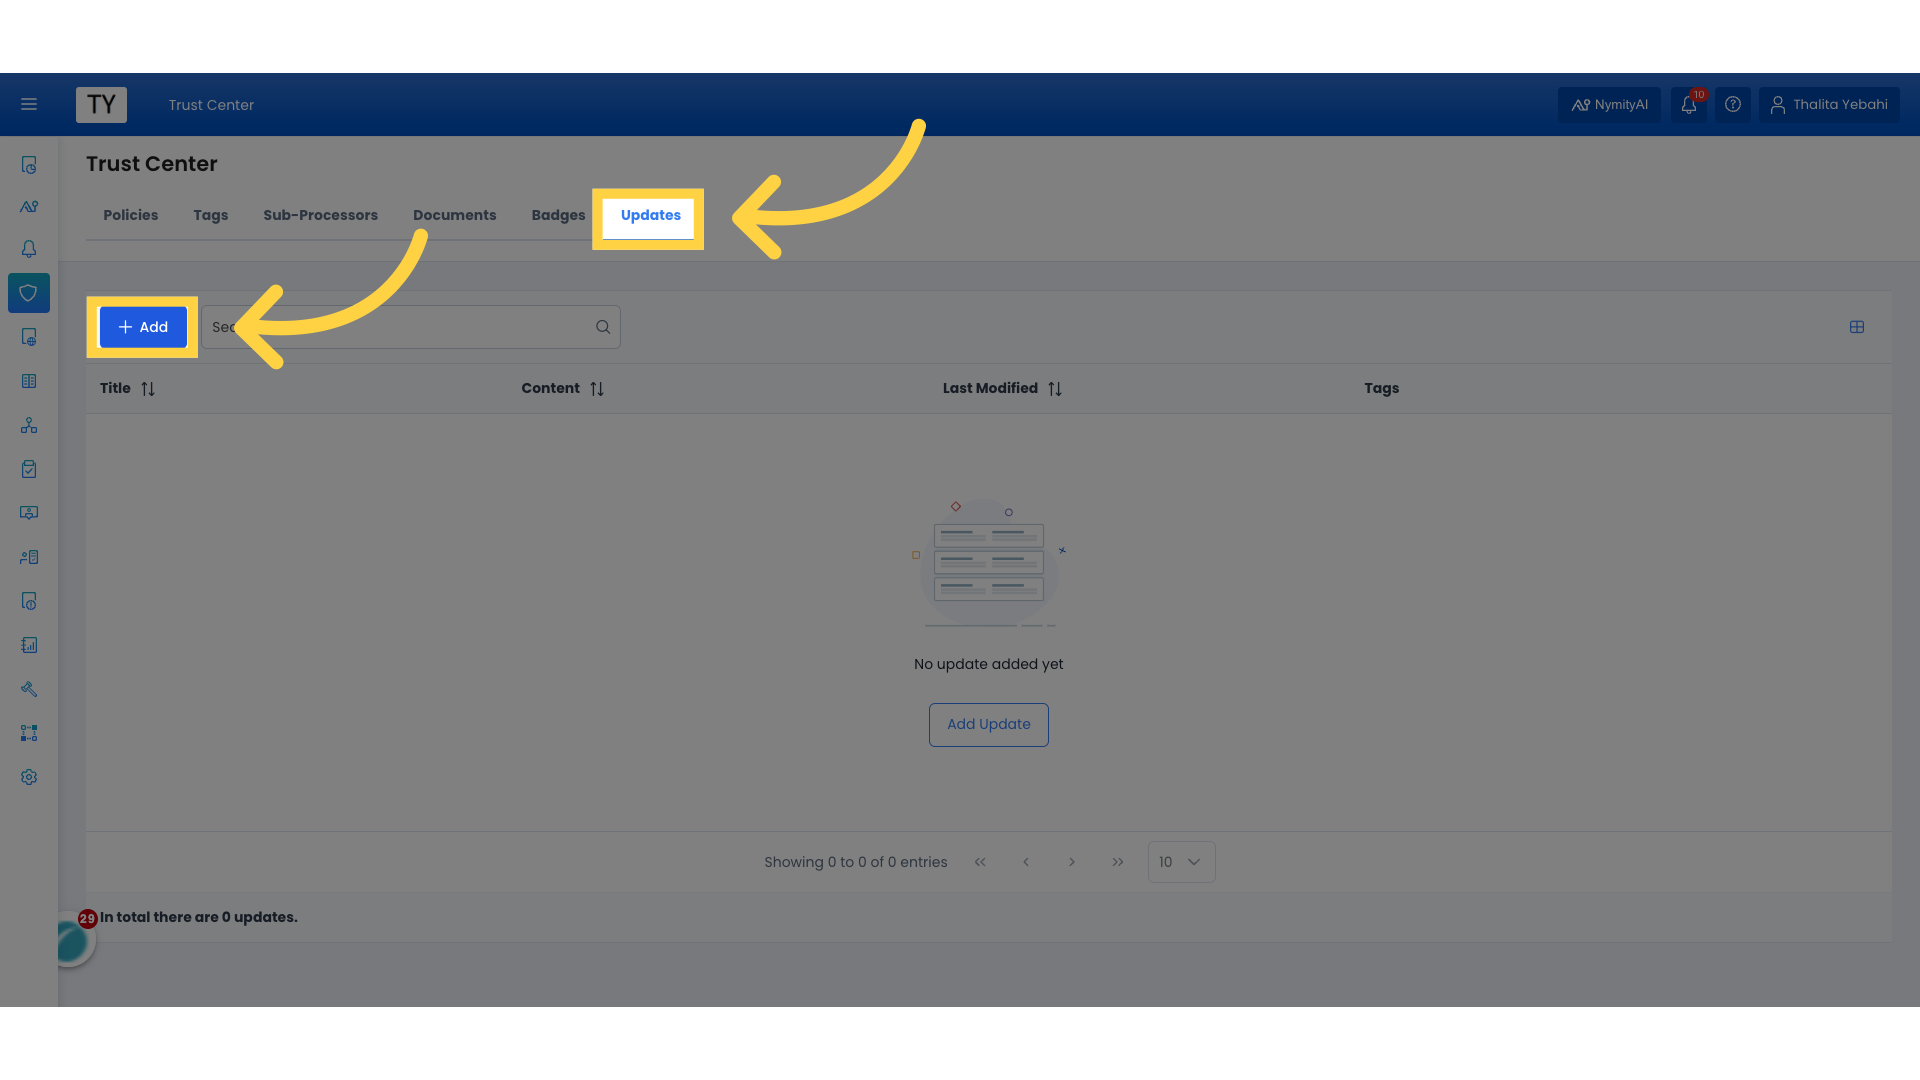
33. Click "Updates" and "Add"
Lastly, under "Updates", which is also not a required step, we will add a product update for our "Product 1".
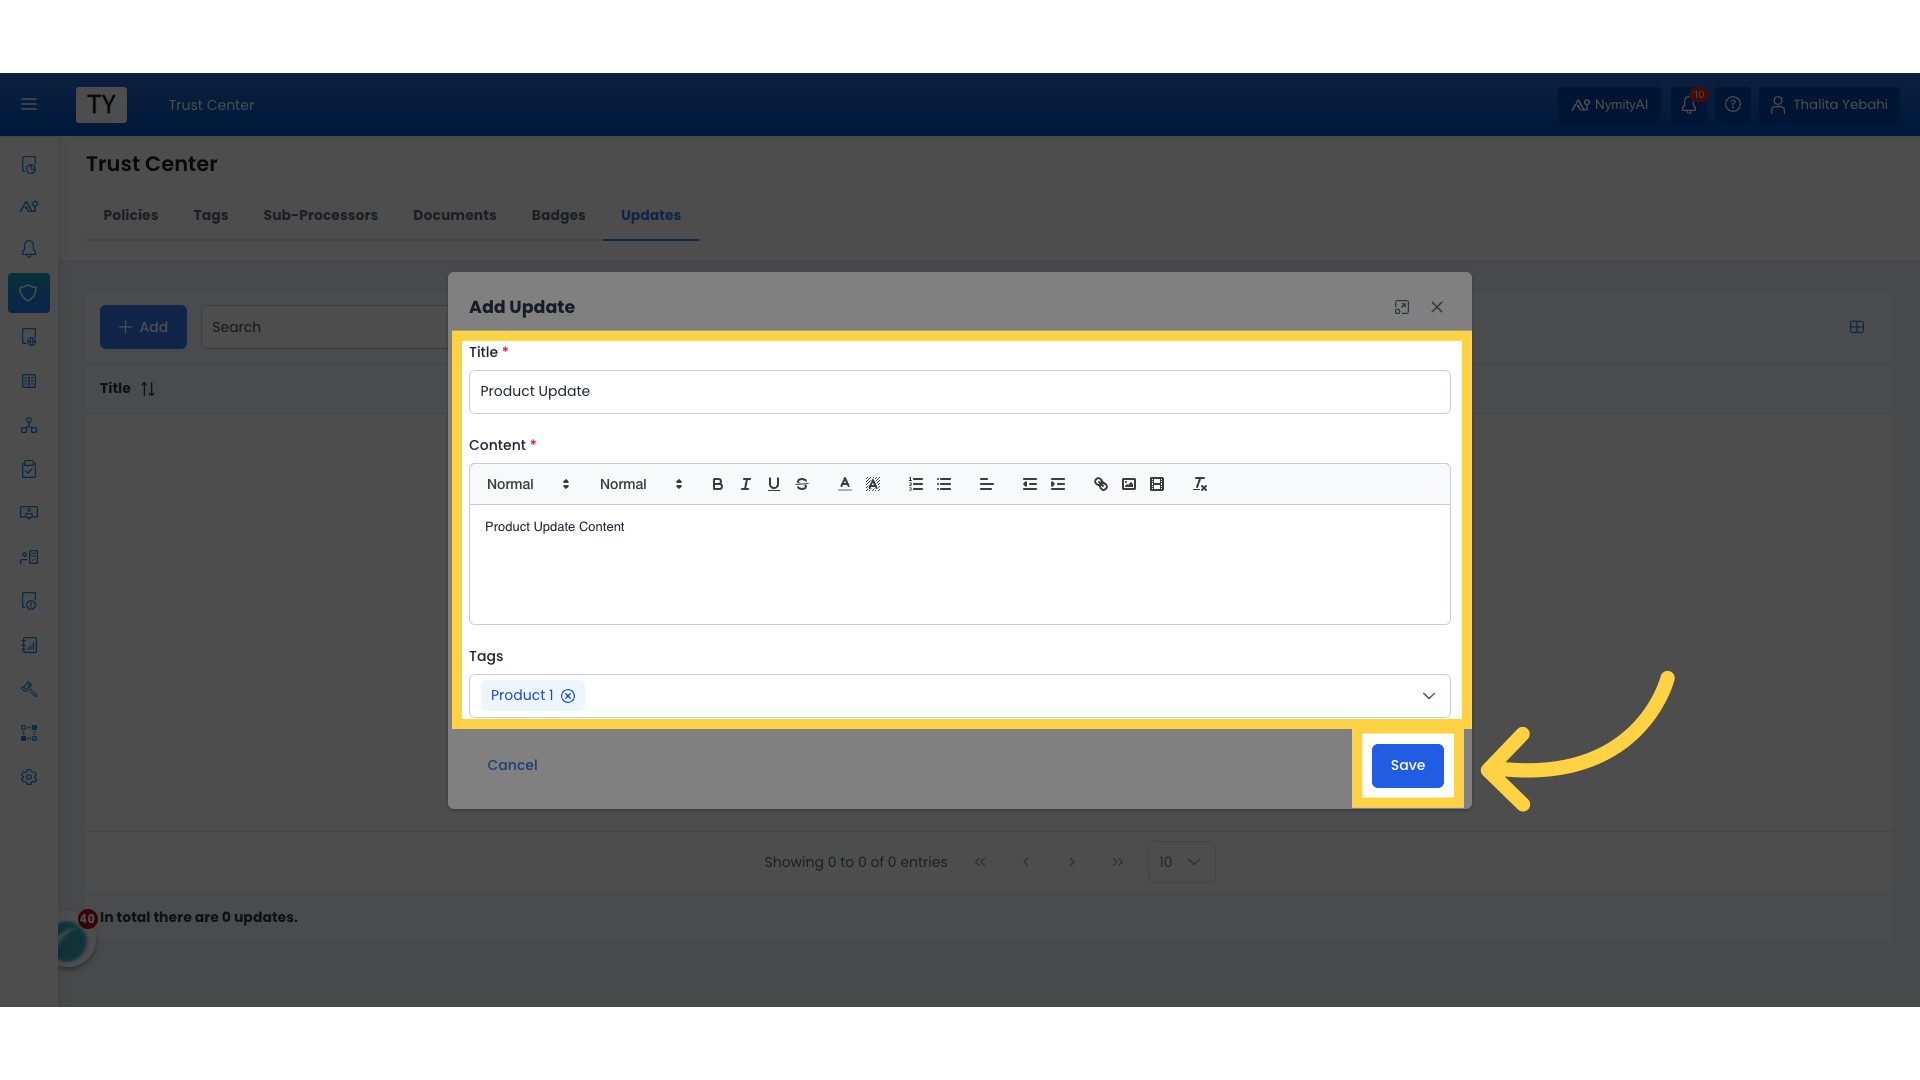
34. Enter the details and save
Since this update is related to that product, we will add "Product 1" to the Tags. We are now ready to add all this content to our Trust Center in the next video.
This guide covered the steps to Introduction to Trust Center in Trustarc.